|
How to install and configure Windows System Resource
Manager - Step by step with screenshots
1. Install Windows System Resource Manager (WSRM) from Features under Server
Manager.
2. To configure WSRM, open it from Administrative Tools.
3. In the Connect to computer dialog box, click This computer, and then
click Connect to have the Windows System Resource Manager administer the
computer that you are using.
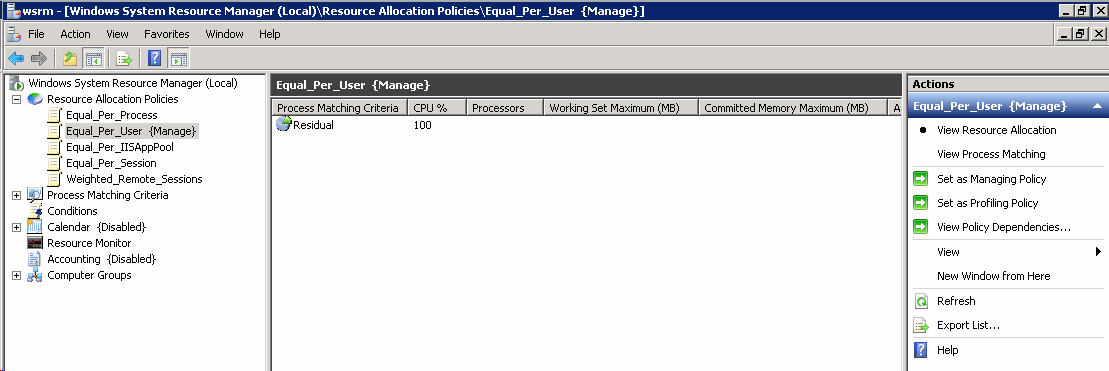
4. Navigate to Windows System Resource Manager (Local)>Resource Allocation
Policies. You can configure the computer resources,
such as CPU and memory.
There are two resource-allocation policies that are specifically designed
for computers running Terminal Services. The two Terminal Services-specific
resource-allocation policies are:
• Equal_Per_User
• Equal_Per_Session
1. Open the Windows System Resource Manager snap-in.
2. In the console tree, expand the Resource Allocation Policies node.
3. Right-click Equal_Per_Session, and then click Set as Managing Policy.
4. If a dialog box appears informing you that the calendar will be disabled,
click OK.
Post your questions, comments, feedbacks and suggestions
Contact a consultant
Related Topics
|