Clear all credentials from Credential Manager
While you can individually clear or remove credentials, you can create this batch file sourced from Github and run it to clear all credentials from Credential Manager. Here’s how:
- Press Windows key + R to invoke the Run dialog.
- In the Run dialog box, type notepad and hit Enter to open Notepad.
- Copy and paste the code below into the text editor.
@echo off
cmdkey.exe /list > "%TEMP%\List.txt"
findstr.exe Target "%TEMP%\List.txt" > "%TEMP%\tokensonly.txt"
FOR /F "tokens=1,2 delims= " %%G IN (%TEMP%\tokensonly.txt) DO cmdkey.exe /delete:%%H
del "%TEMP%\List.txt" /s /f /q
del "%TEMP%\tokensonly.txt" /s /f /q
echo All done
pause
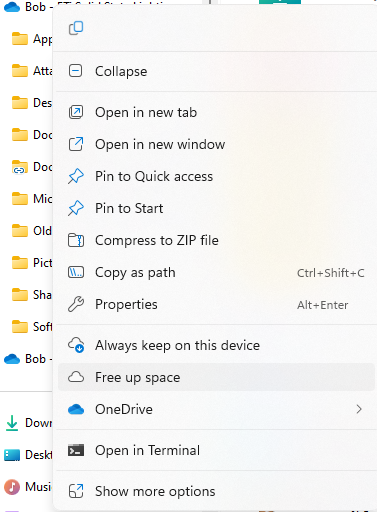
- Save (to the desktop, preferably) the file with a name and append the .bat file extension – eg; ClearCREDS.bat and on the Save as type box select All Files.
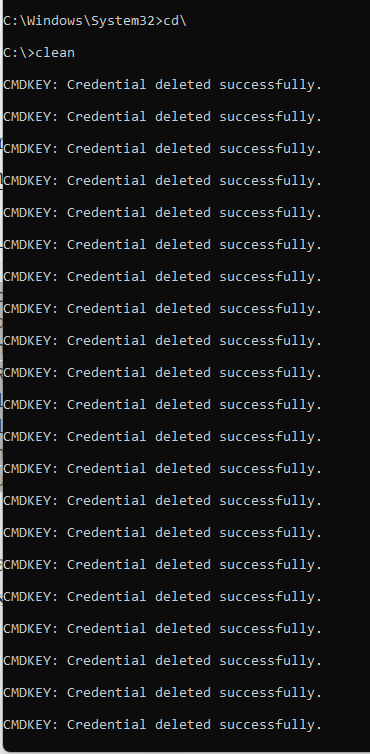
To clear all credentials, simply run the batch file with admin privilege (right-click the saved file and select Run as Administrator from the context menu).
You can also schedule the batch file to run automatically in Windows 11/10 if you want.
You can use scripting or command-line tools to automate the removal of credentials. One way to do this is by using the cmdkey command in Command Prompt or PowerShell. Here’s how you can do it:
- Open Command Prompt or PowerShell with administrative privileges:
- Press
Win + Xand select “Windows Terminal (Admin)” or “Command Prompt (Admin)” if you’re using Windows 10 or earlier. - For Windows 11 or later, search for “Command Prompt” or “PowerShell” in the start menu, right-click on the result, and choose “Run as administrator.”
- Press
- Use the
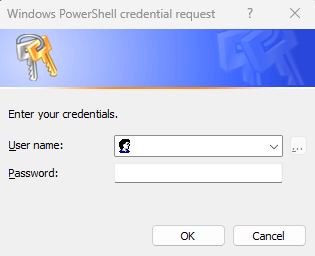
cmdkeycommand to list and remove credentials. For example, to list all stored credentials, you can run:batchCopy codecmdkey /listTo remove a specific credential, you can use:batchCopy codecmdkey /delete:TargetNameReplaceTargetNamewith the name of the credential you want to remove. - Automate the removal: If you have a lot of credentials to remove, you can create a script to remove them all one by one. Here’s an example PowerShell script that removes all generic and Windows credentials:powershellCopy code
Get-WmiObject -Class Win32_NetworkAdapterConfiguration | ForEach-Object { cmdkey /delete:$($_.Description) }Save the script as a.ps1file and execute it with administrative privileges in PowerShell.