Month: January 2020
Microsoft Certified: Azure Developer Associate – AZ-203 Exam 26
Microsoft Certified: Azure Developer Associate – AZ-203 Exam 25
Learning Objects of Extracting knowledge and insights from your data with Azure Databricks
- Introduction to Databricks
- Read and write data using Azure Databricks
- Perform exploratory data analysis with Azure Databricks
- Train, evaluate, and select machine-learning models with Azure Databricks
- Deep learning with Azure Databricks
- Perform text analytics with Azure Databricks
- Microsoft Certified: Azure Developer Associate – AZ-203 Exam 27
Deep learning with Azure Databricks
Microsoft Certified: Azure Developer Associate – AZ-203 Exam 24
How to create retention policy in Office 365
- Login Office 365 as administrator.
- Go to Admin Center>compliance management.
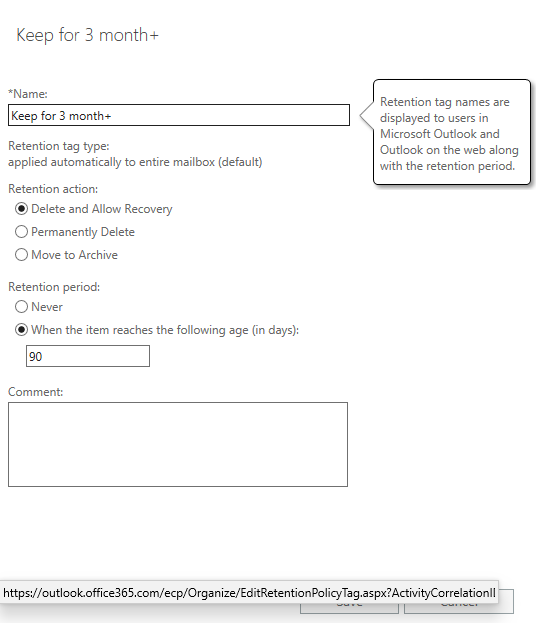
- In the retention tags, click + to add a tag. You have 3 options: 1) applied automatically to entire mailbox (default); 2) applied automatically to a default folder; 3) applied by users to items and folders (person).

4. Create a tag as shown below.
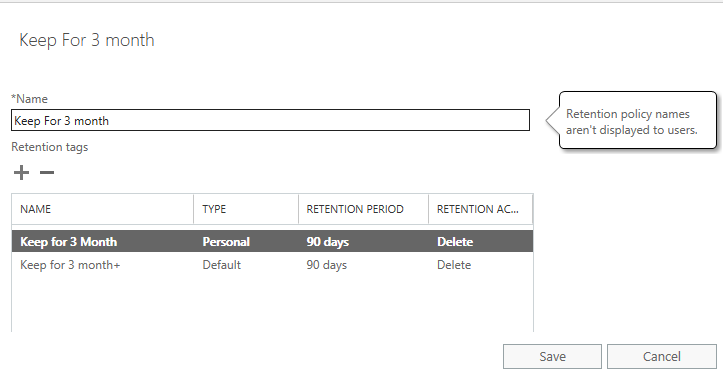
5. Click retention policy and then + to add a policy as shown below example.
Note: it may take time to apply the settings. Please be patient.
How to archive mailbox and free more spaces?
Q: We have some company emails which have Office 365 E1 license with 50 GB space. Because no-one real use these emails (they are maybe for website send or receive emails). Can we archive those mailboxes so that it never out of the spaces?
A: Yes, if we enable archive, “Items stored in the archive mailbox don’t count toward the user’s mailbox storage quota. An archive mailbox has its own archive quota and archive warning quota”.
To enable Archive on Office 365, please follow these steps.
- Login Office 365 as admin.
- Go to Admin Center.
- Navigate to recipients>mailboxes, double click the username.
- Click on mailbox features or Others
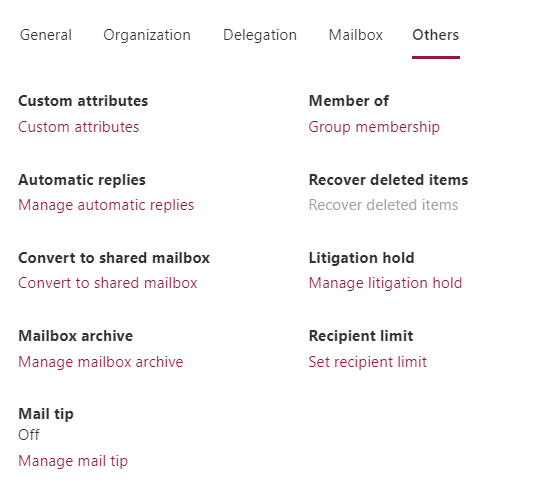
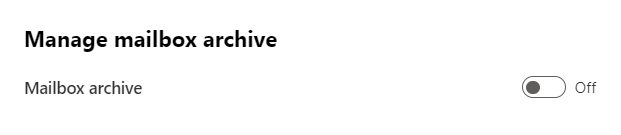
5. Click Manage mailbox archive under Mailbox archive.
6. Turn on archive.
How to use PowerShell to force policy to apply
- Run PoweShell as administrator.
- Run Login Office 365 command: $UserCredential = Get-Credential
- Run session command: $Session = New-PSSession -ConfigurationName Microsoft.Exchange -ConnectionUri https://outlook.office365.com/powershell-liveid/ -Credential $UserCredential -Authentication Basic -AllowRedirection
- Run import session commnad: Import-PSSession $Session -DisableNameChecking
- List the mailboxes status command: get-mailbox
- Start-ManagedFolderAssistant -Identity “mailbox name”
Note: mailbox name could be username@company.com.
How to use PowerShell to check mailboxes status
- Run PoweShell as administrator.
- Run Login Office 365 command: $UserCredential = Get-Credential
- Run session command: $Session = New-PSSession -ConfigurationName Microsoft.Exchange -ConnectionUri https://outlook.office365.com/powershell-liveid/ -Credential $UserCredential -Authentication Basic -AllowRedirection
- Run import session commnad: Import-PSSession $Session -DisableNameChecking
- List the mailboxes status command: get-mailbox
Here are the example:
PS C:\WINDOWS\system32> $UserCredential = Get-Credential
cmdlet Get-Credential at command pipeline position 1
Supply values for the following parameters:
PS C:\WINDOWS\system32> $Session = New-PSSession -ConfigurationName Microsoft.Exchange -ConnectionUri https://outlook.office365.com/powershell-liveid/ -Credential $UserCredential -Authentication Basic -AllowRedirection
PS C:\WINDOWS\system32> Import-PSSession $Session -DisableNameChecking
ModuleType Version Name ExportedCommands
———- ——- —- —————-
Script 1.0 tmp_rvd1ddlw.lfb {Add-AvailabilityAddressSpace, Add-DistributionGroupMember, Add-MailboxFolderPermission, Add-MailboxLocation…
PS C:\WINDOWS\system32> get-mailbox
Name Alias Database ProhibitSendQuota ExternalDirectoryObjectId
—- —– ——– —————– ————————-
administrator administrator NAMPR07DG132-db078 49.5 GB (53,150,2… 4e7c632d-ea2c-40ba-8628-3eaa3dc63e62