How sync or backup files using OneDrive

Step 1 Install OneDrive or OneDrive for Business.

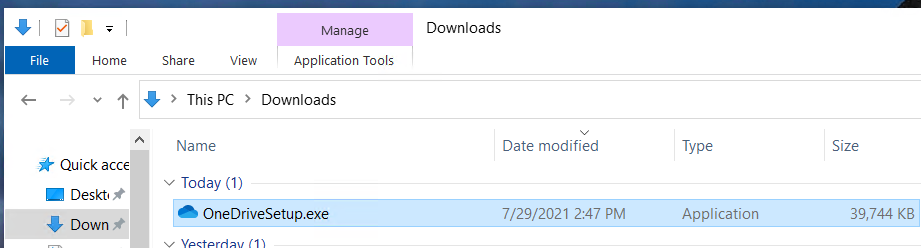
You can downlead OneDrive from Microsoft Website and run OneDriveSetup.exe.

or install Office 365 if you have account.

1) Login office.com using your account.

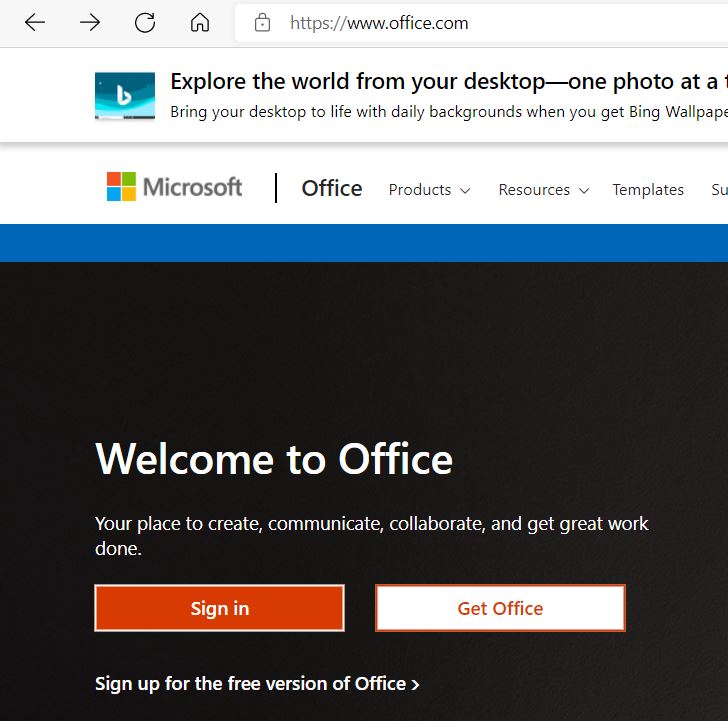
Click Install Office 365.

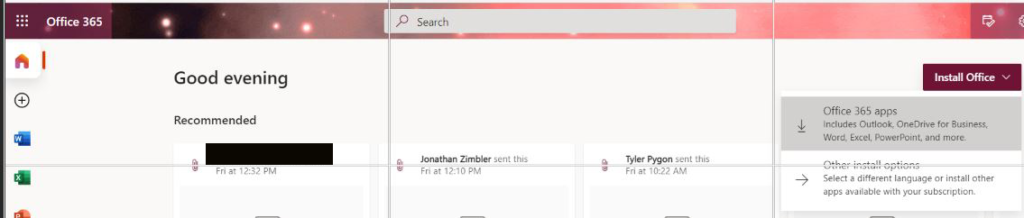
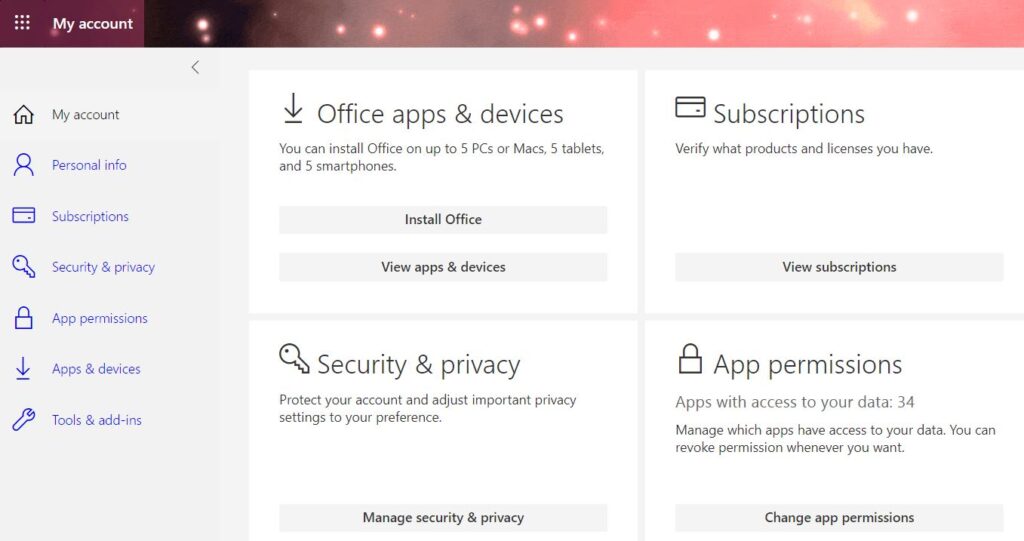
Click Install Office.

Step 2 Run OneDrive.

  1. Type OneDrive in the Search bar and click Open.

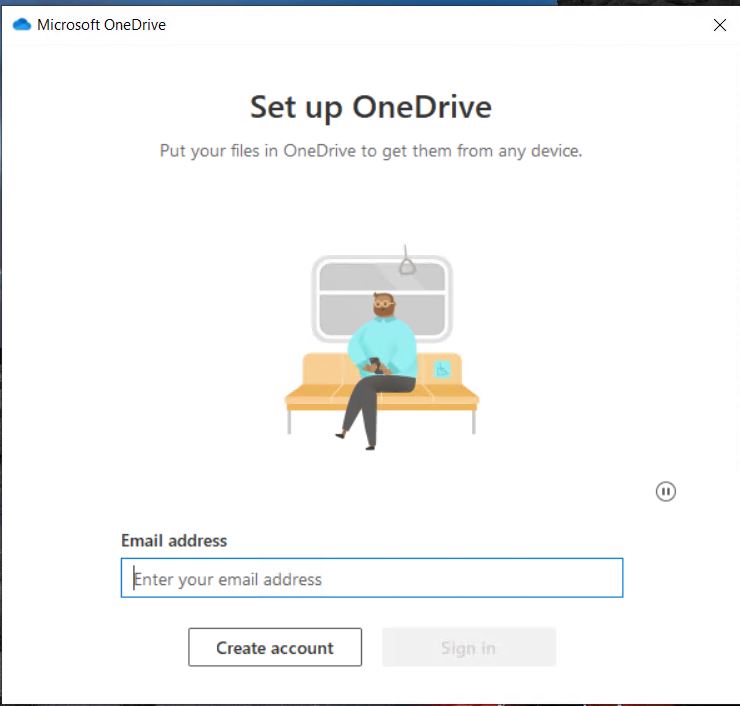
2. Set up OneDrive by enter your account email address.

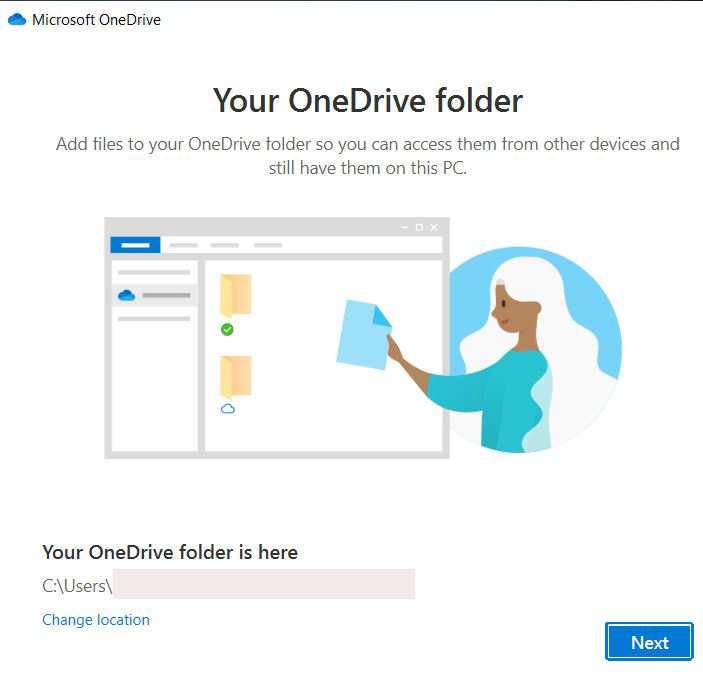
3. By default OneDrive is in your user location. You have option to make the change.

4. You have option to drag or move folders into the OneDrive.

5. You have an option to share files and folders with others.

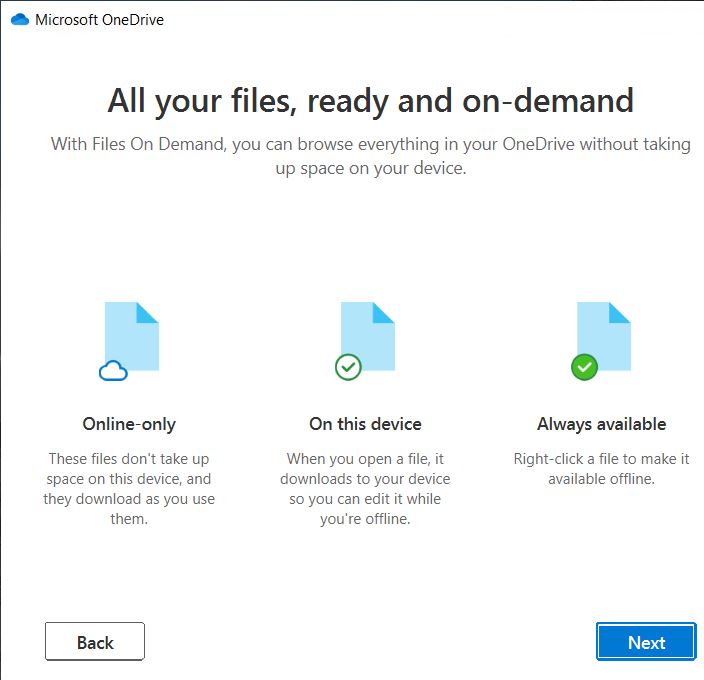
6. Click Next on All your files, ready and on-demand.

7. You have an option to Get the mobile app.

8. Now, the OneDrive is ready.

9. You may receive async and welcome message.

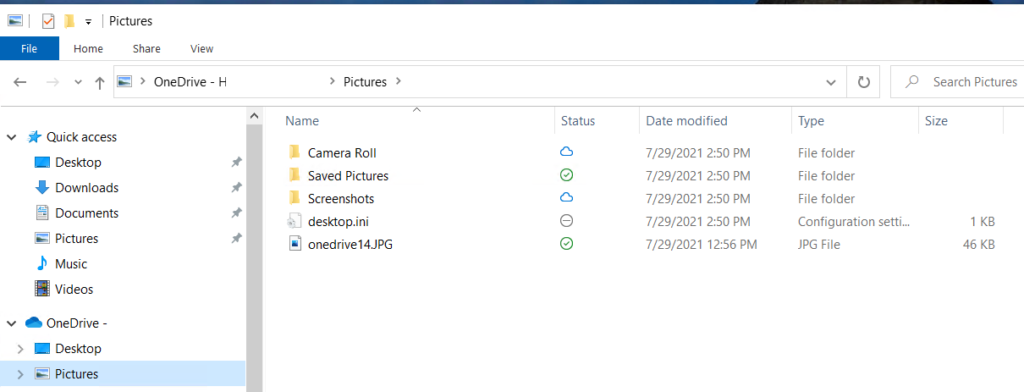
Step 3 Check or test the OneDrive Sync.

In our example, Pictures folder has a JPG image named onedrive14.JPG.

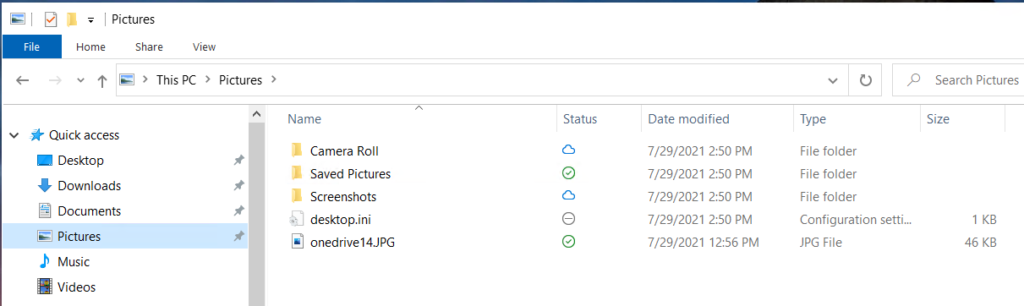
Now, click on OneDrive>Pictures, you will see all the same folders and files.

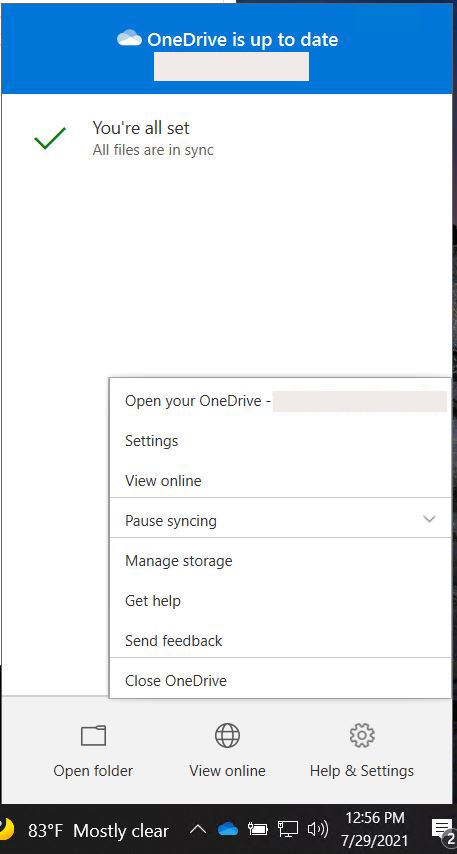
Step 4: Manage OneDrive.

To Manage the OneDrive, for example change the folders to sync, Backup, managing storage, click the OneDrive icon in System tray.

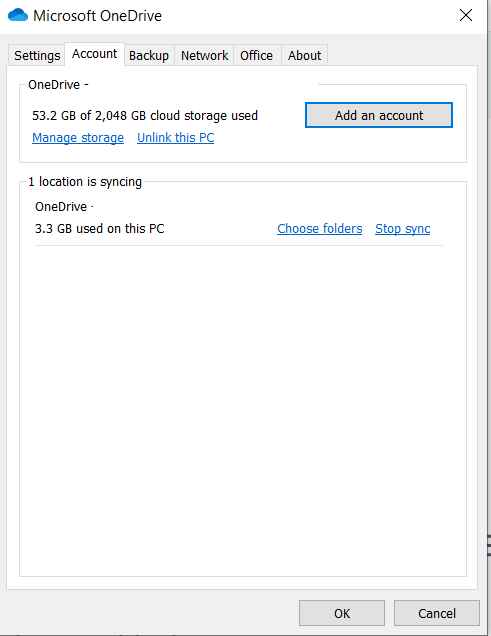
To change the folders to sync, click Account tab.

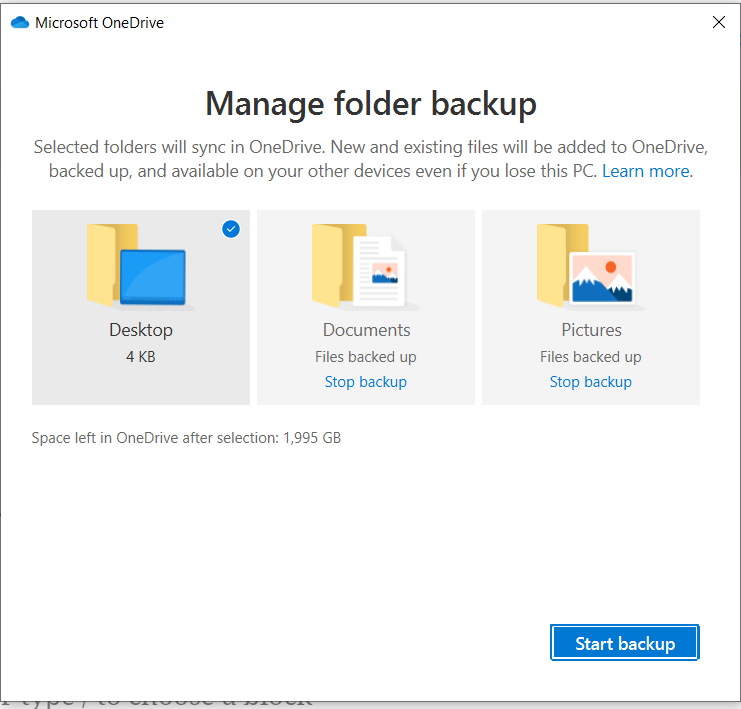
To Backup, click Backup tab.

You will have to stop or start the backup.

Please view this step by step video:

How to check and enable/disable SMB on Windows

  1. To check the SMB connection, Get-SmbConnection powershell can be used to retrieves the connections established from the SMB client to the SMB servers.

Example: Get connections from an SMB client to SMB servers

2. To Detect SMB version, ther are many methods to do so.

Example 1: To detect SMBv1 in Windows, run this Get-SmbServerConfiguration :

Get-WindowsOptionalFeature -Online -FeatureName smb1protocol

To detect SMBv2 and v3 in Windows, run this powershell:

Get-SmbServerConfiguration | Select EnableSMB2Protocol

Example 2: Detect SMBv1 on SMB Server using Get-Item powershell

Get-Item HKLM:\SYSTEM\CurrentControlSet\Services\LanmanServer\Parameters | ForEach-Object {Get-ItemProperty $_.pspath}

2. Enable or disable SMBv1

a. Use Set-SmbServerConfiguration -EnableSMB1Protocol $true or false powershell command for enanling/disabling SMBv1.

Run SeT-SmbServerConfiguration to enable/disable SMBv2/3. Note: When you enable or disable SMBv2 in Windows 8 or Windows Server 2012, SMBv3 is also enabled or disabled. This behavior occurs because these protocols share the same stack.

Set-SmbServerConfiguration -EnableSMB2Protocol $true

or

Set-SmbServerConfiguration -EnableSMB2Protocol $false

b. Run Enable-WindowsOptionalFeature command for enabling/disabling SMBv1:

Enable-WindowsOptionalFeature -Online -FeatureName smb1protocol

or

Disable-WindowsOptionalFeature -Online -FeatureName smb1protocol for enabling/disabling SMBv1

c. Use Registry Editor

To enable or disable SMBv1 on the SMB server, configure the following registry key:

HKEY_LOCAL_MACHINE\SYSTEM\CurrentControlSet\Services\LanmanServer\Parameters

Registry entry: SMB1
REG_DWORD: 0 = Disabled
REG_DWORD: 1 = Enabled
Default: 1 = Enabled (No registry key is created)

To enable or disable SMBv2 on the SMB server, configure the following registry key:

HKEY_LOCAL_MACHINE\SYSTEM\CurrentControlSet\Services\LanmanServer\Parameters

Registry entry: SMB2
REG_DWORD: 0 = Disabled
REG_DWORD: 1 = Enabled
Default: 1 = Enabled (No registry key is created)

How to demote a domain Controller

  1. With the Server Manager open, click the Manage menu on the Dashboard, and then click on Remove Roles and Features

2. Click on Next in Before you begin Wizard screen.

3. Keep the default selection (Role-based or feature-based installation) and click Next on Select installation type

4. Highlight the DC you want to demote under Select a server from the server pool.

5. Clear the Active Directory Domain Services check box

6. Click Remove Features on Remove Roles and Features Wizard popup.

7. Click on Demote this domain controller.

8. Click Next. Note: Do not select this option unless the domain controller cannot contact other domain controllers and there is no reasonable way to resolve that network issue.

9. Check Process with removal and then Next.

10. Click Next on Remove DNS delegation.

11. Enter the password for New Administrator.

12. In Review your selections, click Demote.

13. It is processing the removal.

14. After restart, check the yellow explement for the status.

15. Open Active Directory Users and computers>Domain Controllers, make sure the DC has been removed.

If we still see the DC, delete it.

How to force the credentials renew in Veeam DB

In some situations, one or some of the users off in Veeam DB and you may need to force them to renew it. Here is how.

  1. With the Veeam Backup running, click on the Backup Infrastructure view

2. Click on Managed servers.

3. In the working area, right-click the server and select Properties.

4. Click next until Credentials. Make sure the credential’s username and password are correct. Or add a new Manage Account.

5. Then Finish.