- Login Cato Network cloud.
- Navigate to Site Configuration>Hosts.
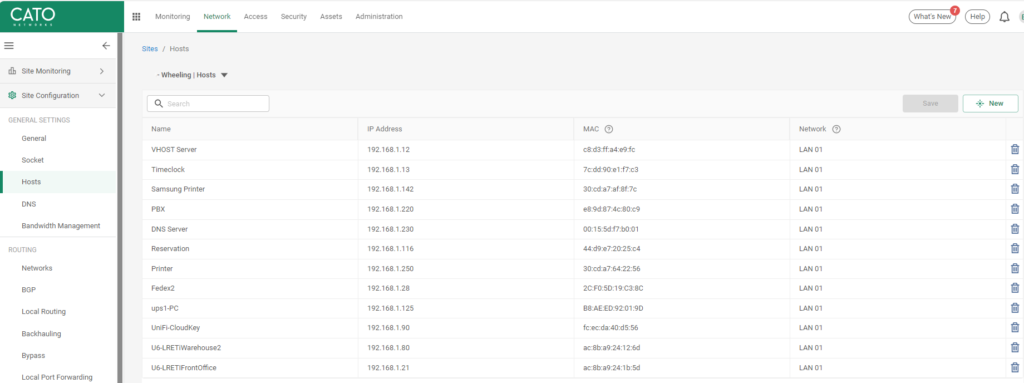
3. Double click on the Host to check the IP and MAC addresses.
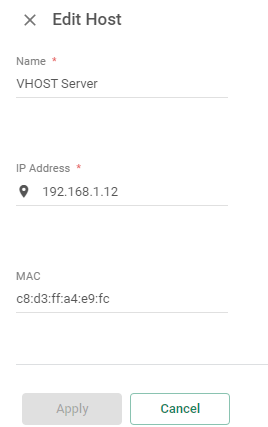
3. Double click on the Host to check the IP and MAC addresses.

3. Click on Known Hosts in the left pan.

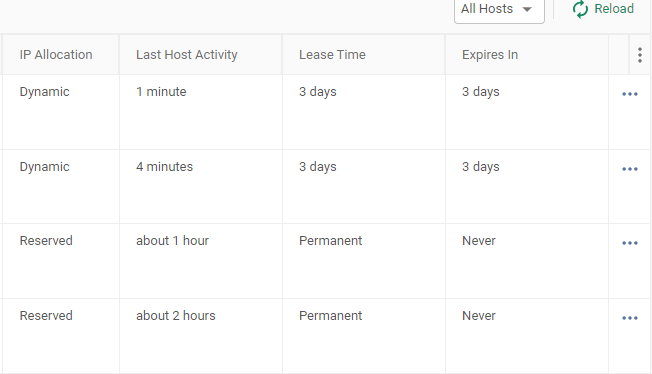
4. Under Known Hosts, select the host you want to reserve the IP, click on 3 dots and then Save as a static host.

5. You should see the Reserved under IP Allocation.
You can also check all reserved hosts by going to Site Configuration>Hosts.

Situation: The client would like to forward emails sent to Microsoft group to an external email address. However, Microsoft group doesn’t have forwarding feature.
Resolution 1: Create an internal mailbox using Exchange online license.
With this setup, all emails sent to accountsreceivables@chicagotech.net should be forwarded to chicagotech.net@gmail.com.
Resolution 2: Create a Mail Contact
By following these steps, you should be able to forward emails sent to a Microsoft Group to an external email address. Make sure you have the necessary administrative privileges to perform these actions within your Microsoft 365 environment.
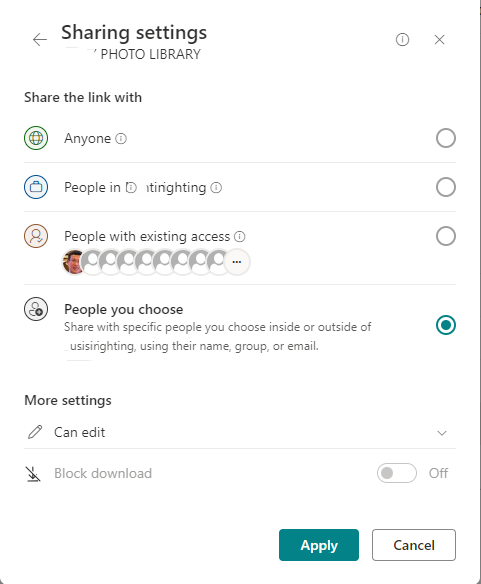
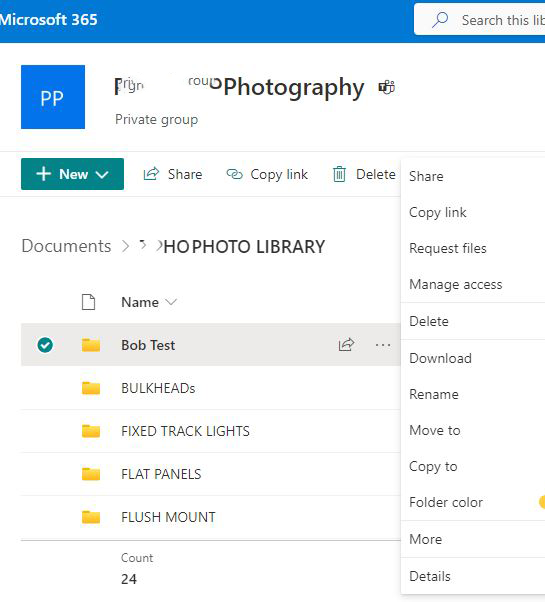
if you would like to share a SharePoint folder with an external guest with full permissions, you should select “Share People you specify can edit” instead of “Anyone with the link can edit”. Here is how.
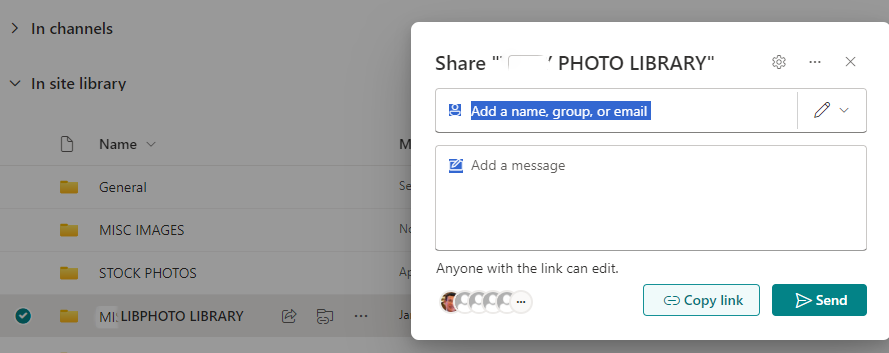
2. By default, it is Anyone with the link can edit. Click on it. You should have an option to “Share People you specify can edit” and select it.
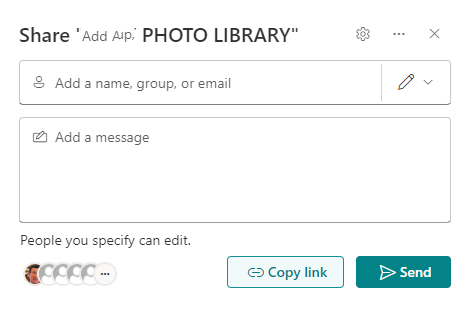
3. After Apply, type the guest email address and then Send.

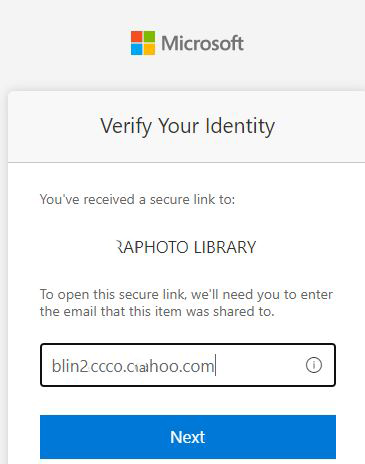
4. The guest should receive an email with the link. Open it and Microsoft will request verify Your Identity.
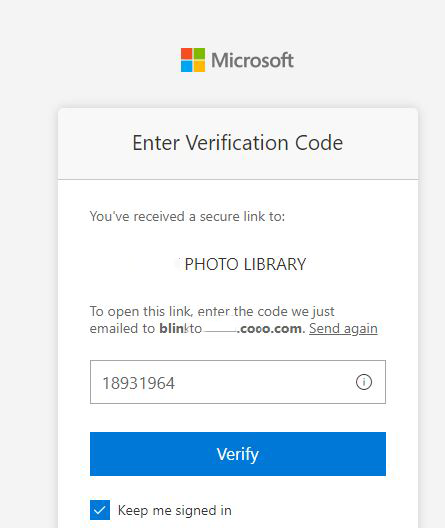
5. Enter the Verification Code and click on Verify.
6. After login, you should be able to upload, delete and rename files, folders.
In sum
In SharePoint, “Anyone with the link can edit” and “Share People you specify can edit” are two different options for controlling access to documents or files within SharePoint sites or document libraries:
Here is the example how to share a SharePoint using “Share People you specify can edit”.
2. By default, it is Anyone with the link can edit. Click on it. You should have an option to “Share People you specify can edit” and select it.
3. After Apply, type the guest email address and then Send.
4. The guest should receive an email with the link. Open it and Microsoft will request verify Your Identity.
5. Enter the Verification Code and click on Verify.
6. After login, you should be able to upload, delete and rename files, folders.
In summary, the “Anyone with the link can edit” option is more open and accessible, while the “Share People you specify can edit” option provides more control and security over who can access and edit the document. The choice between these options depends on the level of access control and security requirements for the document or file in question.