How to Copy and Transfer Files to between Hyper-V Host and VM

Situation: The client just upgraded one of their VM running Windows Server 2012 R2 to Windows Server 2019. The new Windows 2019 uses the same IP address and hostname of the old Windows 2012 R2. So, they disable the old server network to prevent conflict.

Now, they need some files from the old 2012 R2 server and wonder if we can help them to copy those files without conflicting the new server.

Resolution 1: Enable enhanced session mode and use Remote Desktop Protect

Enhanced session mode is simple way to transfer files between Host and VM using Remote Desktop Protocol (RDP). This feature doesn’t require network connection between Hyper-V host and guest VM.

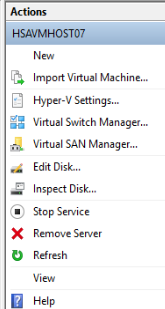
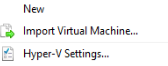
  1. Enable Enhanced Session Mode Policy by going to Hyper-V Settings.

Check Allow enhanced session mode.

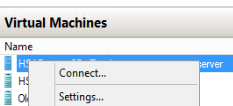
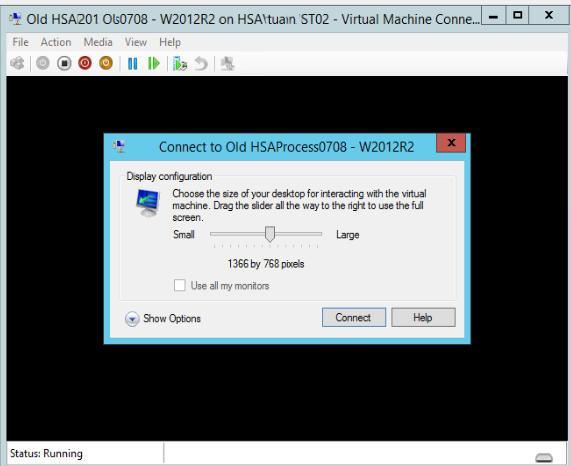
2. Right click on the VM which you want to transfer files and then Connect.

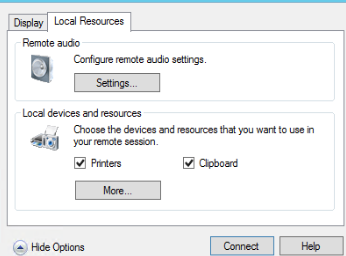
3. Click on Show Options

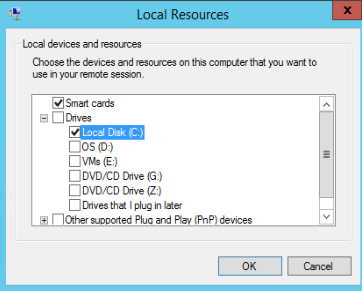
 4. Click on Local Resources and More.

5. Select the drive that you want to access on the VM, and click Ok.

6. Click on Connect

7. Now, File Explorer shows the Drive (C in our example) of the Host so that you can transfer files between host and VM.

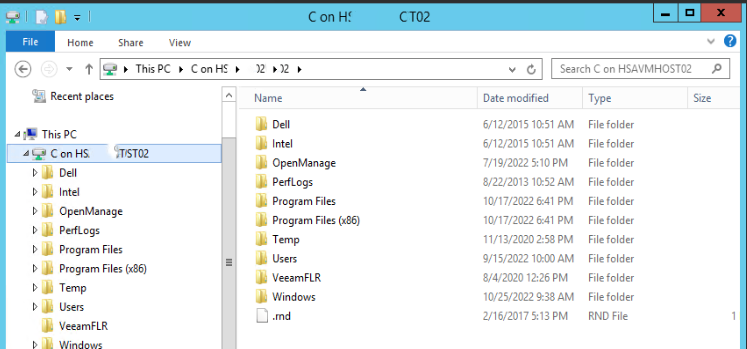
Or you can copy and paste between the Host and VM without mapping the Drive.

Resolution 2: Mount the virtual hard disk to the host machine

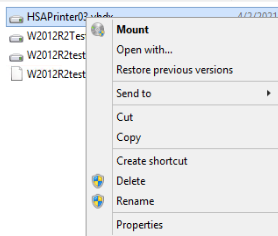
1. Shut down the virtual machine first, then go to mount the VHD to the Hyper-V host by right clicking on the *.vhdx file. Click on Mount.

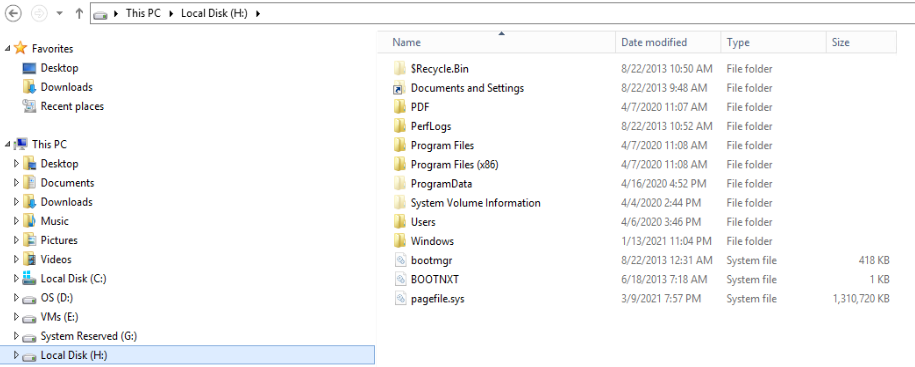
2. Virtual disk will show two folders in the Host File Explorer, for example System Reserved (G) and Local Disk (H) in our example.

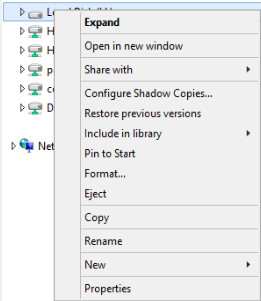
3. Copy the files to the virtual hard disk as you want. When completed, right-click the mounted disk drive (H drive in our example) and select Eject to dismount the VHD.

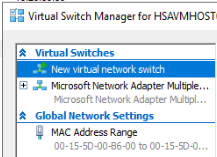
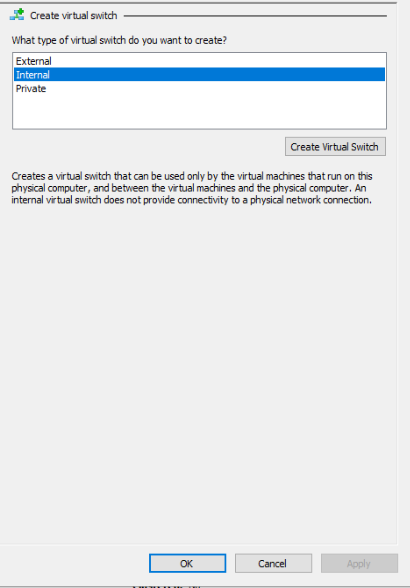
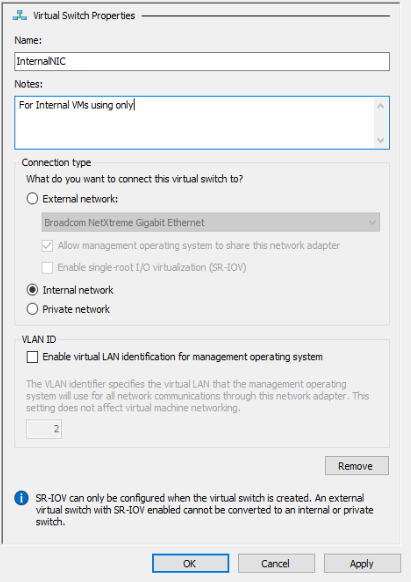
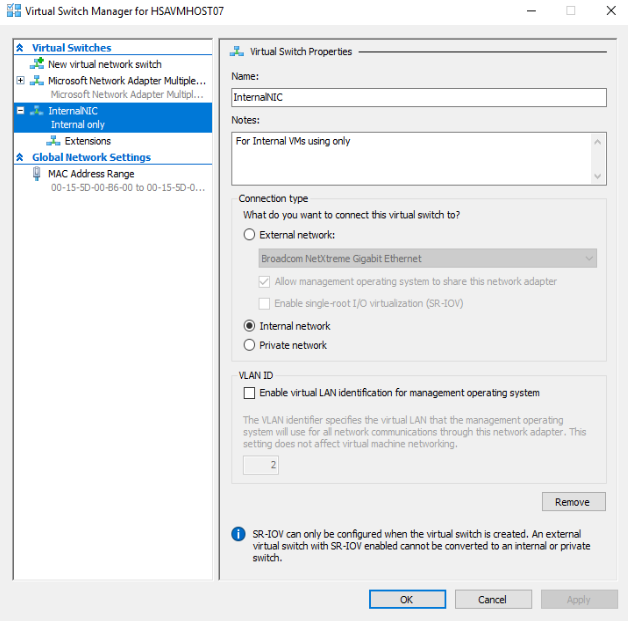
Resolution 3: Create an Internal Virtual switch so that the Host and VM can talk each other.

Please refer to this post: How to Create a Virtual Switch on Hyper-V

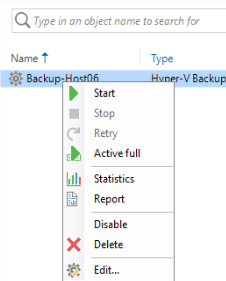
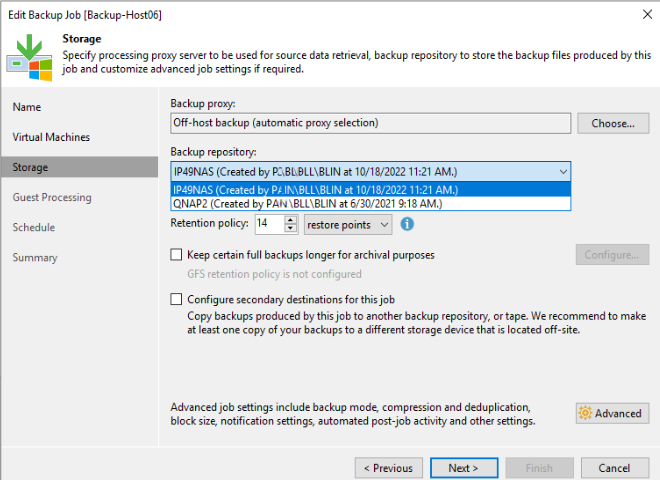
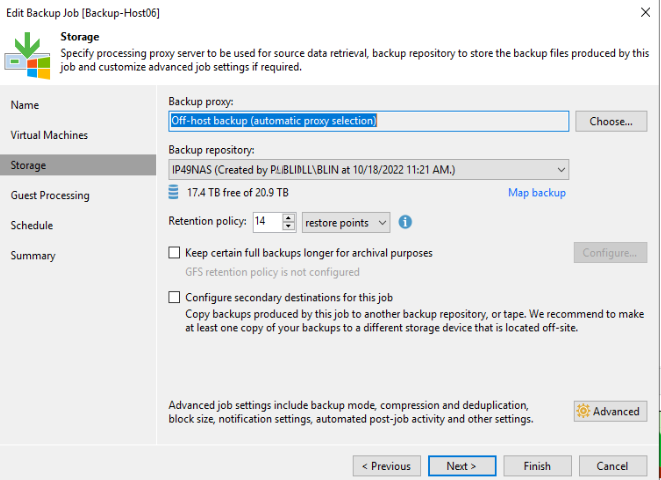
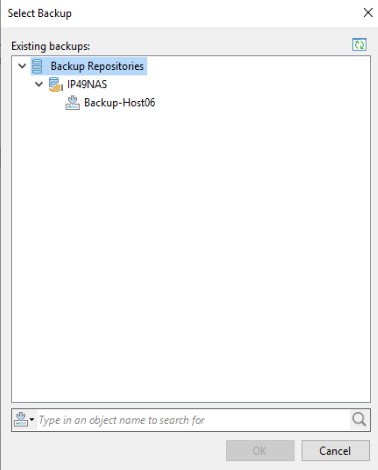
Resolution 4: Use Veeam or other VM backup to backup and restore.

Please view this step by step Video:

How to Export Active Directory Group Members

Step 1: Install the Active Directory Module

To connect and query an AD group with PowerShell, the Active Directory module needs to be loaded. You can do it by installing RSAT tools installed. Please refer to this post to check the Active Directory module status:

How to check if you have Active Directory module installed

Step 2: Use Get-AdGroupMember to list members

For example, this PowerShell command: Get-ADGroupMember -identity “All Employees” will list all members of “All Employees”

You can also export the results with the member name using this command:

For example, Get-ADGroupMember -identity “All Employees” | select name

Step 3: Export group members to CSV file

you can export the group member list to csv using this PowerShell command:

Get-ADGroupMember -identity “group name” | select name | Export-csv -path c:\it\filename.csv -Notypeinformation

For example,

Get-ADGroupMember -identity “All Employees” | select name | Export-csv -path c:\temp\allemployees.csv -Notypeinformation

How to Migrate Veeam Backup Files from one storage to another

To migrate Veeam Backup Files from one storage to another, you need to switch between repositories when old and new repositories contain the same backup files for the job (VBM, VBK, VIB, VRB). This article shows how to migrate Veeam Backup Files from one storage to another.

  1. Disable the backup job(s) planned to be moved.

2. Create a new repository for the new location where backup files will be located.


3. Manually move the backup files to the new repository path. You must include the metadata file (.vbm), full backup files (.vbk), and any needed incremental files (.vib or .vrb). In our case, we use robocopy to copy all backup files to the new storage. You can map both drives and then copy/past.

Note:

It is recommended to move all backup files, but you may omit incremental files if needed. However, if you decide not to move/copy all backup files to the new storage, you will need to use the “Forget Missing Restore Points” function to clear any references to backup files that were not moved/copied after the final step. 

There will be folders created inside the directory/path for job names. If your repository path is set as E:\Backups, Job A will go to E:\Backups\Job A.
 

4. Rescan the new repository.

  1. If the backup files are not encrypted, skip this step.
    If the backup files are encrypted, the encrypted backup will appear under the Backups > Disk (encrypted) node in the inventory pane. In the working area, select the imported backup and click Specify Password on the ribbon or right-click the backup and select Specify password. More InformationThis is also relevant for encrypted Veeam Agent backups.
  2. Observe that after the Rescan has been completed, there will be duplicate entries for the backup files. One is associated with the old Repository under Backups > Disk, and the other is associated with the new repository under Backups > Disk (Imported).

7. Remove old repository from the configuration by going to Backup>Disk. Right click on the old repository and click on Remove from configuration.

8. Edit the Backup or Backup Copy Job, and go to the Storage or Target tab, and from the drop-down menu, select the new repository.

9. Map to the new repository

10. Press Next through the rest of the pages of the wizard to finalize the setting. If no error occurs, and the job now lists the new repository in its Repository column, the mapping has been completed.

Note: If you encounter the following error: “Move all backup files to the new backup repository first”, some restore points the software was expecting to find were not found in the new repository. Cancel out of the job configuration and check both the old repository location and the new location to verify that all restore points have been moved. Then return to step 3 again.

9. Verify migration by checking under Backups > Disk to see that the Job’s backup files listed there are now associated with the new repository.

Please view this step by step video:

How to create shared folders in Synology NAS

  1. After login the web utility, go to Control Panel > Shared Folder.

2. Click on Create.

3. Enter the folder’s information.

4. Setup Encryptiion.

5. Configure advanced data integrity

6. Confirm the settings.

7. Configure the permissions.

If it is domain user or group, go to Domain/LDAP > Domain User or Domain Group. Click on Edit to assign permissions.

Method 2

  1. Go to Control Panel > Shared Folder.
  2. Select a shared folder and click Edit > Permissions.
  3. Select Domain users or Domain groups from the drop-down menu.
  4. Configure the access permissions and save the settings.

How to set up a new Synology NAS

Open an Internet browser and go to find.synologynas:5000

2. Install DiskStation Manager

3. Click OK

4.

5.

6.

Create account

7.

8. Create a Synology Account to receive more benefit

9. Create Storage Pool and Volume.

10. Start to create storage pools and volumes

11. Configure storage pool property

12. Select drives

13. Drive check

14. Allocate volume capacity

15. Select a file system

16. Confirm settings.

17. Click OK on the warning.

18. It is ready to use.

19. To setup Network.

a. Go to Control Panel and click on Network.

b. Setup Server name, DNS under General.

c. Under General, you can create Bond or Create VPN profile.

For example, Adaptive Load Balance.

Select NICs.

IP configuration

This is the Bond settings result.

d. Setup HDCP or Static IP Addresses under Network Interface.

e. You have more options such as Traffic control, Static Route, and Connectivity.

20. To setup Domain/LDAP, open Control Panel.

a. Click on Join.

b. Enter Domain Controller information.

c. Enter domain information.

d. Check and join the domain

If you do see an error, check the details.

e. When Check and join the domains completes successfully, click on Next.

f. Select the domain and Apply.

g. When Finishing, you can test it by clicking on Test.

h.

How to Create a Virtual Switch on Hyper-V

  1. Open Hyper-V Manager.
  2. Select the Hyper-V host computer name.
  3. Click on Action in the top menu bar.
  4. In the drop-down menu, click on Virtual Switch Manager.

5. In the Virtual Switch Manager, click on New virtual network switch in the left panel.

6. Choose a virtual switch type (External, Internal, or Private), and Click on the Create Virtual Switch button.

7. Type the virtual switch a name and other info.

8. Click OK. You should have Internal network configured.

How to Export User info from Active Directory

You can Export User Accounts Using Active Directory Users and Computers or PowerShell.

With PowerShell, you export User Accounts information such as email addresses, login status from Active Directory. Here are some examples.

Example 1: All AD info of a user – command: get-aduser username -properties *

Example 2: Export all users’ default email addresses to csv file – command: Get-ADUser -Filter * -Properties * | Select-Object mail | export-csv -path c:\temp\userexport.csv

Example 3: To display the expiration date – command:

get-aduser -filter * -properties passwordlastset, passwordneverexpires |ft Name, passwordlastset, Passwordneverexpires

Example 4: To find the date the password was last set – command:

Get-ADUser -Filter {Name -eq “”} -SearchBase “DC=nzadmin,DC=local” -Properties “DisplayName”, “msDS-UserPasswordExpiryTimeComputed” |Select-Object -Property “Displayname”, @{Name=”ExpiryDate”;Expression={[datetime]::FromFileTime($_.”msDS-UserPasswordExpiryTimeComputed”)}}

By the way, you also use Net user command to check the status of a user. for example

Net user USERNAME /domain

Export User Accounts Using Active Directory Users and Computers (ADUC)

With ADUC, you can export

Name
User Logon Name
Type
Office
Description
Office Communications Server Address
E-Mail Address

1. Open ADUC

2. Navigate to your desired OU

3. Click the Export List button.

Belkin F5U409 USB to Serial adapter driver for Windows 11

Situation: Belkin doesn’t provide F5U409 USB to Serial adapter driver for windows 7, 8, 10 and 11 64bit.

Resolution: You can checkout this blog post on how to get it working under 64bit Windows: http://www.clearchain.com/blog/posts/how-to-use-a-belkin-f5u409f5u409-cu-usb-to-pda-serial-converter-in-visawindows-7-64bit-mac-osx-10

Or search online and download U232-13.2.98.130315.exe.