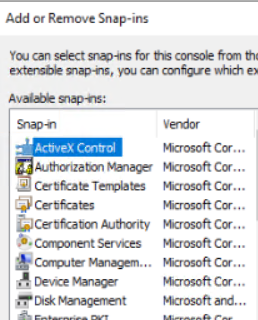
Situation: when attempting to open Certification
Authority in Windows MMC, you don’t see Certification Authority and Certificate
Templates. This video shows how to install Certification Authority on Windows
Server 2019.
Step 1: Install certification Authority
1.With the Server Manager open, go to Dashboard.
2.Click Add roles and features.
3. Click Next.
4. Make sure Role-based or feature-based Installation is checked, and
click Next.
5. Select the server which will be
installed Certification Authority.
6. Check Active Directory
Certificate Services.
7. In the popup, click Add features and the follow the wizard to complete the installation.
Step 2: Post-deployment
Configuration
1. Click yellow exclaim
icon
2. Click Configure Active Directory
Certificate Services.
3. Specify credentials to configure
role services.
4. In Select Role Services to configure, check Certification Authority.
5. Specify the setup type of the
CA, Enterprise CA in our example.
6. Specify the type of the CA, Root
CA in our example.
7. Specify the type of private key,
Create a new private key.
8. Specify the cryptographic
options, keep the default and click on Next.
9. Specify the name of the CA, keep
the default and click on Next.
10. Specify the validity period, 10
in our example.
11. Specify the database locations,
keep the default and click on Next.
12. To confirm the settings, click Configure.
13. You will see Configuration succeeded after the configuring. Click Close.
You should have Certification Authority and Certificate Templates in MMC
If you are setting up a new CA for
the first time for use with Operations Manager 2007, use the following
procedure to configure an HTTPS binding for the certification authority (CA).
Step 1: Install SSL
1. On the server hosting your CA,
run Administrative Tools, and then click Internet Information Services (IIS) Manager.
2. In the Internet Information Services (IIS) Manager, navigate to your server’s name>Site
3. Click Server Certificates under IIS.
4. Click Create Certificate Request under Actions
5.
Send the CSR to a Certification Authority.
6.
Download the SSL from the
Certification Authority
7. On IIS Manager, click on Complete
Certificate Request.
8. Browser
the certificate you downloaded, enter the Friendly name, and the store
location. You can double-click on it to
check the Certificate.
9. Now, you should have the certificate installed.
If you want to reissue and re-key a SLL Certificate, you can do it easily. This video will show you how to reissue and re-key a SLL Certificate on ssls.com.
1. Login the SSL website, ssls.com
in our example.
2. Click on My SSL.
3. Click Details.
4. Click REISSUE & RE-KEY.
5. Enter your domain or subdomain.
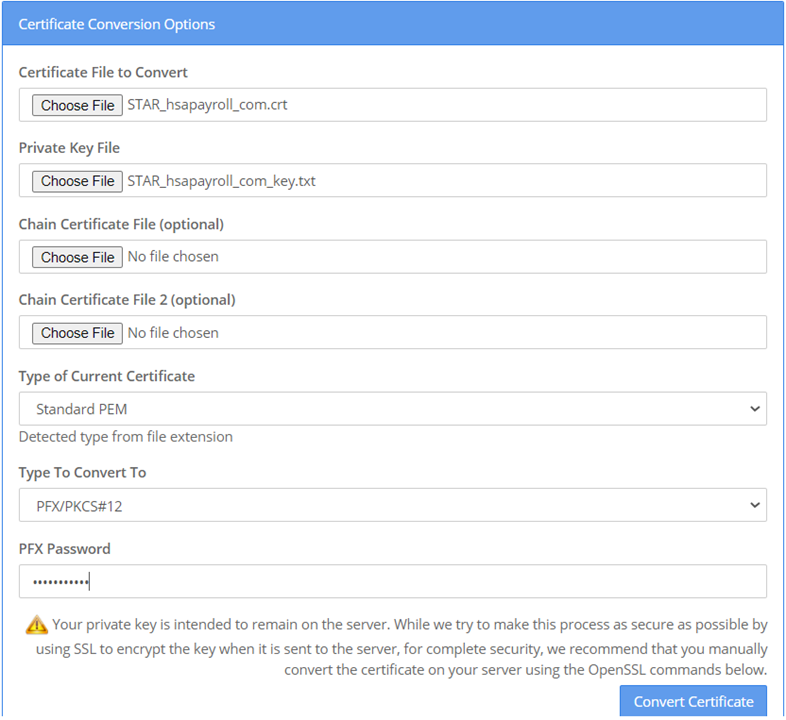
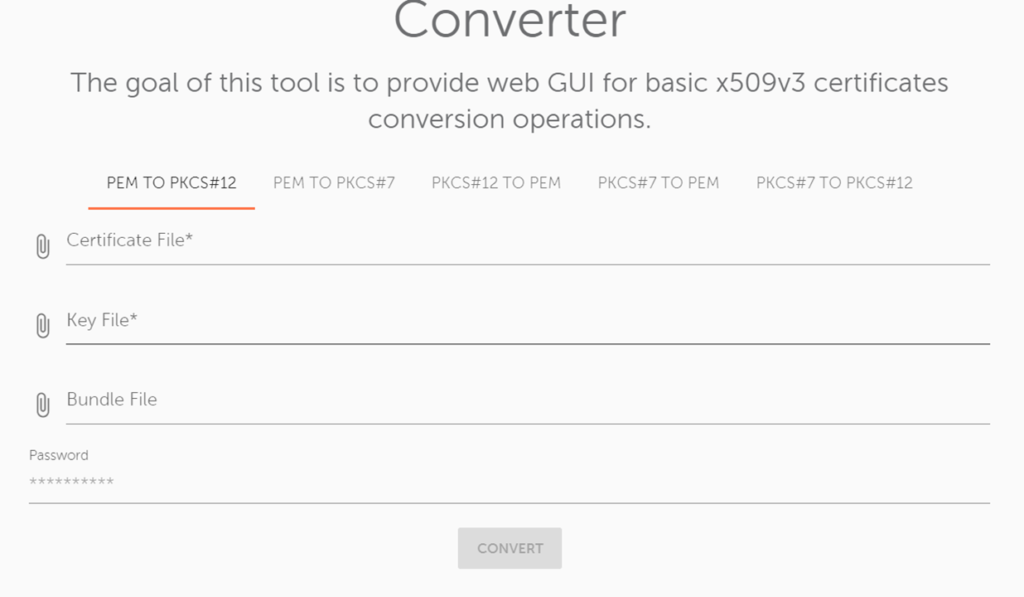
6. You will have options to save
the private key: Create CSR In-Browser
or I have a CSR.
Note: If you use Create CSR In-Browser, you should install certificate
by importing. If you provide
the CSR, you should install the certificate by completing the request in the
Windows Server.
7. If you click Create CSR
In-Browser, it will download to the local computer.
8. Select the mothed to get the
certificate, for example receive an email.
9. Now, you should have a download
link.
10. Follow the link and enter the
code.
11. You should receive certificate
attached in your email.
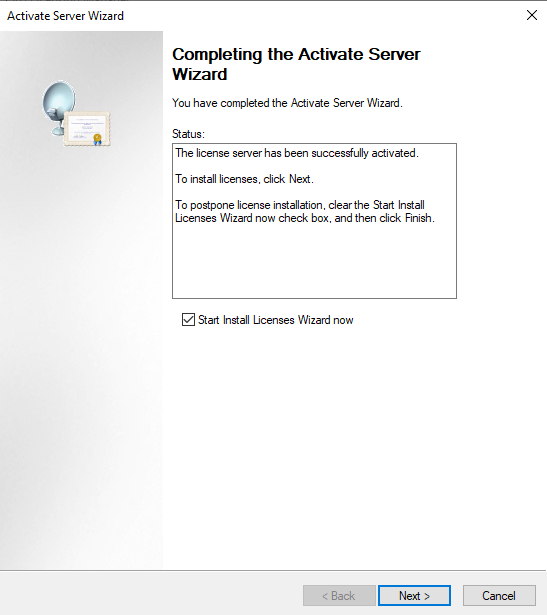
This video shows you how to migrate
RDS CALs from one Windows Server to another server. There are three options to
migrate RDS CALs:
1.Automatic
connection method
2.Using
a web browser
3.Using
a telephone
●
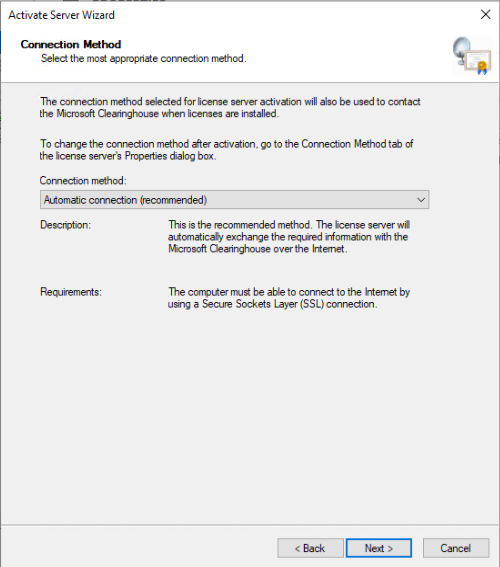
We will use Automatic connection
method as example to migrate RDS CALs.
Step 1: Check RDS CAL migration
method on source
RD
Server
1. In Server Manager, click on Remote Desktop Services
2. Click on Server
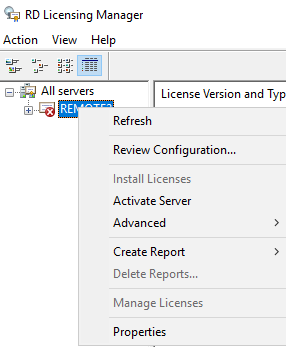
3. Click on Server name and then
right-click on RD Licensing Manager.
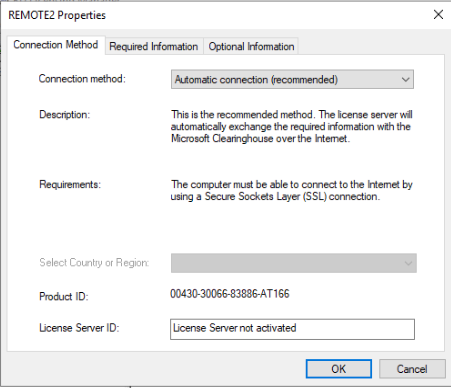
4. In RD Licensing Manager, right-click on the RD Server name
and click on Properties.
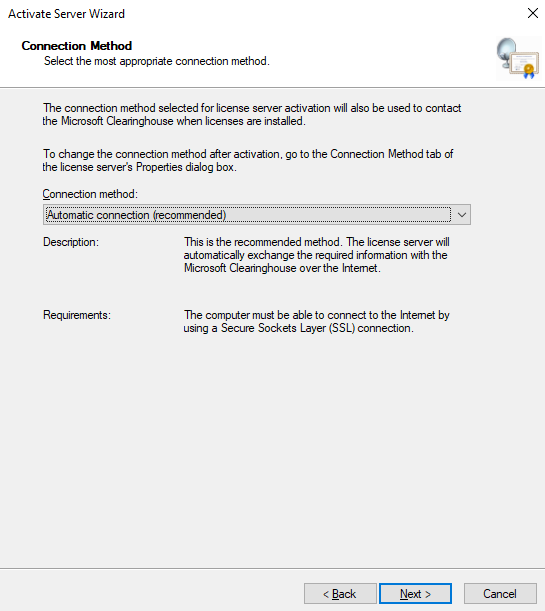
5. On the Connection Method tab, verify the Connection method, Automatic connection method
In our example – you can change it
in the dropdown menu. Click OK
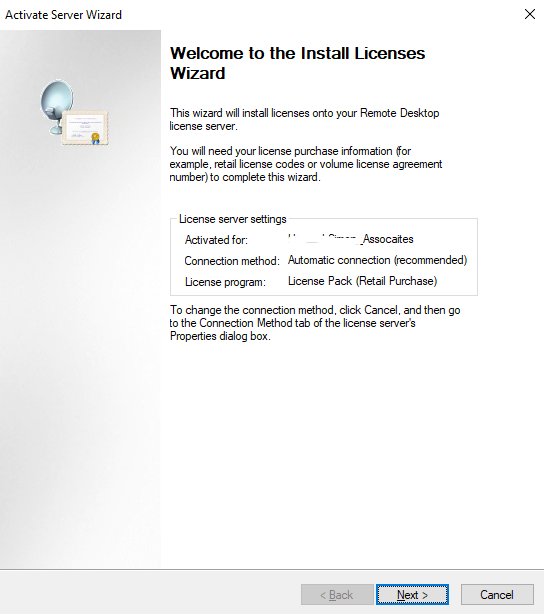
Step 2: Establish RDS CAL migration
on detonation
RD Server
1. In Action Selection, check Migrate licenses from another
license server to this license server.
2. In Select a reason for migrating the license: select The source license server is being replaces by this license server in
our example.
3. In Source
License Server Information, enter the Source licensing server
name or IP address.
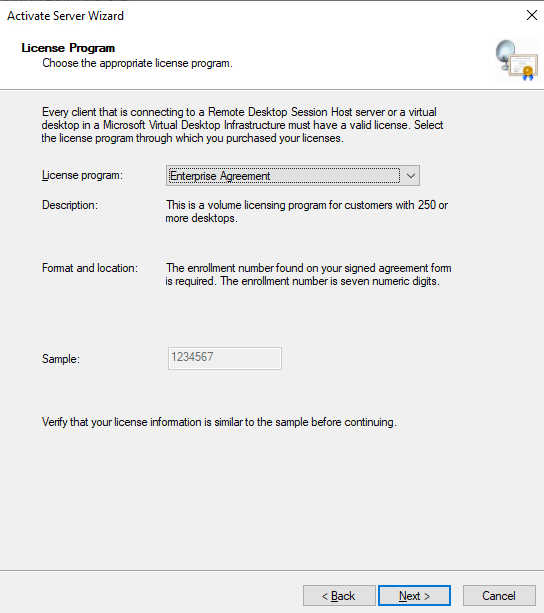
4. In License Program, select correct License program, Open License in
our example and then Next.
5. Enter the Agreement number and click Next.
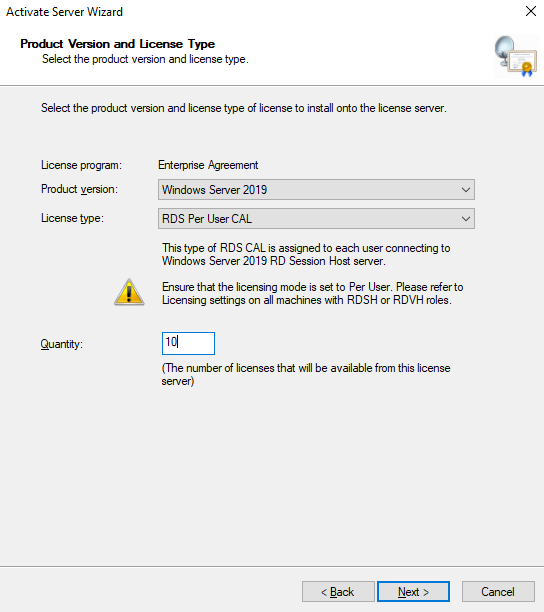
6. In Product Version and License type, select the Product version, License type and Quantity.
Assuming you already have a
Certificate from a Certification Authority. There are multiple way to install
the Certificate depending your need. This video shows some of them.
Install Certificate by right clicking
on it
Install a Certificate from
Microsoft Management
Install Certificate from IIS
Install Certificate by right clicking on it
1: Right click on the certificate
file and select Install Certificate.
2. Check Local machine in Certificate Import Wizard. Then click Next.
3. Click Yes on the popup.
4. You have options to Automatically select the certificate store based on the type of
certificate and Place all certificate in the
following store, for example Trusted Root Certification Authorities.
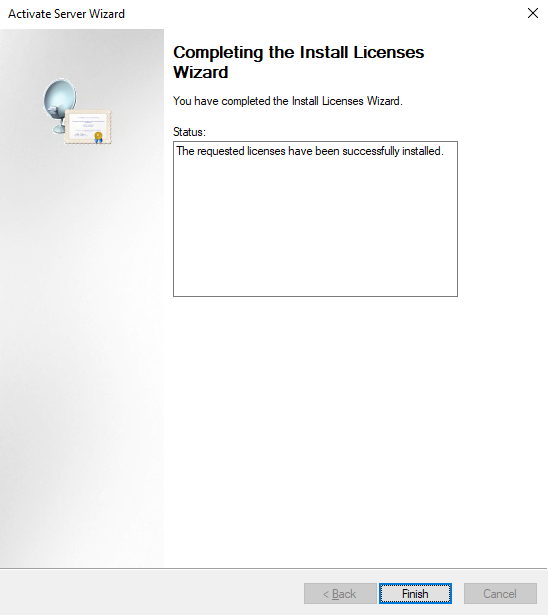
5. Click Finish on Completing the Certificate Import Wizard.
6. The import was successful.
Install a Certificate from Microsoft Management Console (MMC)
1.Type MMC on the star.
2.Double-Click
to Open.
3. Click on Yes to allow MMC running.
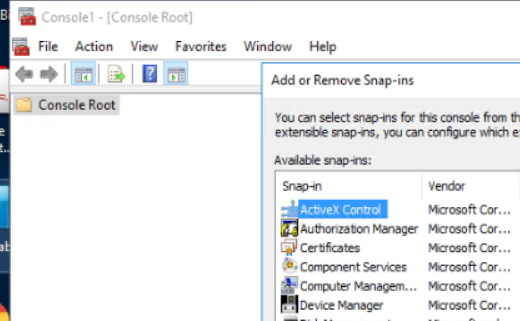
4. Click File and then Add/Remove Snap-in.
5. Click Certificate and then Add
6. In Certificate snap-in, check Computer account.
7. With Local computer checked, click Finish.
8. In the Certificate Console,
navigate to the Certificate (Local
Computer)>Personal.
9. Right-click on Certificates and then All Tasks>Import.
10. In Welcome to the Certificate Import
Wizard,
make sure the Local Machine is
checked, click Next.
11. Browse to the certificate you
download from the Certification Authority and click Next.
12. Check Place at certificate in the following store, for
example Personal. Click Next.
13. Click Finish in Completing the Certificate Import
Wizard.
14. You should have installed
certificate shows up.
Install Certificate from IIS
1. Open IIS from the Server Manager>Tools
2. In the Server hostname,
double-click Server Certificates under
IIS.
3. Click on Complete Certificate Request.
4. Browser the certificate you
downloaded, enter the Friendly name, and the store location. You can double-click on it to check the
Certificate.