Situation: When the client downloads Excel 2019 from Microsoft License Center, it downloads Office Deployment Tool (ODT) instead of the Excel setup exe. It says Microsoft recommends using ODT to install Excel 2019. here post shows how to Deploy Excel 2019 using ODT
Step 1: Download the Office Deployment Tool from the Microsoft Download Center
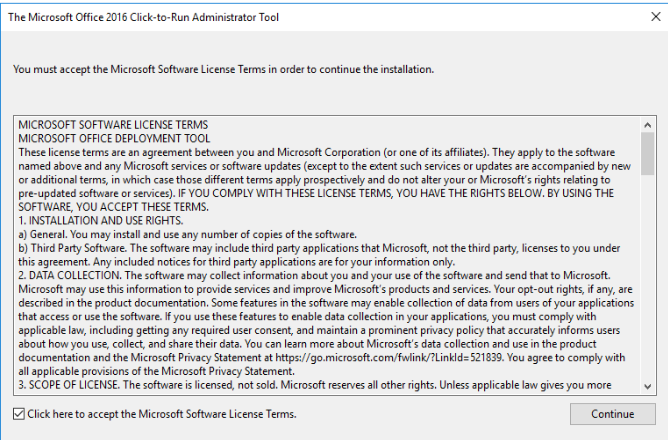
After you download the Office Deployment Tool, double-click on the officedeploymenttool executable (.exe) file to extract the ODT files. Now, you should have several files: setup.exe and some sample configuration.xml files. For an Office 2019-specific sample, see Sample configuration.xml file to use with the Office Deployment Tool.
The setup.exe file is the ODT and is a command-line tool that supports downloading and installing Office 2019. The configuration.xml files are sample files to get you started. You use the configuration.xml file to provide settings for the ODT to use when downloading or installing Office 2019. The configuration.xml is a simple xml file that can be created and edited in any text editor, such as Notepad. You can name the file anything that you want, as long as it retains the xml file extension.
Step 2: Create or Edit the configuration.xml
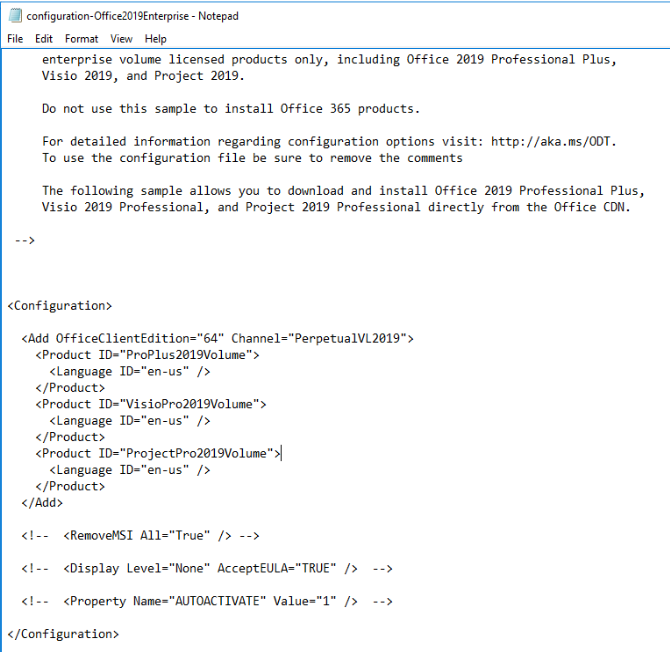
You can create multiple configuration.xml files to be used with the ODT. For example, you would create a configuration.xml file to download and install the 64-bit version of Office Professional Plus 2019 in English and a different configuration.xml file to install the 32-bit version of Visio Professional 2019 in French. When you run the ODT from an elevated command prompt, you specify which configuration.xml file to use.
Sample configuration.xml file to use with the Office Deployment Tool
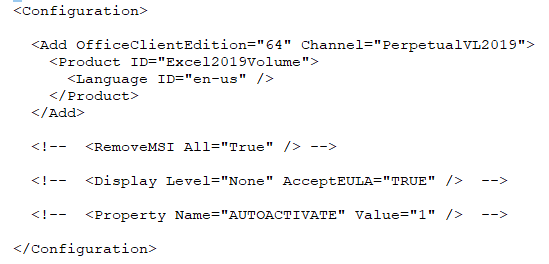
This is edited xml file to Excel 2019 Volume license.
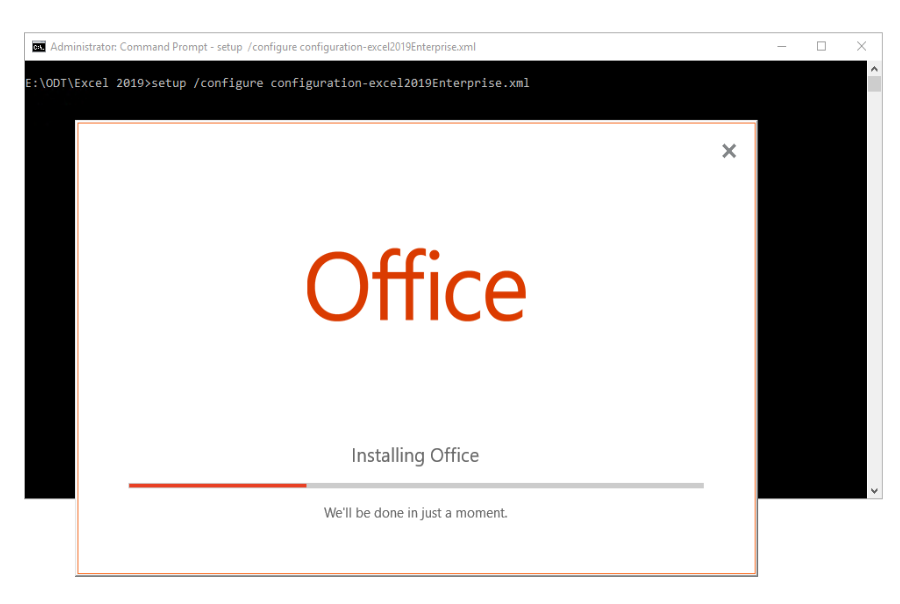
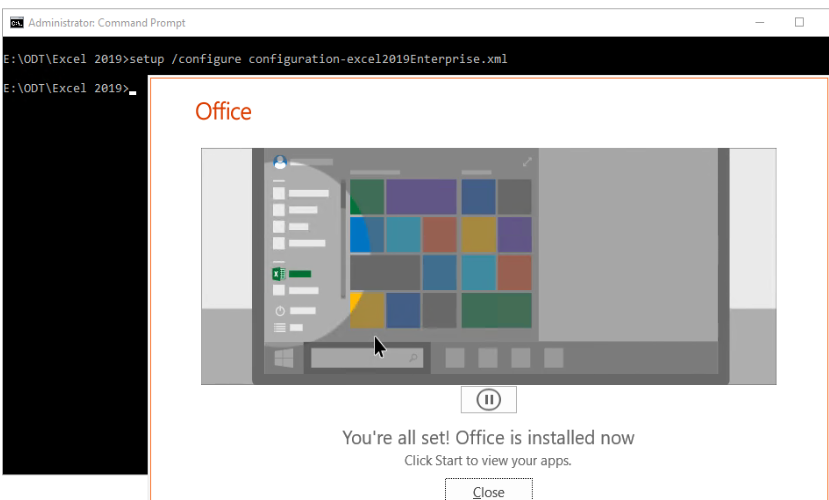
STEP 3: DOWNLOAD AND INSTALL LEXCEL 2019
To download the Office 2019 installation files, run this command:
With an Organization-Wide Teams, you can perform 3 main tasks: Communicate with all employees in your organization, store files, and schedule meetings. You must be a Global administrator to create company-wide teams. Here is how.
1. Login Microsoft Teams.
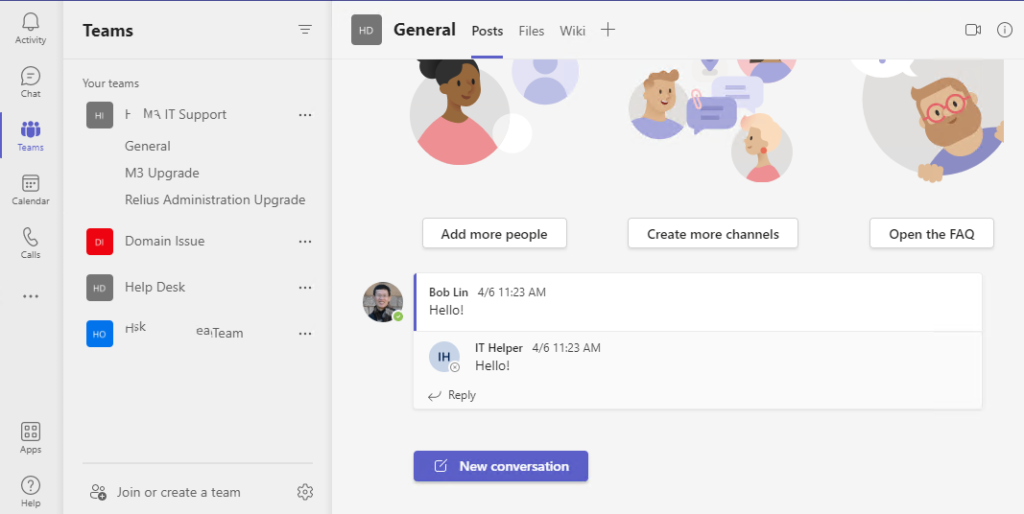
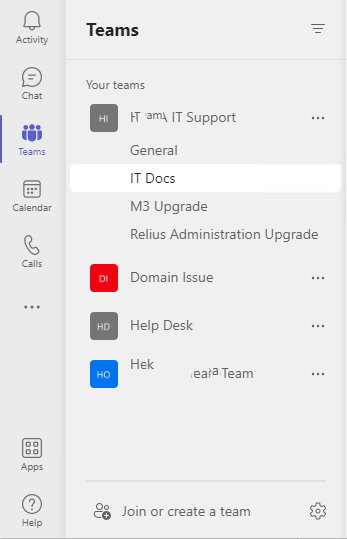
2. Click on Teams icon.
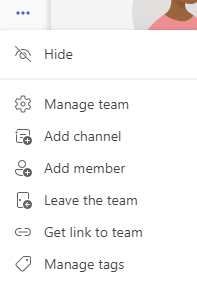
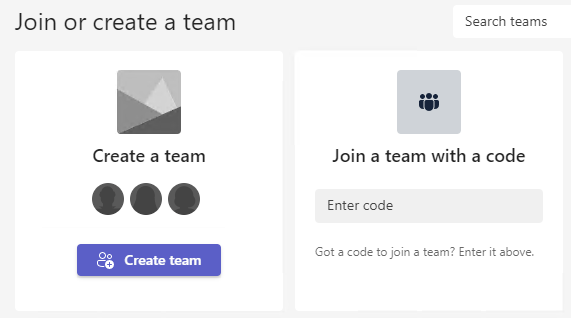
3. Click on Join or create a team in the button
4. Click on Create a team.
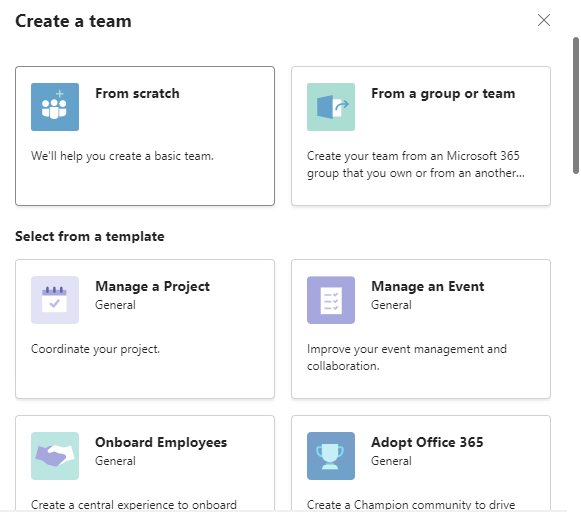
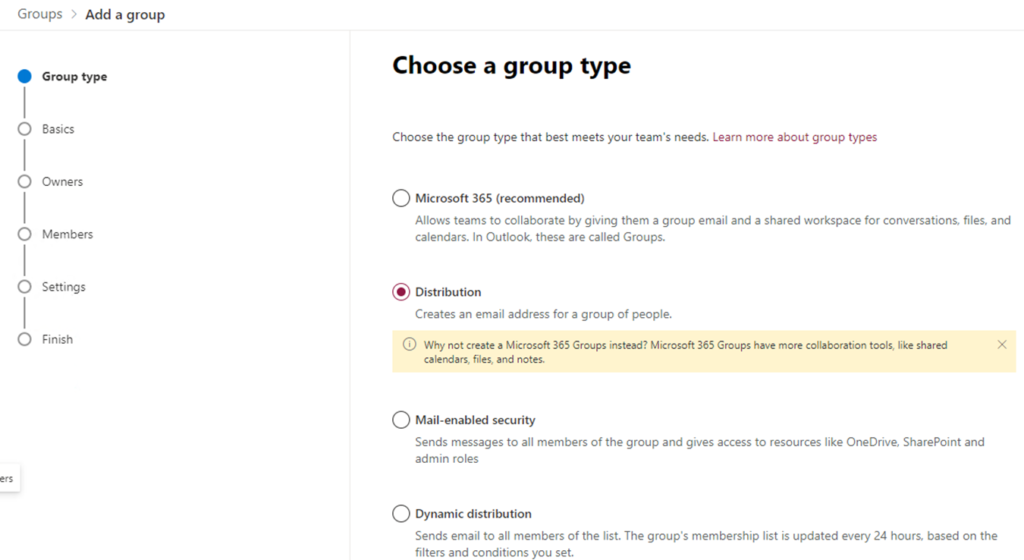
5. You may have many options to create a Team such as From scratch, From a group or team, Manage a Project, Manage an Event, Onboard Employees, Adopt Office 365, Organize Help Desk, Incident Response, Crisis Commnications, Manage a Store. Bank Branch, Patient Care, Hospital, Quality and Safety, Retail for Managers, Manage Volunteers, Frontline Collaboration. We will create Team from another team in our example.
6. Click Team or Microsoft 365 group.
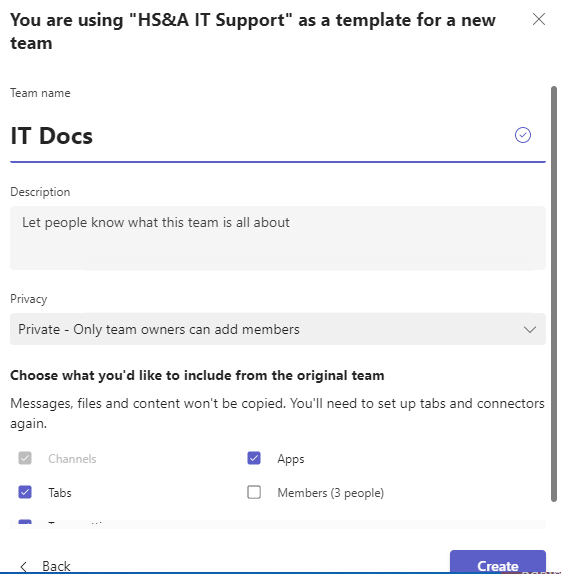
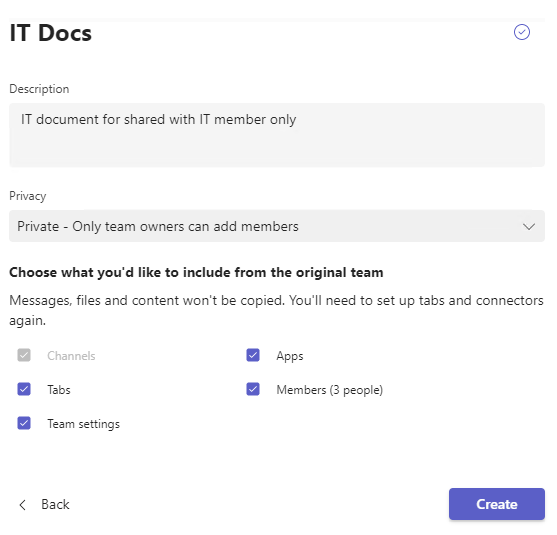
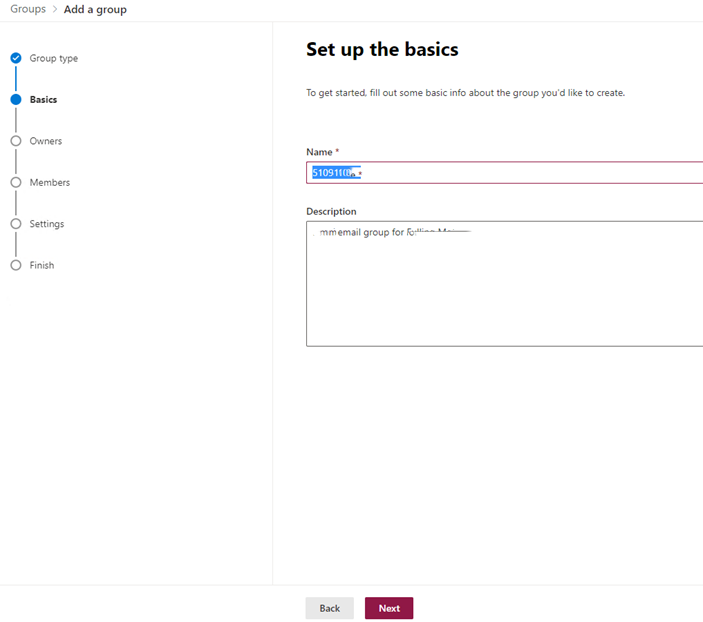
7. Enter the suggested team name and description in the field provided.
8. Click on the ‘Privacy’ drop-down and pick ‘Org-wide – Everyone in your organization will be automatically added’.
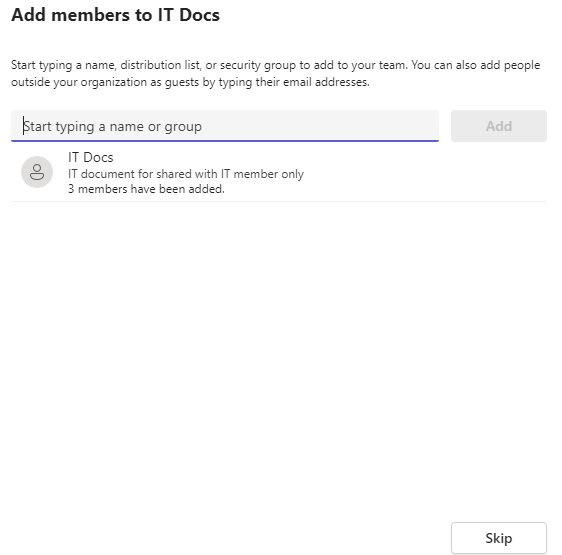
9. Choose ‘Creat’. You have now created a company-wide team.
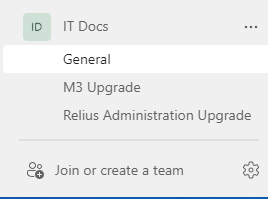
10. You can now add a welcome message to the entire team.
When your employees enter this team, they will see this message.
Use the ‘Files’ tab to add documents for everyone to see.
Use the ‘Open in SharePoint’ tab to see the rest of the site in SharePoint.
Click on ‘Add cloud storage’ to add more sites to the team.
The ‘Wiki’ tab is for adding notes and sharing other company-related information.
Click on the ‘+’ icon to add more relevant apps to the team.
After installing a new Cisco 9200 switch, you may use Cisco DNA Center Cloud Onboarding Day 0 Wizard or Classic Day 0 Wizard to configure it. The Web User Interface (Web UI) is an embedded GUI-based device-management tool to simplify device deployment and manageability, and to enhance the user experience. We can use WebUI to build configurations, monitor, and troubleshoot the device without having CLI expertise. This article is showing you how to configure Cisco 9200 Switch using Classic Day 0 Wizard.
Step 1: Connecting to the Switch by Setting up the DHCP Client Identifier on the client to get the IP address from the switch
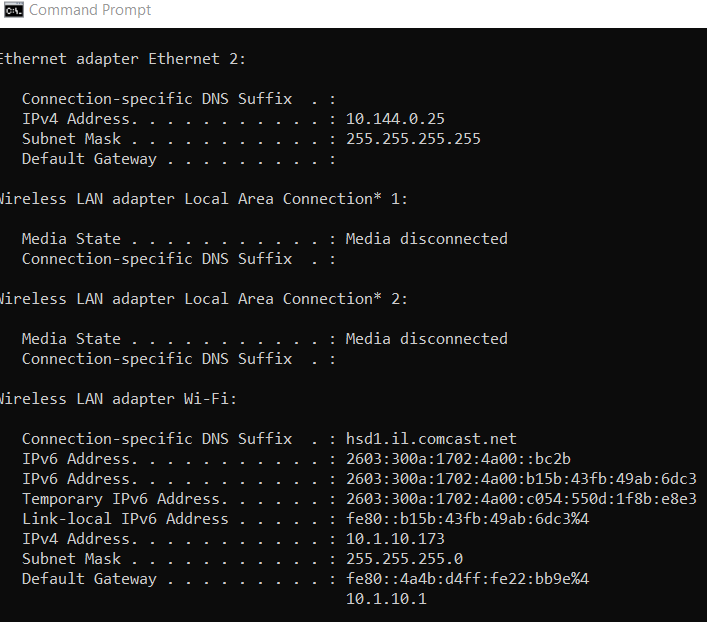
find your computer IP address by running ipconfig /all command.
2. Run Registry editor by typing regedit in the Windows search box and press enter.
3. If prompted by User Account Control, click Yes to open the Registry Editor.
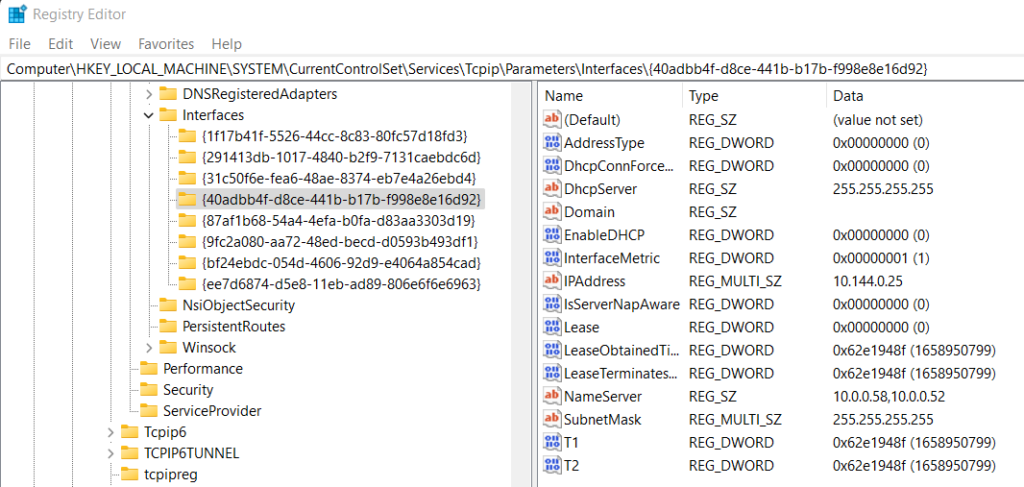
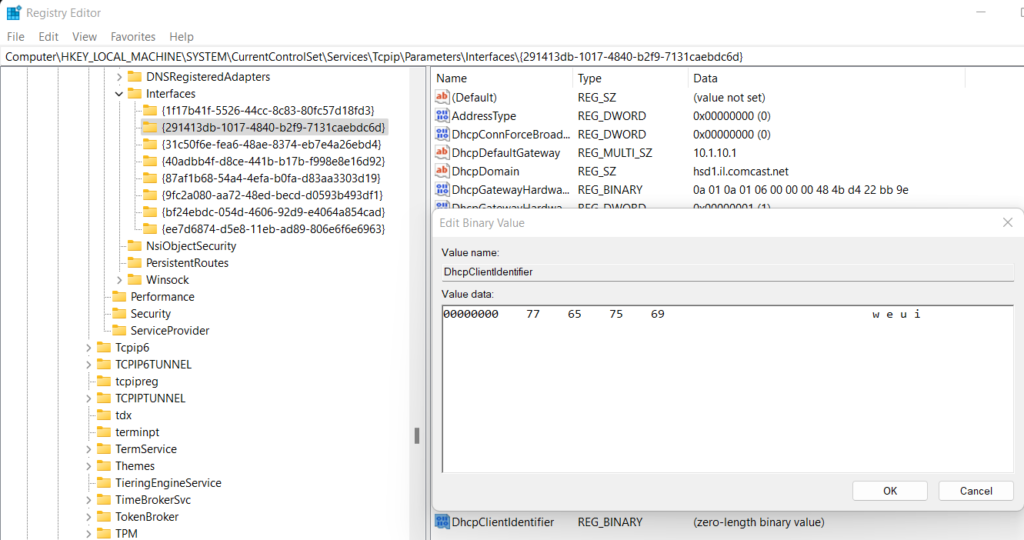
4. Navigate to Computer\HKEY_LOCAL_MACHINE\SYSTEM\CurrentControlSet\Services\Tcpip\Parameters\Interfaces\
5. Locate the Ethernet Interface Global Unique Identifier (GUID). in our example Ethernet 2 and IP 10.144.0.25. Note: don’t use 10.1.10.173 because it is WiFi IP address.
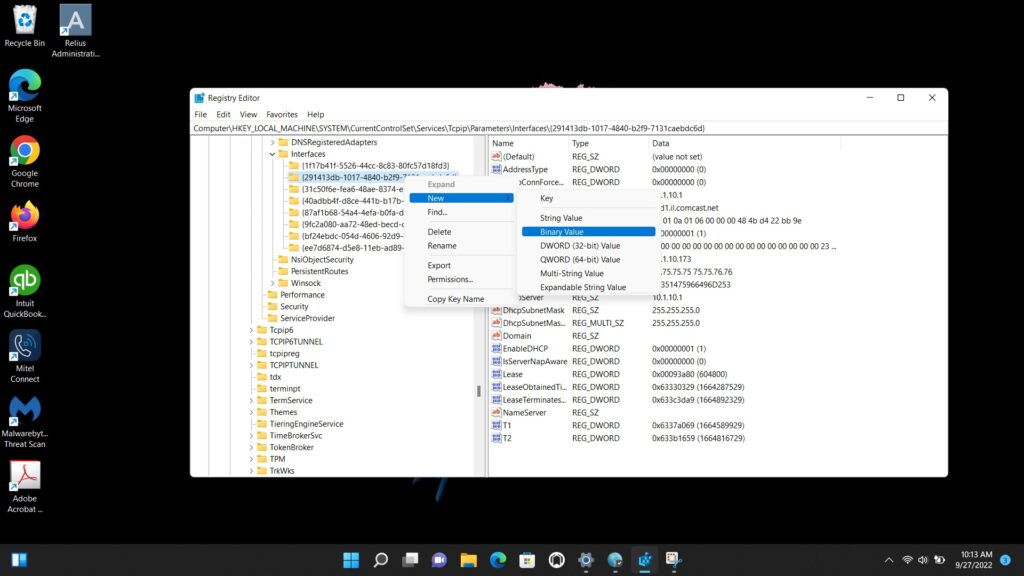
6. Add a new REG_BINARY by right clicking on new > Binary Value.
7. Type DhcpClientIdentifier with Data 77 65 62 75 69 for webui.
8. it shows like that.
Step 2: Connect to Switch using WebUI
Make sure that no devices are connected to the switch.
Connect one end of an ethernet cable to one of the downlink (non-management) ports on the active supervisor and the other end of the ethernet cable to the host (PC/MAC).
Set up your PC/MAC as a DHCP client, to obtain the IP address of the switch automatically. You should get an IP address within the 192.168.1.x/24 range.
Launch a web browser on the PC and enter the device IP address (https://192.168.1.1) in the address bar.
Enter the Day 0 username webui and password cisco.
Situation: A good email sent to you may go to Junk / Spam folder or go to quarantine. This article will show you how to add an email address to allow list in Microsoft 365.
Resolution 1: Add an email address or domain to allow list in Spam Policy
Resolution 2: Add an email address to allow list in Phish Policy
Resolution 3: Add sender’s server IP address to Connection filter policy
Resolution 4: Add recipients to the Safe Senders List
Resolution 1: Add an email address to allow list in Spam Policy
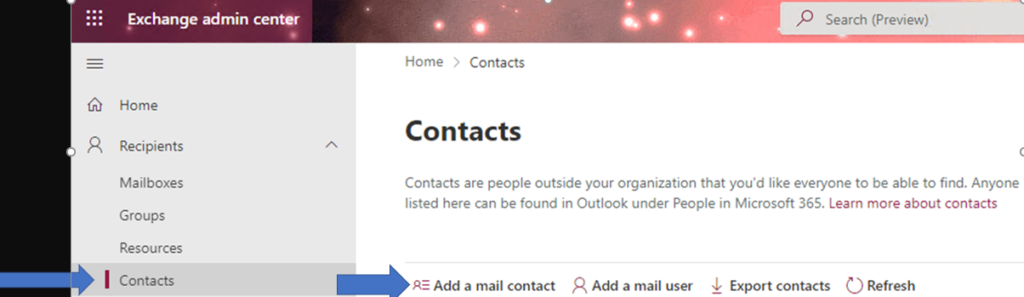
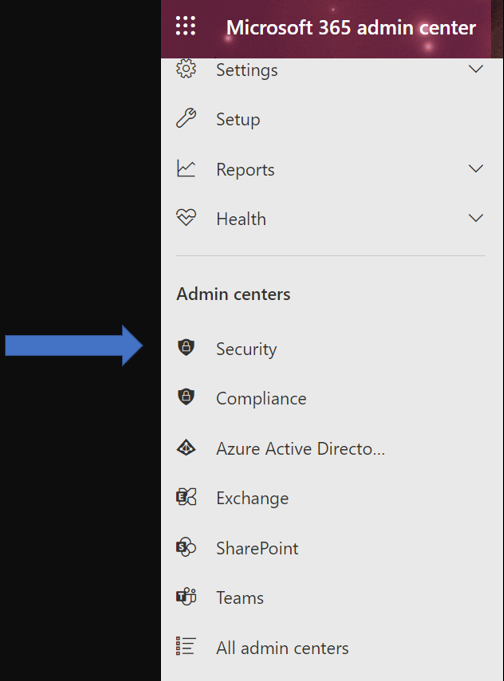
1. Login Office 365 admin and go to Microsoft 365 admin center
2. Click on Security
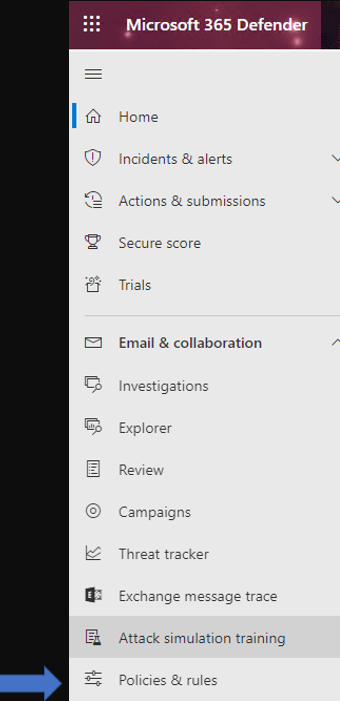
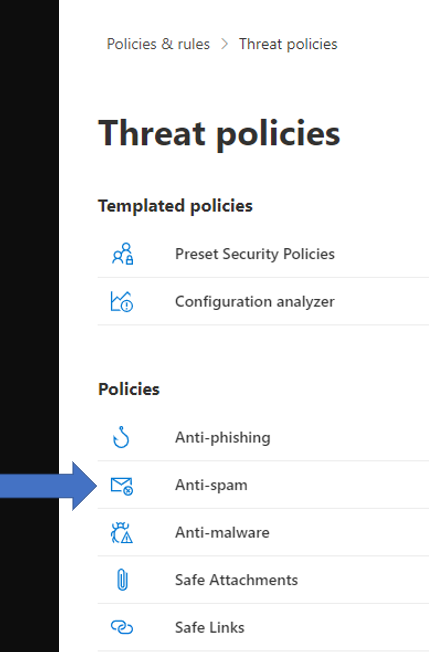
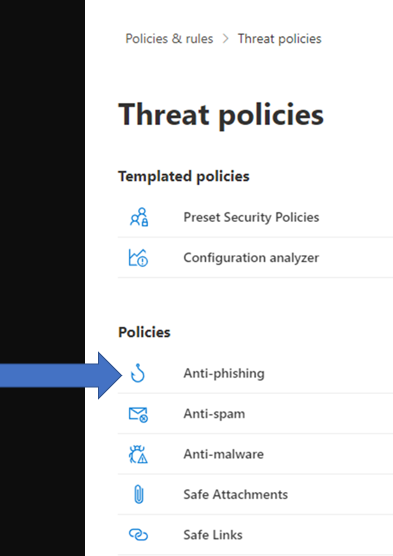
3. Click on Policies and rules
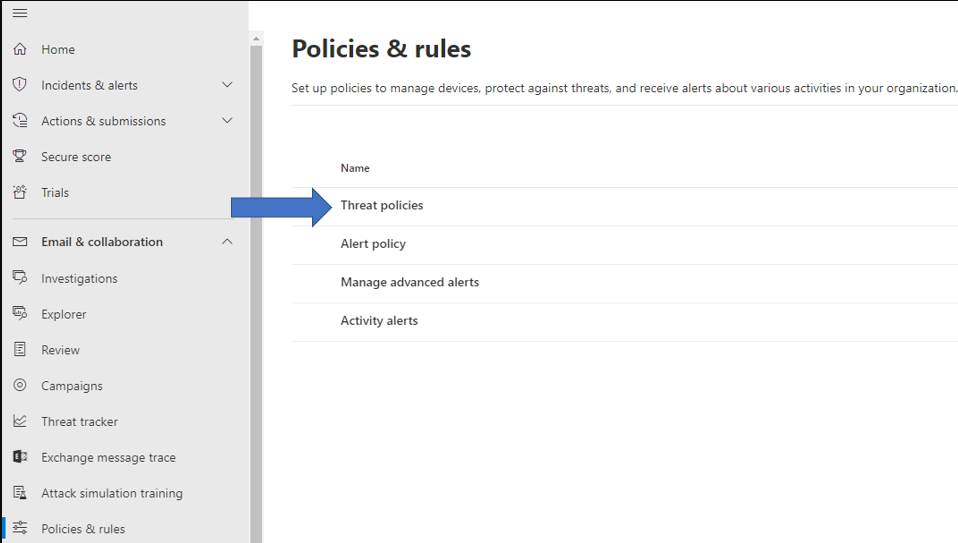
4. Click on Threat policies
5. Click on Anti-spam under Policies
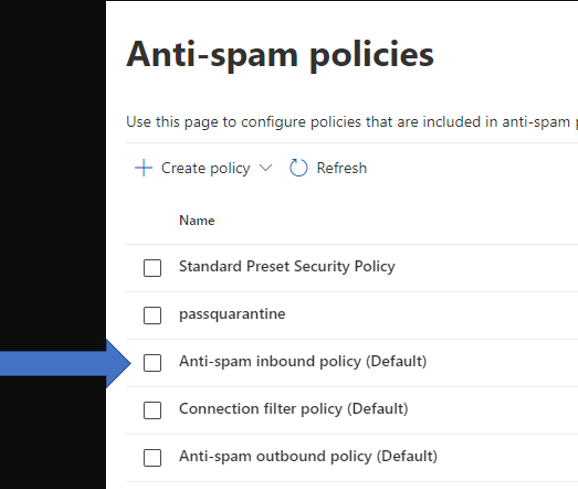
6. Double click on the Anti-spam policy you want to whitelist, Anti-spam inbound policies (Default) in our example.
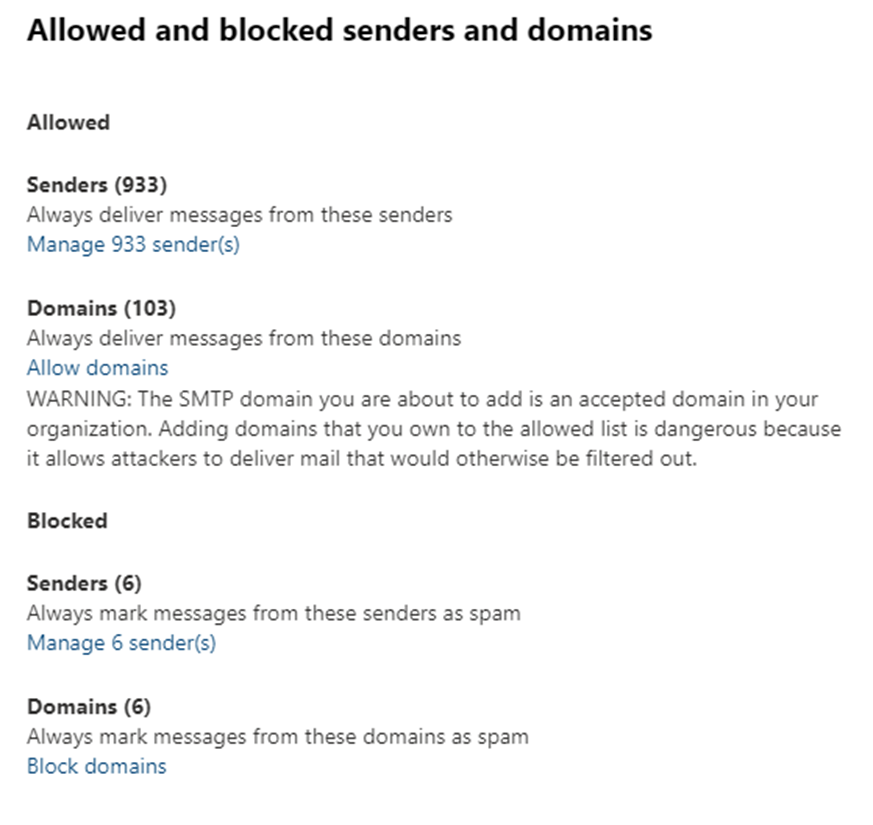
7. Find the Allowed and blocked senders and domains, Click on Edit allowed and blocked senders and domains.
8. Click on Manage senders or Allow domains under Allowed.
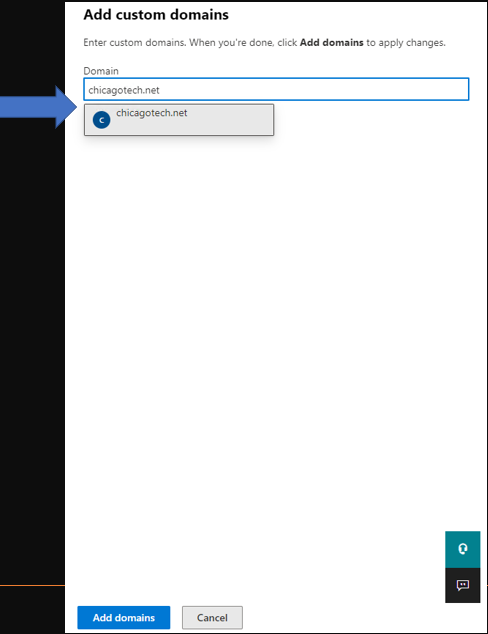
9. Click on Add senders to add senders’ email address.
Note: If it is the domain, enter the domain name only, for example
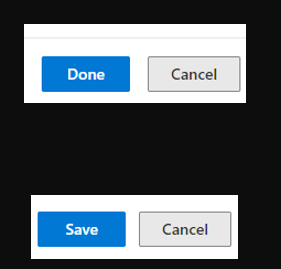
10. Click Done and then Save to save the settings.
Resolution 2: Add an email address to allow list in Phish Policy
1. Repeat above 1 to 4 steps.
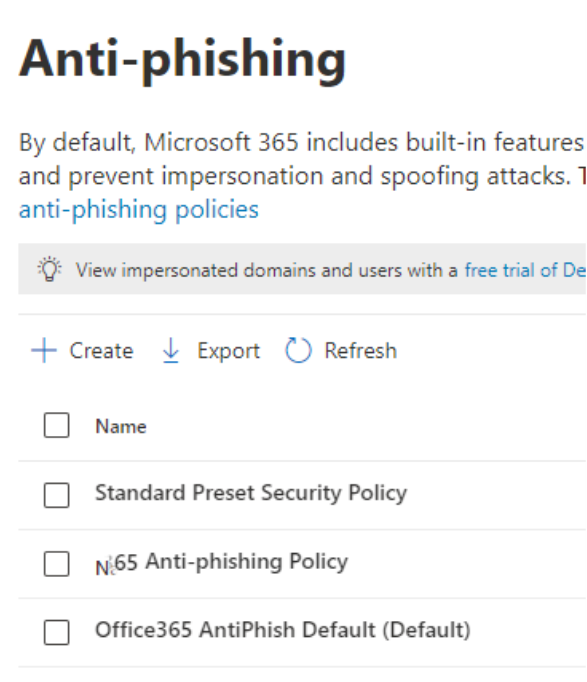
2. Click on Anti-phishing
3. Double click on the Anti-Phishing policy you want to edit.
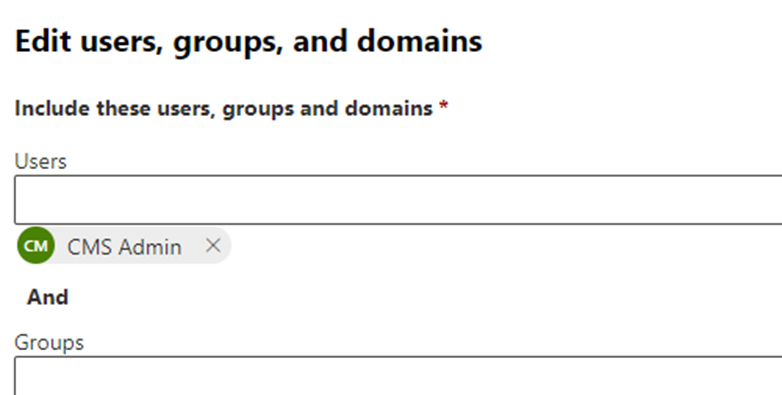
4. Click on Edit users, groups, and domains under the Anti-phishing policy.
5. Enter the user emails, groups or domains.
6. Click on Save and the close.
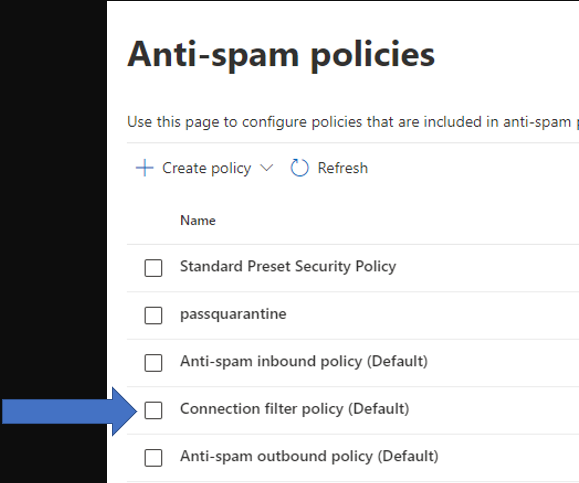
Resolution 3: Add sender’s server IP address to Connection filter policy
Note: this resolution need to know sender email server IP address. You may find this information from email header or sender DNS management tool.
1. Repeat 1 to 5 steps in resolution 1.
2. Double click on the Connection filter policy.
3. Add the IP address which is the sender’s server IP address.
4. Close to save the settings.
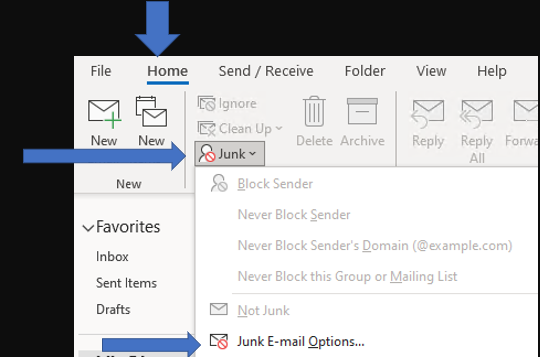
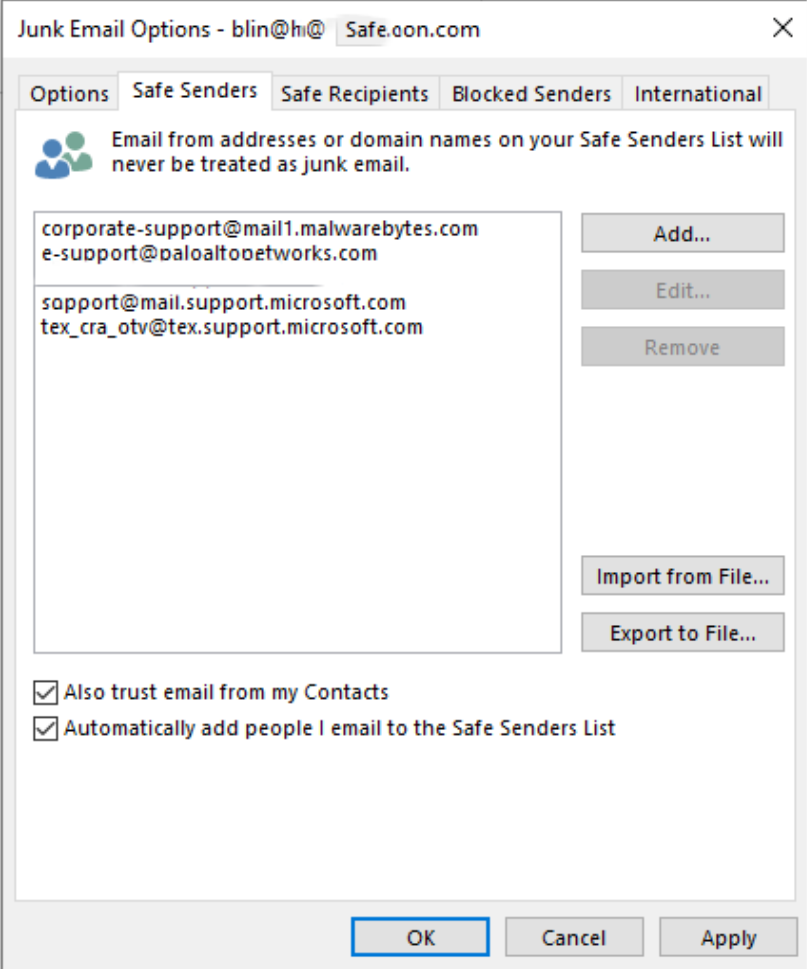
Resolution 4: Add recipients to the Safe Senders List
1. On the Home tab, click Junk, and then click Junk E-mail Options.
2. On the Safe Senders tab, check the Also trust email from Contacts and Automatically add people I e-mail to the Safe Senders List box.
CPU: x86 processor (x86-64 recommended).Memory: 4 GB RAM plus 2 GB RAM (32-bit OS) or 4 GB RAM (64-bit OS) for each concurrent job. Using more memory improves data processing performance for long chains of large backup files on backup repositories running 64-bit OS.Disk space: 200 MB for Veeam Backup & Replication components and sufficient disk space to store backup files and replicas (high-RPM drives and RAID10 configuration recommended).Network: 1 Gbps LAN for onsite backup and replication and 1 Mbps WAN for offsite backup and replication recommended. High latency and reasonably unstable WAN links are supported.
Based on our experience, for Windows server with 5 or more VMs, it is better to have at least 16GB RAM for the physical server self.
Some people also ask how to calculate virtual memory needed to compact backup. “
From this perspective I think If repository has 16GB RAM, virtual memory is increased during the compact job up to 48GB. If compact job is still not finished, OS is unable to increase the virtual memory and task is failed with the error “Unable to allocate memory for storage metadata bank”.
The obvious workaround for this problem – assigning more RAM or manual configure virtual memory limits. But the question I have – how large should be virtual memory to compact 20TB of data? I wound experiment with size because such job takes days. So if someone has experience or know how I can calculate virtual memory needed for such task, would be great.”
A1: I don’t have a specific formula, but I had the same errors when doing a compact with multiple jobs with 2-3 TB files each. I went from 16 GB to 32 GB and all of those went away. Now that I’m doing Copy Jobs as well, I just increased to 48 GB and it still got into the 90% used range. More is better.
A2: Such memory consumption doesn’t look expected, indeed. The process performing compact requires ~150 bytes per block, which even with the smallest block possible (256 KB) gives 12 GB of RAM for 20 TB backup file. What block size is used for this job? I also recommend opening a case with our technical support for a closer investigation.
This article shows you how to upgrade the Palo Alto HA firewalls without downtime. This video is based on active/passive (HA) configuration and update one HA peer at a time.
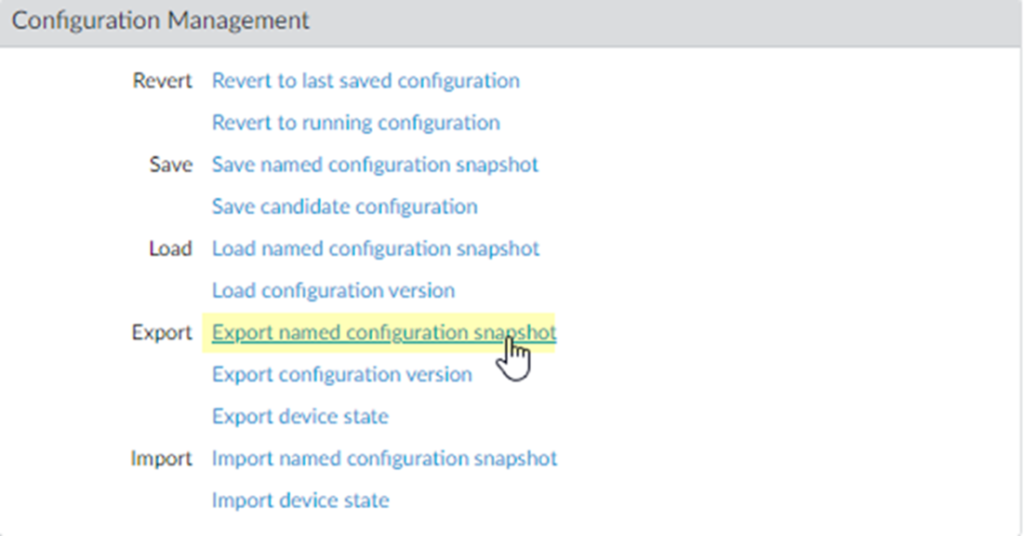
Step 1: Save a backup of the current configuration file
• Select Device>Setup>Operations and click Export named configuration snapshot.
• Select the XML file that contains your running configuration (for example, running-config.xml) and click OK to export the configuration file.
• Save the exported file to a location external to the firewall. You can use this backup to restore the configuration if you have problems with the upgrade.
Step 2: Download and install 10.1.6-h6 (sync with peer)
• Go to Device>Software. Click Download on Version 10.1.6-h6
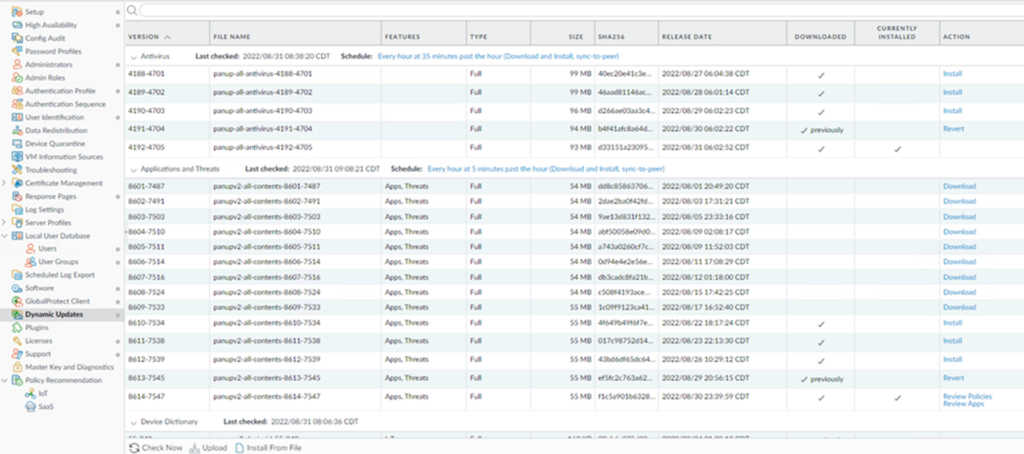
Step 3: Ensure that each firewall in the HA pair is running the latest content release version
• Select Device>Dynamic Updates and check which Applications or Applications and Threats to determine which update is Currently Installed. If you are not sure, click on Check Now.
Step 4: Upgrade Software version on an HA Firewall Pair
For active/active firewalls, it doesn’t matter which peer you upgrade first (though for simplicity, this procedure shows you how to upgrade the active-primary peer first). For active/passive firewalls, you must suspend (fail over) and upgrade the active (primary) peer first. After you upgrade the primary peer, you must unsuspend the primary peer to return it to a functional state (passive). Next, you must suspend the passive (secondary) peer to make the primary peer active again. After the primary peer is active and the secondary peer is suspended, you can continue the upgrade. To prevent failover during the upgrade of the HA peers, you must make sure preemption is disabled before proceeding with the upgrade. You only need to disable preemption on one peer in the pair.
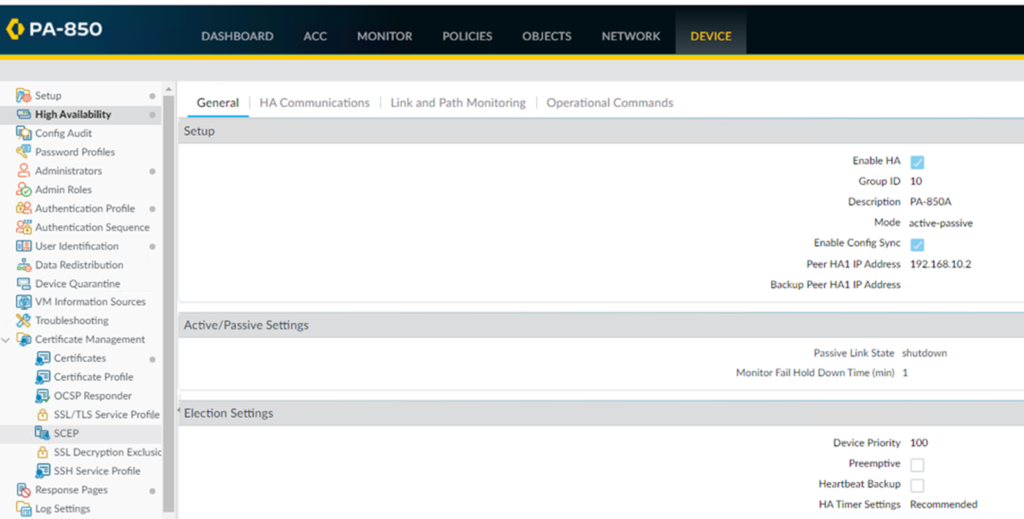
1. Disable preemption on the first peer in each pair. You only need to disable this setting on one firewall in the HA pair but ensure that the commit is successful before you proceed with the upgrade.
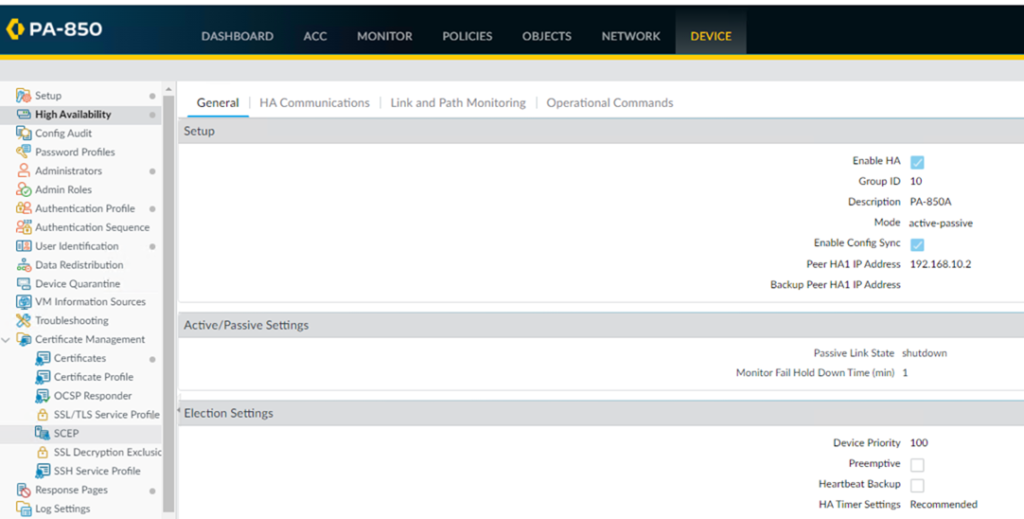
1) Select Device>High Availability and edit the Election Settings under General.
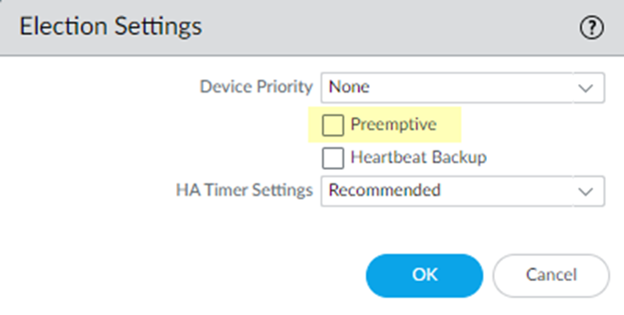
2) If enabled, disable (clear) the Preemptive setting and click OK.
3) Commit the change.
2. Suspend the primary HA peer to force a failover.
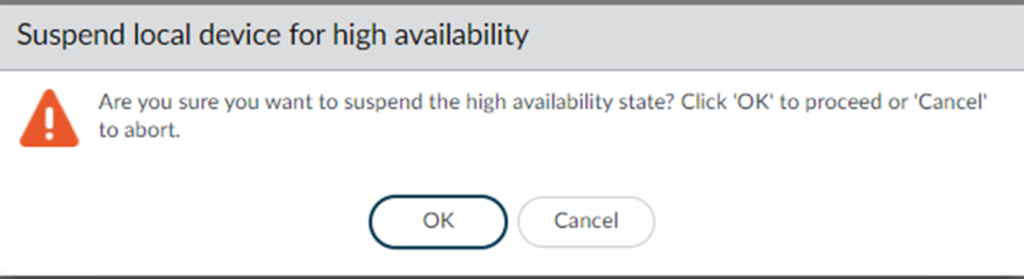
1) Select Device>High Availability>Operational Commands and Suspend local device for high availability.
2) Click OK on the popup.
3)In the bottom-right corner, verify that the state is Suspended.
4) The resulting failover should cause the secondary HA peer to transition to active state.
3. Install PAN-OS 10.1.6-h6 on the suspended HA peer.
1) On the primary HA peer, select Device>Software and click Check Now for the latest updates.
2) Locate and Download PAN-OS 10.1.6-h6 if you did do it before.
3) After you download the image (or, for a manual upgrade, after you upload the image), Install the image.
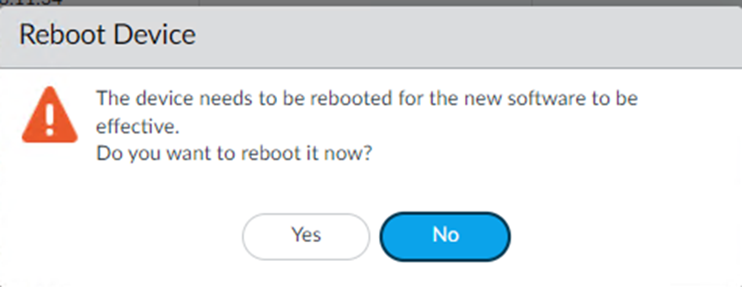
4) After the installation completes successfully, reboot using one of the following methods:
If you are prompted to reboot, click Yes.
If you are not prompted to reboot, select Device>Setup>Operations and Reboot Device.
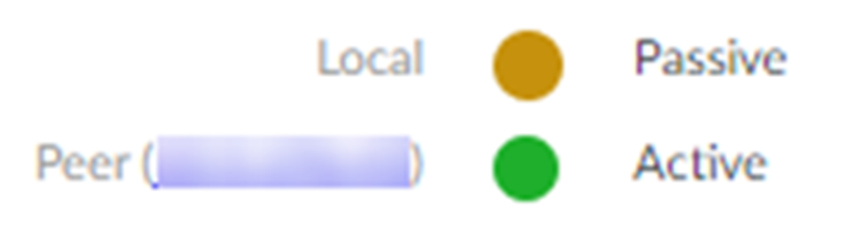
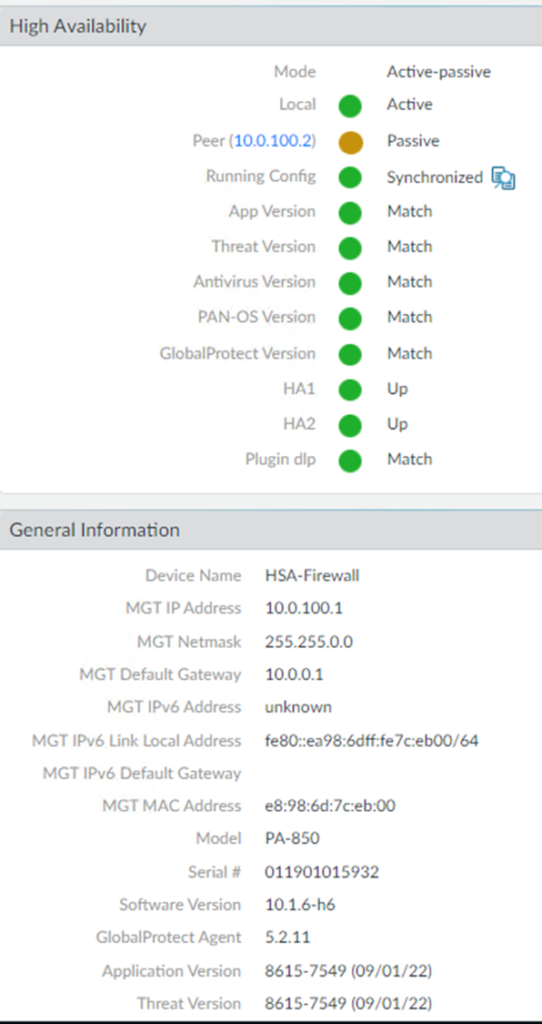
5) After the device finishes rebooting (it may take a while), view the High Availability widget on the Dashboard and verify that the device you just upgraded is in sync with the peer.
* The status shows Passive on the just restarting Unit and Peer is Active.
4. Restore HA functionality to the primary HA peer. 1)Select Device>High Availability>Operational Commands and Make local device functional for high availability.
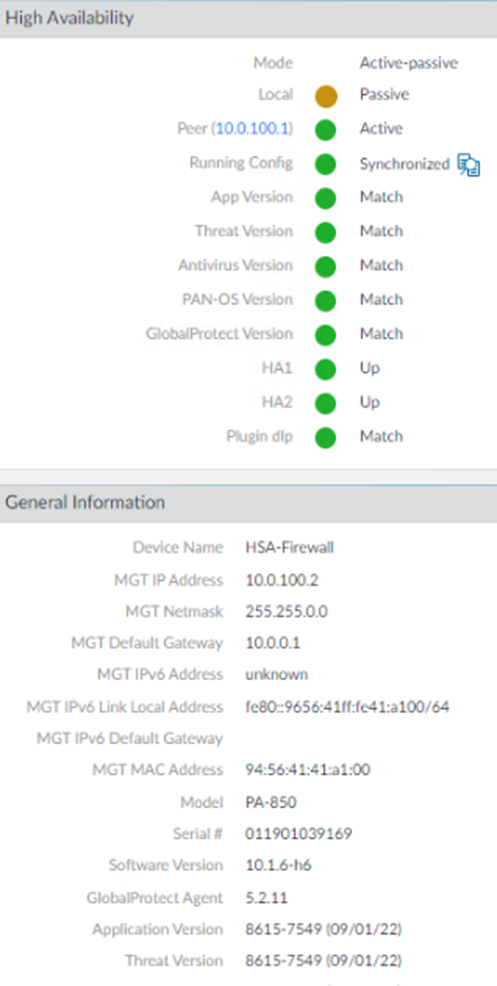
2) In the bottom-right corner, verify that the state is Passive.
3) Wait for the HA peer running configuration to synchronize. In the Dasbhoard, monitor the Running Config status in the High Availability widget.
5. On the secondary HA peer, suspend the HA peer.
1) Select Device>High Availability>Operational Commands and Suspend local device for high availability.
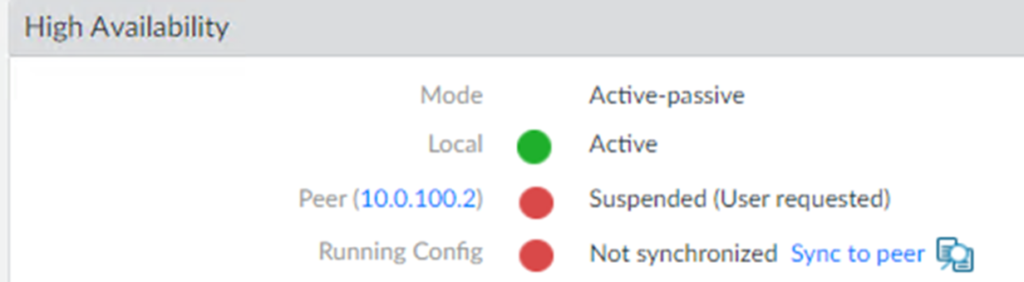
2) In the bottom-right corner on current unit, verify that the state is suspended.
3) The resulting failover should cause the primary HA peer (was upgraded successful unit) to transition to Active state.
6. Install PAN-OS 10.1.6-h6 on the secondary HA peer.
1) On the second peer, select Device>Software and click Check Now for the latest updates.
2) Locate and Download PAN-OS 10.1.6-h6 if it doesn’t sync from the first unit.
3) After you download the image, Install it.
4) After the installation completes successfully, reboot using one of the following methods:
• If you are prompted to reboot, click Yes.
• If you are not prompted to reboot, select Device>Setup>Operations and Reboot Device
7. Restore HA functionality to the secondary HA peer.
1) Select Device>High Availability>Operational Commands and Make local device functional for high availability.
2) In the bottom-right corner, verify that the state is Passive.
3) Wait for the HA peer running configuration to synchronize. In the Dasbhoard, monitor the Running Config status High Availability widget.
Active unit
Passive unit
8. Re-enable preemption on the HA peer where it was disabled in the previous step.
1) Select Device>High Availability and edit the Election Settings under General.
2) Enable (check) the Preemptive setting and click OK.
3) Commit the change.
9. Verify that both peers are passing traffic as expected.
• In an active/passive configuration, only the active peer should be passing traffic; both peers should be passing traffic in an active/active configuration.
• Run the following CLI commands to confirm that the upgrade succeeded:
1) (Active peers only) To verify that active peers are passing traffic, run the show session all command.
2) To verify session synchronization, run the show high-availability interface ha2 command and make sure that the Hardware Interface counters on the CPU table are increasing as follows:
3) In an active/passive configuration, only the active peer shows packets transmitted; the passive peer will show only packets received.
Situation: the client has two email addresses, Yahoo and Gmail. By accident, he has linked two together. Now, he would like to know how to unlink them.
Login Gmail account.
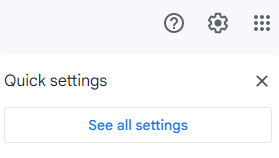
In the top right, click Settings See all settings.
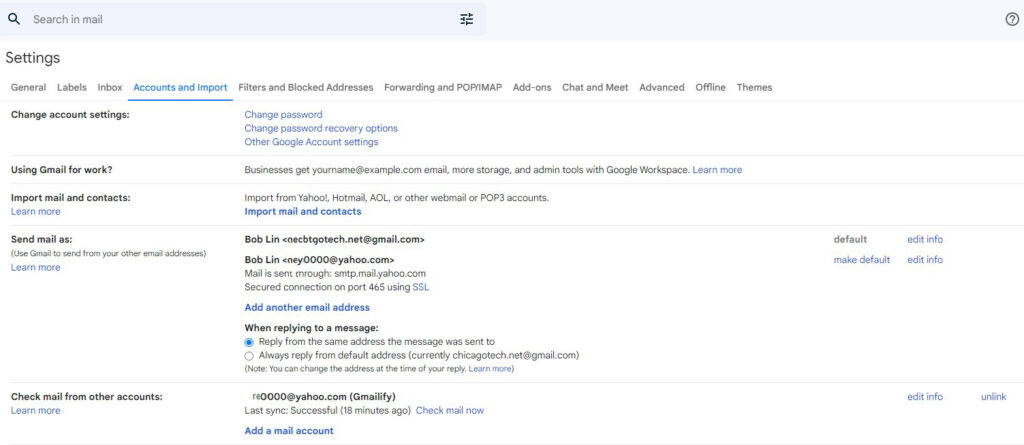
3. Click Accounts and Import.
4. In the “Check mail from other accounts” section, click unlink.
5. You have two options in Unlink account
If you delete copies from Gmail, they’ll still be in the inbox of your other service (for example, Yahoo or Hotmail).
If you keep copies in Gmail, they’ll stay in your Gmail account. However, if you move or delete them in Gmail, these actions won’t be reflected in your other account.