Restrict access to Azure administration portals to known IP addresses

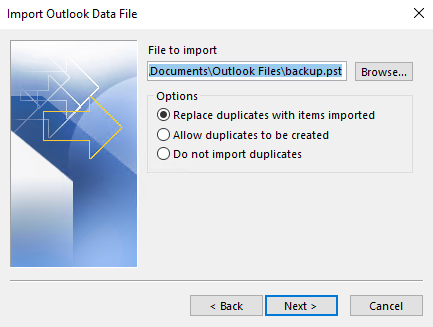
Situation: the client would like to restrict access to Azure administration portals to known IP addresses (their company public IP addresses) only.

Step 1: Created a Named Location. 

  1. Login Azure portal.
  2. Click on Active Directory.

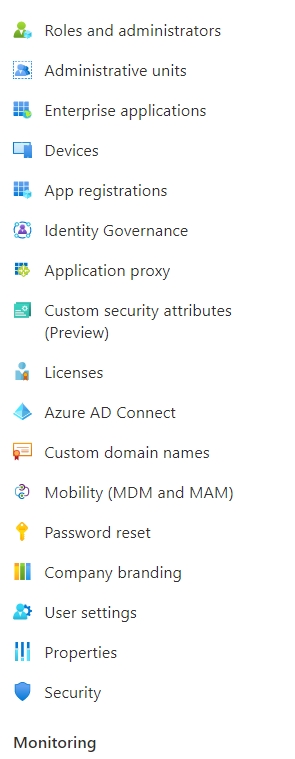
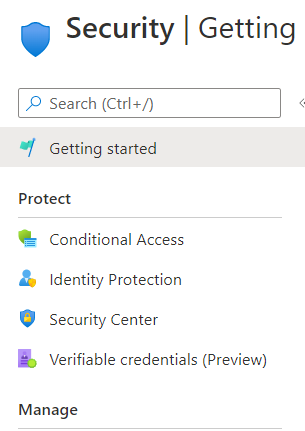
3. Click Security on the left pane.

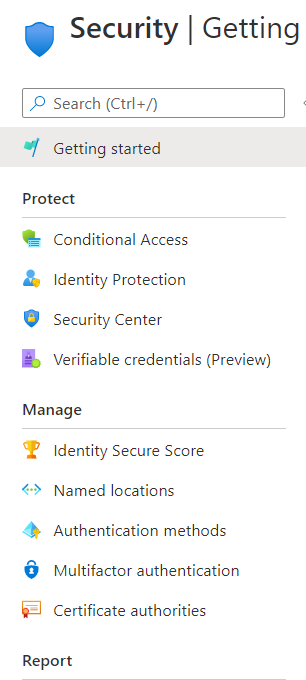
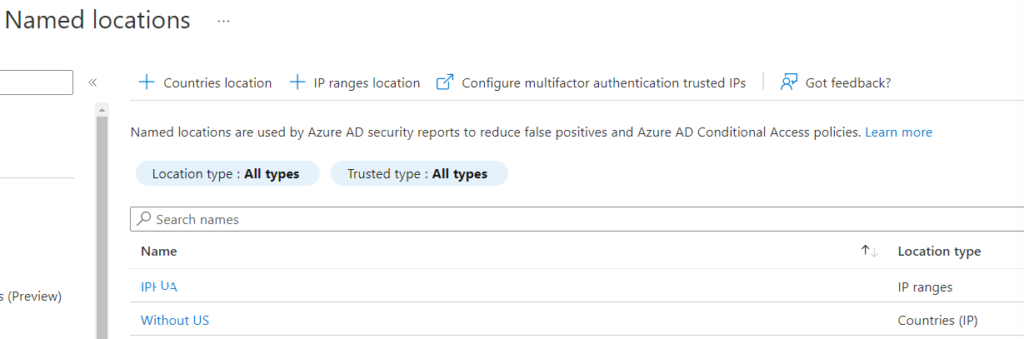
4. Click on Named location on the left.

5. Click on IP ranges Location.

6. Enter the Name and then click on +.

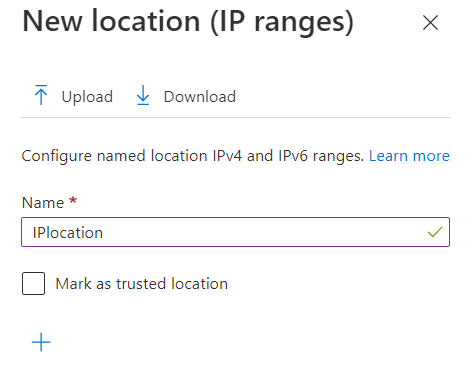
7. Enter the IP range you want to use and click Add.

8. You can add as many IP addresses as you want. Then click Create.

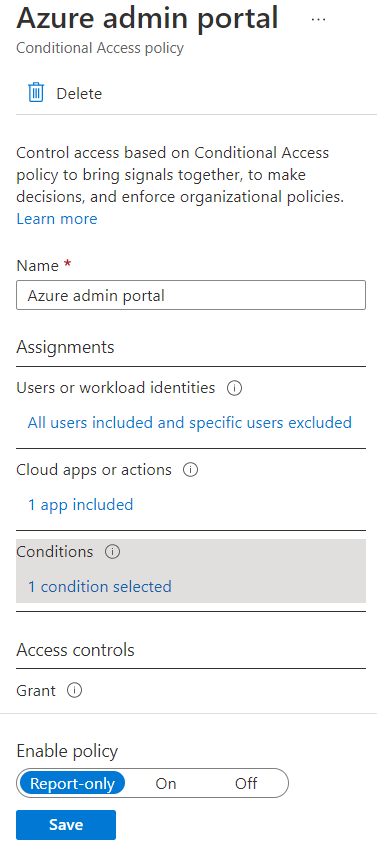
Step 2: Create a Conditional Access Policy

  1. Under Security, select Condition Access.

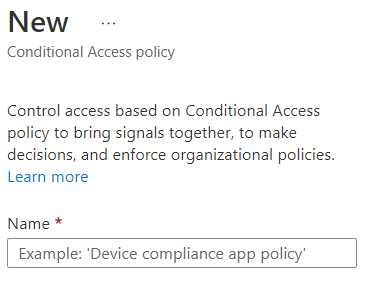
2. Click + New policy.

3. Enter the policy name.

Step 3: Modify Assignments

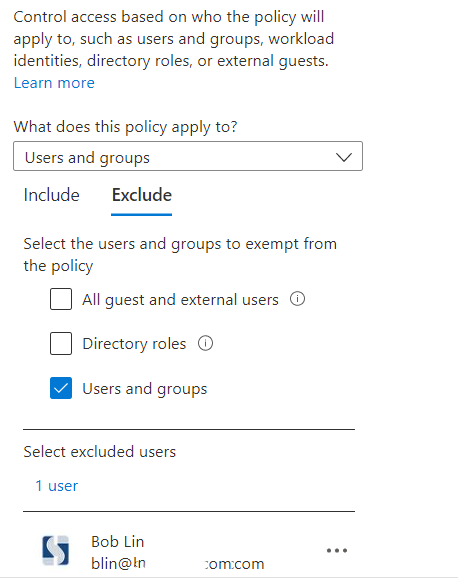
  1. Click on Users or workload identities.

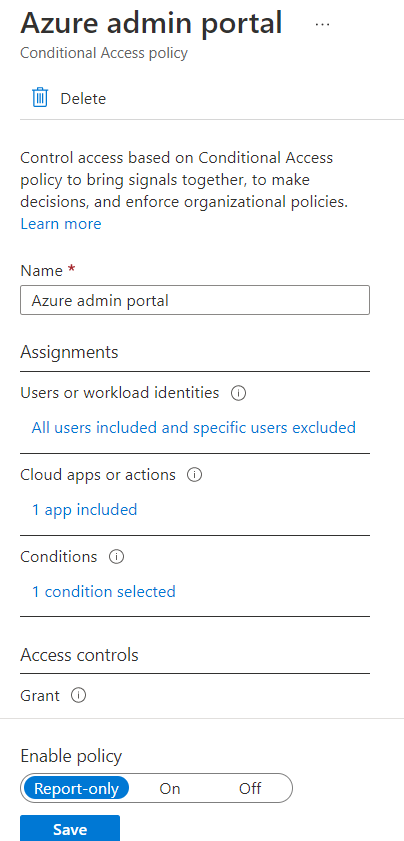
Under Include, check All users.

To exclude yourself from this policy, click on Exclude. Add users or groups who will be excluded from this policy.

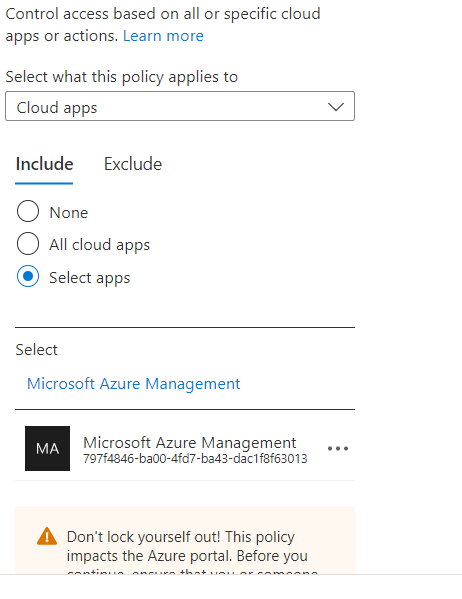
2. Click on Cloud Apps or Action

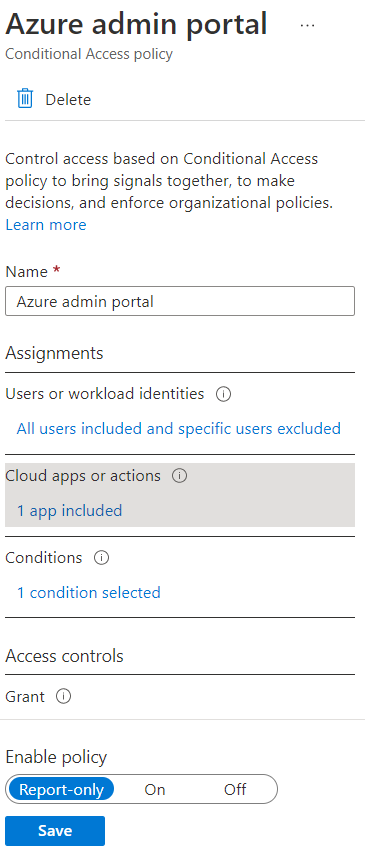
Under Cloud apps, Select apps. In our example, Microsoft Azure Management.

Click on Conditions.
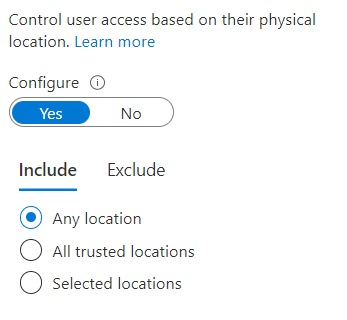
Click on Locations.

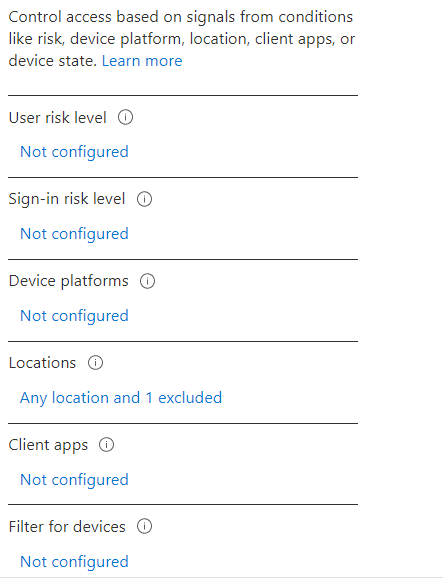
Under Include, check Any Location.

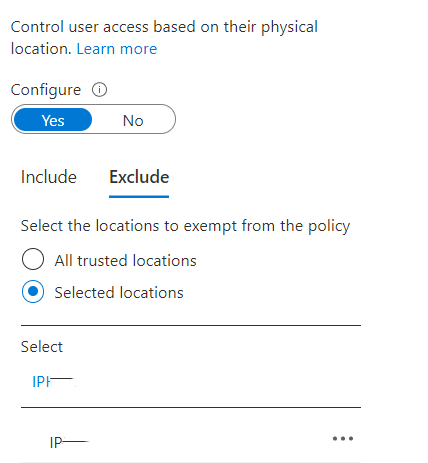
Click on Exclude, then select the IP Range you create on step 1.

Step 4: Save and test.

How to Generate a CSR code on Palo Alto Networks

  1. After Log into your Palo Alto Network Dashboard, navigate to Device >Certificate Management Certificates

2. click on Generate in the bottom of the page.

3. The Generate Certificate window will appear. Please, enter the following information:

Certificate Type: check Local

Certificate Name: give your SSL Certificate a friendly name

Common Name: enter the FQDN (fully-qualified domain name) you want to secure (e.g., vpn.pafirewall.com)

Note: For a wildcard SSL Certificate, add an asterisk (*) in front of the domain name. For example,*.pafirewall.com

Signed by: from the drop-down list, select External Authority (CSR)

Certificate Authority: Don’t check the radio button. Leave it blank

OCSP responder: leave the default setting

Algorithm: RSA

Number of bits: select 2048 bits

Digest: sha256

Expiration (days): leave this field blank

4. Click Add in the Certificate Attributes and enter the required details:

Country: enter the two-letter ISO code of your country. For example, US

State: write the full name of the state where your company is registered. For instance, Hawaii

Locality: type the full name of the city where your business is located. For example, Honolulu

Organization: specify the full legal name of your company. For instance, Your Company LLC

5. Click Generate. You will have Generate Certificate popup. Click OK to complete it.

6. Click Export at the bottom of the page. The Status changes to Pending. Note: you should import the new SSL ASAP. Otherwise, you may have a problem to login.

7. the CSR will be saved to the local folder, for example Download.

Note: The private key will remain on the Palo Alto Network system.

How to export and import Outlook .pst file

In several cases you might want to import Outlook items from an Outlook Data File (.pst).

  • You want to move Outlook items from one user email account to replacement email account
  • You want to move Outlook items from one computer to aa new computer
  • You want to move Outlook items between local folders and an IMAP or Exchange server.

Step 1: Export email, contacts, and calendar items from Outlook to a .pst file

  1. Click File.

2. Click on Open & Export.

3. Then Import/Export.

4. Select Export to a file.

5. Click Outlook Data File (.pst)Next.

6. Click Browse to select where to save the Outlook Data File (.pst). Enter a file name, and choose Next to continue.

7. Click Finish to complete the export.

Step 2: Import Outlook items from a .pst file in another outlook

Process the same procedure to import the .pst file. The only different is Select Import from another program or file

Import and Export Wizard

How to turn the display of formatting marks on or off on Office 365

For Word, Go to File > Options

 Click on Display. Under Always show these formatting marks on the screen, turn on or off each formatting mark.

For Outlook, with the message window open, click on the Format Text, in the Paragraph group, click the button that looks like a paragraph mark. (When you point your mouse at the button, the tooltip says Show/Hide ¶).

Alternatively, with a new email message open, go File Options Mail > Editor Options 

Click on Display. Check or uncheck the formatting marks you want to see on or off.

You can also use Keyboard shortcut     CTRL+SHIFT+*