How to use Kaseya to push an Application

  1. Access the Kaseya Console: Log in to the Kaseya Console using your administrator credentials. This is the web-based interface where you can manage your endpoints and perform various tasks.
  2. Create an Application Package: In Kaseya, you need to create an application package before you can push it to your endpoints. To do this, navigate to the Agent Procedure>Installer Wizards>Application Deploy.

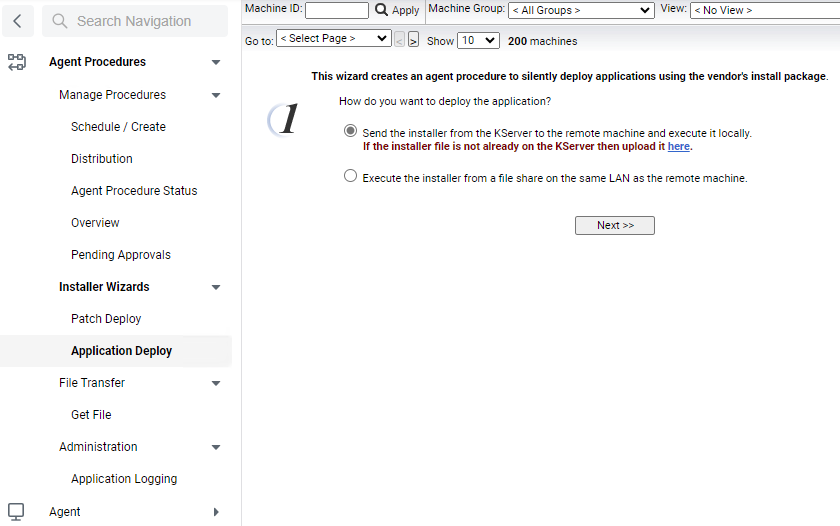
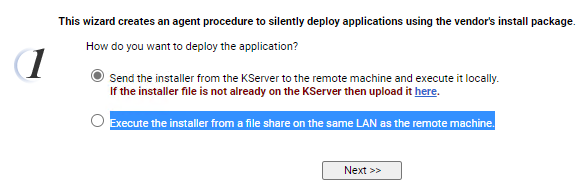
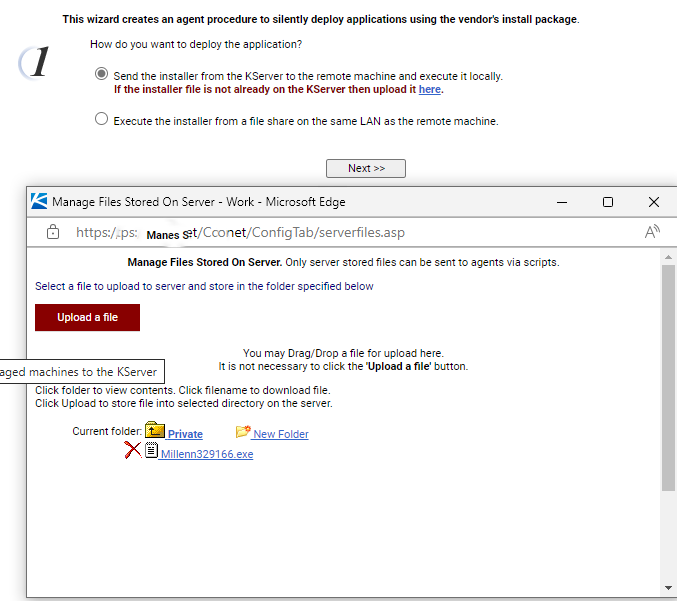
You have two options to deploy silently push, Send the installer from the KServer to the remote machine and execute it locally and Execute the installer from a file share on the same LAN as the remote machine.

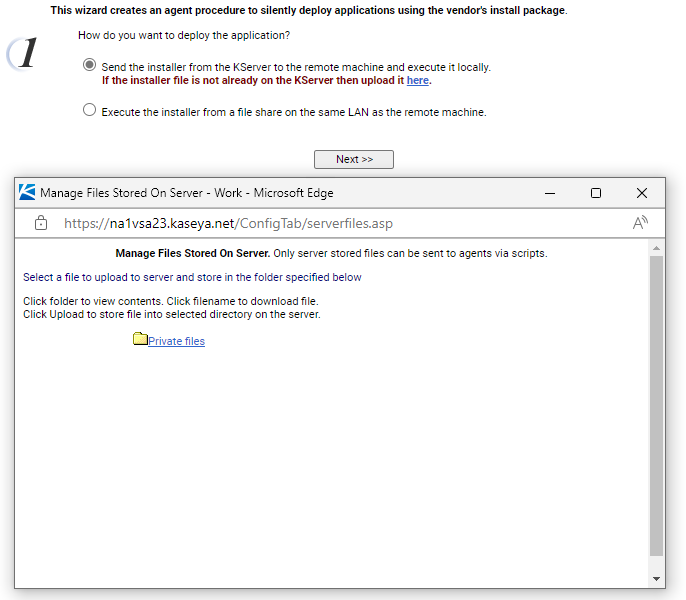
In our example, we Send the installer from the KServer to the remote machine and execute it locally by adding the installer file.

Click on Private files.

Click on Upload a file.

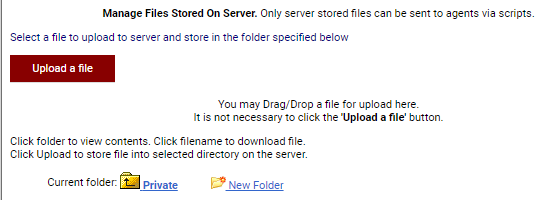
Close the Upload file page and click Next.

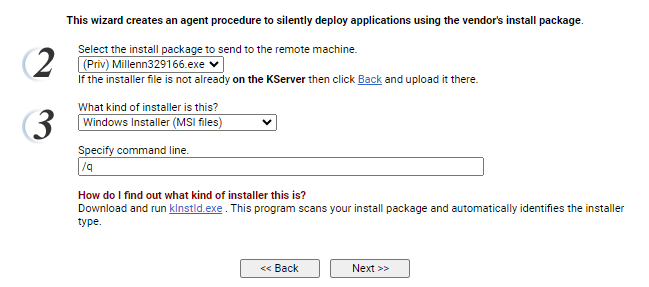
Select the install package to send to the remote machine and installer type.

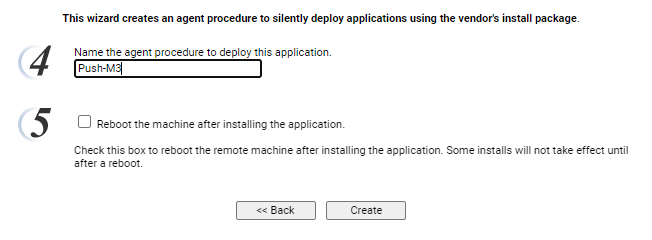
Name the agent procedure to deploy this application and the click on Create.

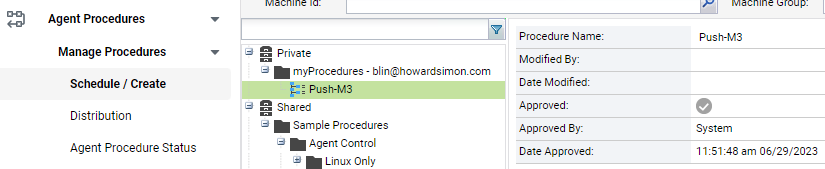
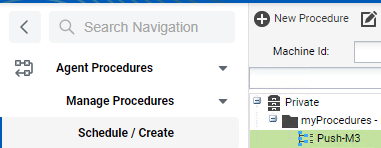
3. Customize Deployment Options: Configure additional deployment options, such as scheduling the deployment for a specific time, specifying the target endpoints or groups, and determining the deployment method (e.g., push installation or self-service portal). Navigate to Agent Procedures>Manage Procedures>Schedule / Create>Private>myProcesdure and click on the application package you just created.

Under Schedule, select the computers you want to install the application.

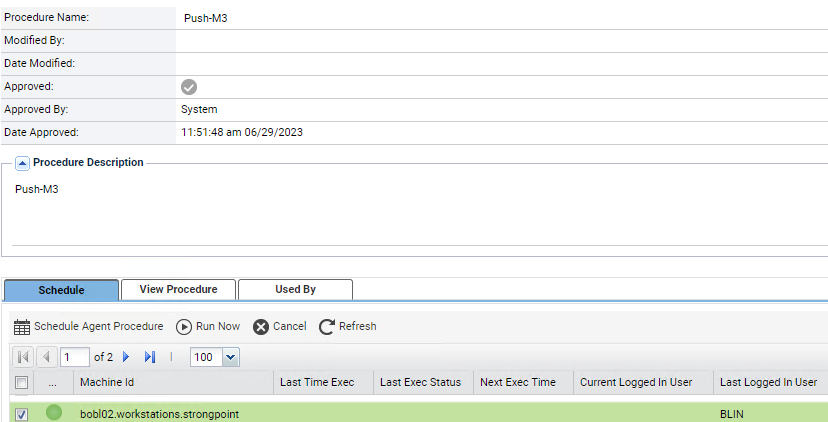
You have options to Schedule Agent Procedure or Run Now.

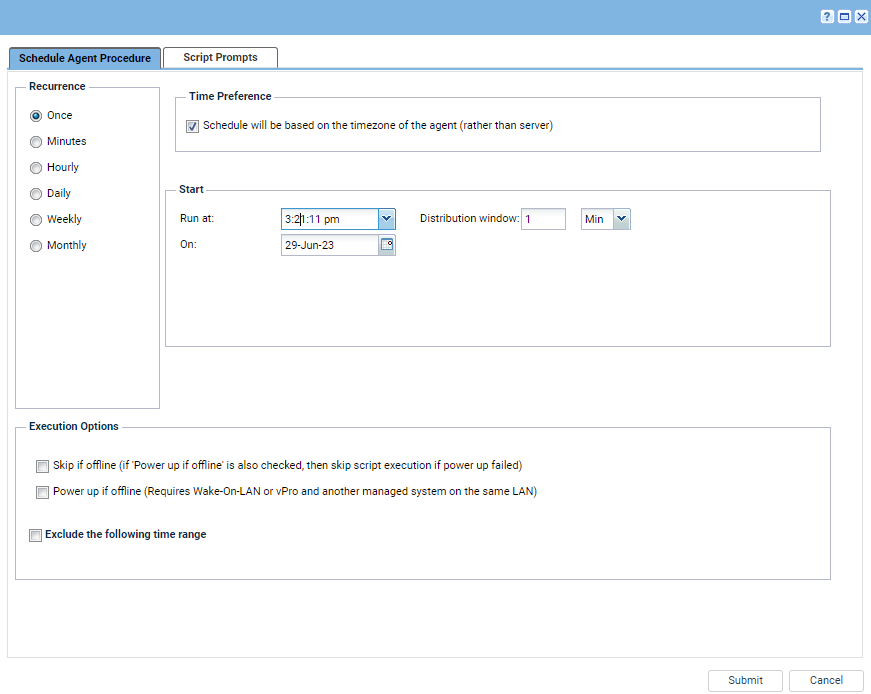
If you choose Schedule Agent Procedure, select running date and time. Then Submit.

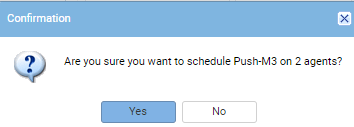
Click Yes to confirm it.

Review and Test: Review all the settings and configurations for the application package. It’s advisable to test the deployment on a small group of test endpoints before rolling it out to a larger number of devices.

Deploy the Application: Once you are satisfied with the configuration, initiate the deployment of the application package. Kaseya will push the application to the specified endpoints based on your defined settings.

Monitor and Troubleshoot: Monitor the deployment progress within Kaseya to ensure the application is being installed successfully on the target endpoints. If any issues arise, use the built-in troubleshooting features of Kaseya or consult the application’s documentation for guidance.

How to export Excel to SharePoint

You may be able to copy the Excel table to SharePoint. However, the best way to do is exporting excel to SharePoint. Here is how.

  1. With Excel spreadsheet open, select the data range and Format it as a Table

2. Click on Table Design and then click on Export

3.  Select Export Table to SharePoint list.

4. Enter the Address and Name.

5. Sign in Office 365.

6. It may take a few seconds.

7. Click Done when You’re all set!

8. If it successful, click OK.

9. Go to the address to check the Excel on SharePoint.

10. With imported excel, you can Filter and see what you want to see.

Can we add multiple phones in Azure MFA?

In old version, we could not have multiple phone # in MFA. Someone people we can do it now. However, I can’t make it work. Instead, I added the second phone as alternative phone #. Perhaps, we can also add it as office phone #.

What are different between Shared Mailboxes and Office 365 Groups?

Q: What are different between Shared Mailboxes and Office 365 Groups?

A: Quoted from online:

Groups in Office 365 have many of the features that Exchange Online shared mailboxes do.

  • Multiple users can access a Group mailbox, just as they would a shared mailbox.
  • A Group mailbox can be used as a single point of email contact for a team or group of users, just as a shared mailbox can be.
  • Users can send-as or send-on-behalf of a Group mailbox, just as they would a shared mailbox.
  • Emails sent to Groups and shared mailboxes are preserved for historical reference, unless deleted by a user.

Office 365 Groups have additional features that shared mailboxes do not.

  • Users (members) can subscribe to receive a copy in their own mailbox of the emails sent to the Group mailbox, which makes Groups work in a similar manner to distribution lists.
  • Groups include additional collaboration apps and resources such as a SharePoint team site, OneNote notebook, Planner, and Teams.
  • Groups have a guest access model for external collaboration that shared mailboxes do not.
  • Groups have connectors for integrating other applications.

However, shared mailboxes have some capabilities that may make them more suitable to teams than Groups.

  • Shared mailboxes can have sub-folders in the mailbox, whereas Group mailboxes can’t.
  • Shared mailboxes have more granular permissions available than Groups do.

There is some demand for Group mailboxes to have sub-folders, as shown in the comments on this Uservoice suggestion. It’s quite common for teams that use a shared mailbox as an inbound communication channel to user sub-folder to sort or file away items that have been actioned. Although I prefer to recommend a proper ticketing/job management system instead, I understand that simpler scenarios don’t warrant setting up a whole separate system and that a shared mailbox with some sub-folders is quite sufficient.

The sub-folders capability is also a problem for anyone considering migrating public folders to Groups. If the public folders have a complex folder hierarchy that needs to be preserved, then you will basically lose that hierarchy due to the lack of sub-folders in Groups.

As it stands right now, the decision to go with Groups or shared mailboxes is a case of “it depends”. Work out which limitations are a showstopper for you, and which capabilities you need the most, and then make your decision based on that. Given the interest that Microsoft has in Groups adoption, perhaps we’ll see the sub-folders capabilities show up in the future.

How to Disable or Enable Windows Home Password Expiration

With Windows Home edition, you don’t have Local Users and Groups feature to manage a user account. Here are some options to disable or enable password expiration on windows Home.

Method 1: Set a password to never expire using PowerShell

Update-MgUser -UserId -PasswordPolicies DisablePasswordExpiration -PassThru

For example

Update-MGuser -UserId blin@chicagotech.net -PasswordPolicies DisablePasswordExpiration -PassThru

Method 2: Using Elevated Command Prompt

wmic UserAccount where Name=’User Name’ set PasswordExpires=False

Note: Replace the words ‘User Name’ with the user name of your account. Everything else is as written.

How to Test and Reinstall Barracuda Backup Agent

  1. Log in to Barracuda Backup and Click on Backup.
  2. Go to System > Software Downloads page.

3. Once the Agent is installed, go to the Backup > Sources page.

4. To the right of the source unable to connect, click Edit Agent Source.

5. In the Agent Software section, click Test Software Connectivity.

How to use Append Mode in DUO Authentication

Situation: If DUO push or other authentication method don’t work because your users have a old phone, you may have an option to use Append Mode. Here is how.

Append Mode

Applications and devices that don’t support the inline Duo Prompt or a secondary passcode field can use append mode. You’ll enter both your password and an authentication method into the password field.

How to Use Append Mode

Enter your password and the authentication method you want to use, separated with a comma. It will look something like this:password,authentication_method

In place of authentication_method:

Type…To…
password,passcodeLog in using a passcode, either generated with Duo Mobile, sent via SMS, generated by your hardware token, or provided by an administrator.
Examples: mypass123,123456 or mypass123,1456789
password,pushPush a login request to your phone (if you have Duo Mobile installed and activated on your iOS or Android device). Just review the request and tap “Approve” to log in.
password,phoneAuthenticate via phone callback.
password,smsGet a new batch of SMS passcodes.
Your login attempt will fail — log in again with one of your new passcodes.

The SMS usage is tricky. The VPN client asks you for a username and password.

You then enter your AD username as the username.
For the password however you enter your AD password followed by the word “sms” such as below.

Pa55w0rd,sms

This will trigger an sms to be sent to the user containing a passcode and this authentication will fail.
The user must then authenticate again this time appending the SMS 7 digit passocde they received after their password as below:

Pa55w0rd,1234567

Where 1234567 is the passcode they received by SMS. This authentication should work and they should then connect.

It is normal when using append mode for the first authentication using “password,sms” to fail.
This is because the word ‘sms’ is not a valid authentication code.
You will then need to re-authenticate using the code you receive by sms.
eg. “password,123456”

Call back is simple and straightforward.

Note: please make sure SMS and Call are enabled in your global policy.

How to add Shared with you to your OneDrive

If someone shares her/his OneDrive folder with you, you can add it into your OneDrive folder or My File.

  1. Login OneDrive with your credentials.
  2. Navigate to Share>Shared with you.
  3. Click on the shared folder, Operation in out example.

4. On the top, select Add shortcut to My files.

5. Now, you should see the shared folder, Operation in your OneDrive.