If your PC, specifically old PC which just upgraded from Windows 7 to 10, is running slowly, the following suggestions might help speed things up.
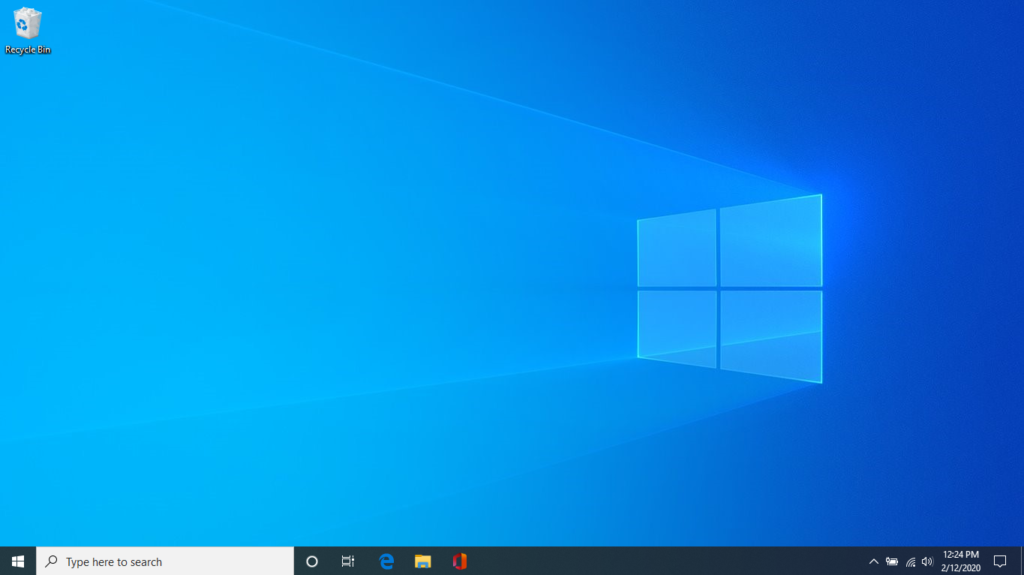
- Keep the Desktop and Taskbar simple and clean, for example, like this screenshot.
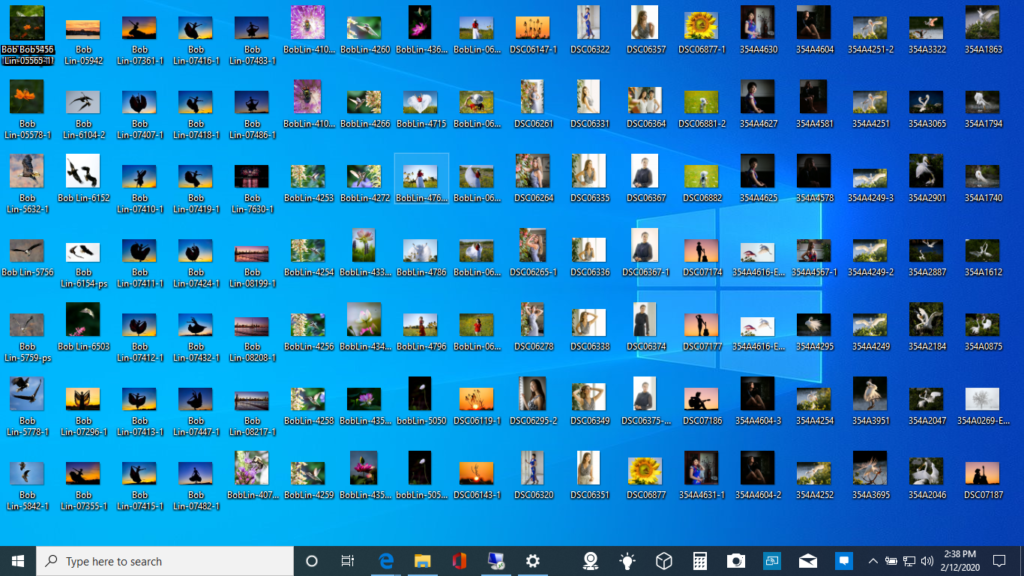
Don’t put too many Icons on Desktop and Taskbar like this one.
2. Adjust the visual effects in Windows, especially don’t large size image or screen saver. Quoted from Microsoft:
Windows 10 includes many visual effects, such as animations and shadow effects. These look great, but they can also use additional system resources and can slow down your PC. This is especially true if you have a PC with a smaller amount of memory (RAM).
To adjust the visual effects in Windows
- In the search box on the taskbar, type performance, then select Adjust the appearance and performance of Windows in the list of results.
- On the Visual Effects tab, select Adjust for best performance > Apply.
- Restart your PC and see if that speeds up your PC.
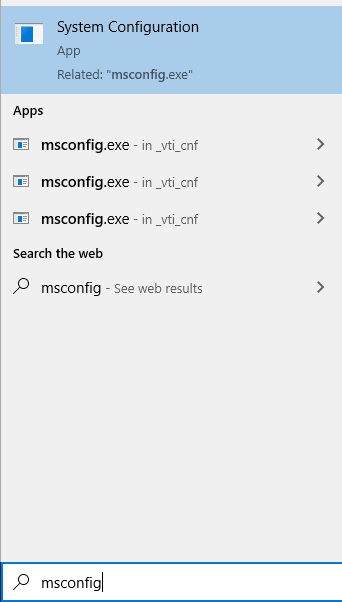
3. Restart your computer with only the apps and services you need. Disable unwanted services and apps using MSCONFIG. MSCONFIG is Microsoft System Configuration Utility to improve and troubleshoot Microsoft OS startup process by disabling unused services and apps. To run it, type MSCONFIG in Start or search. Click System Configuration.
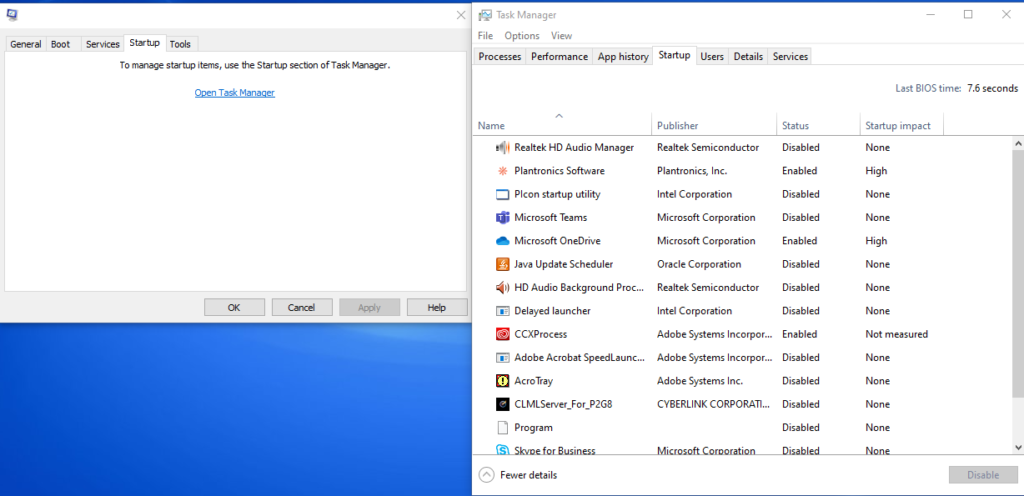
To disable apps when startup, click Startup>Open Task Manager.
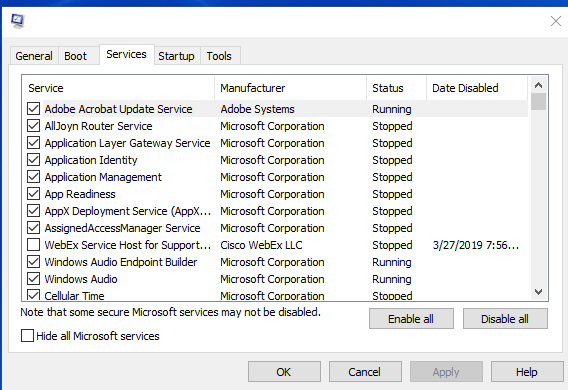
To disable unwanted services, click Services.
You can also find the programs that start automatically by selecting Show hidden ^ icons.
4. Pause cloud stoarge apps sync such as Onedrive, Dropbox, Google drive. These apps allow you to save and backup you data, and get to your access these files from any device that can connect to the internet. However, they can slow down your PC when they sync the updated files. You can pause these apps’ syncing temporarily and see if it helps improve your PC performance.
5. Make sure you have the latest OS and software updates. When Windows 10 installs a new update, it also search for the latest device drivers for software and hardware, which can also help improve your PC’s performance. A good example is install latest network card driver.
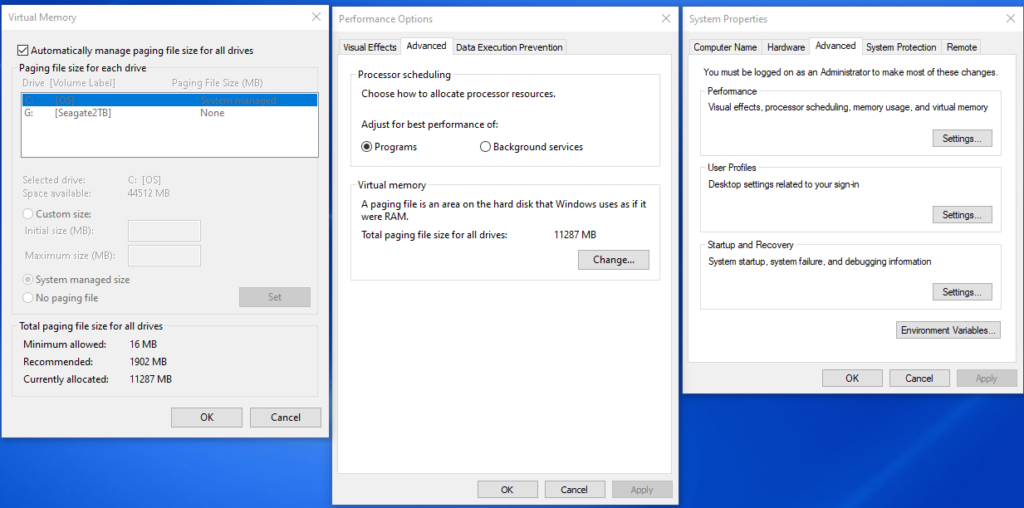
6. Make sure automatic page file management is turned on. The paging file is a virtual memory on the PC hard disk. by design, Windows 10 manages the page file size automatically, which can help improve your PC’s performance. To check it,
- In the search box on the taskbar, type advanced system, and then select View advanced system settings.
- In System Properties, select the Advanced tab, then select Settings in the Performance area.
- In Performance Options, select the Advanced tab, then select Change in the Virtual memory area.
- Make sure the Automatically manage paging file size for all drives check box is selected. If it is, continue to the next tip. If it’s not, select it and then restart your PC by selecting the Start button > Power > Restart.
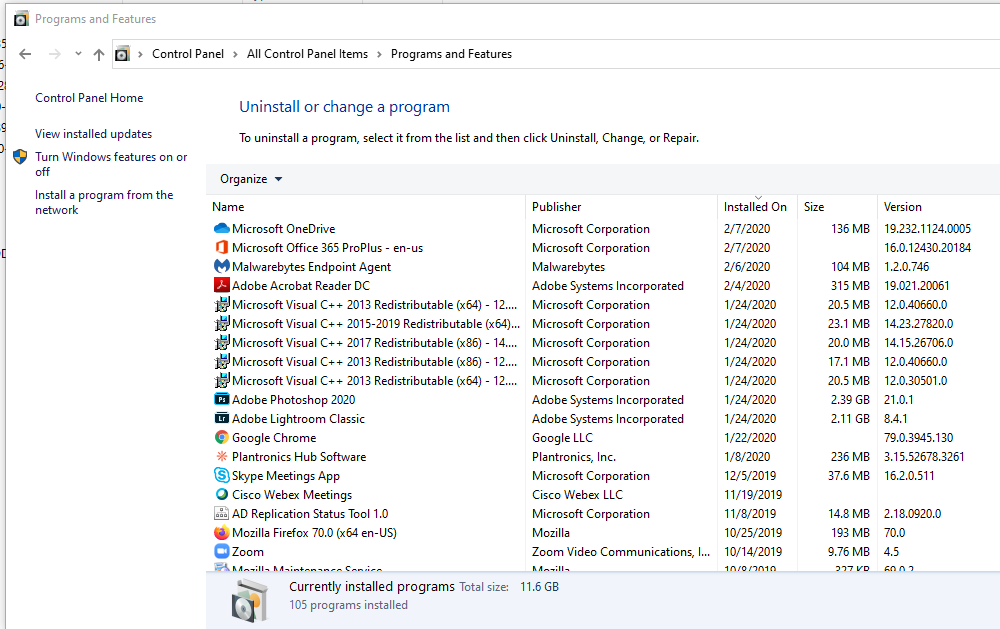
7. Prevent low disk spaces. Since the page file on a local disk, and some apps may use local disk temporary folders, freeing spaces may improve performance. Here are some options you can free spaces.
- Check Desktop, Download, Documents and Pictures. delete some old unused files.

- Clean temp files from C:\Users\username\AppData\Local\Temp
- Uninstall unused software under Control Panel\All Control Panel Items.
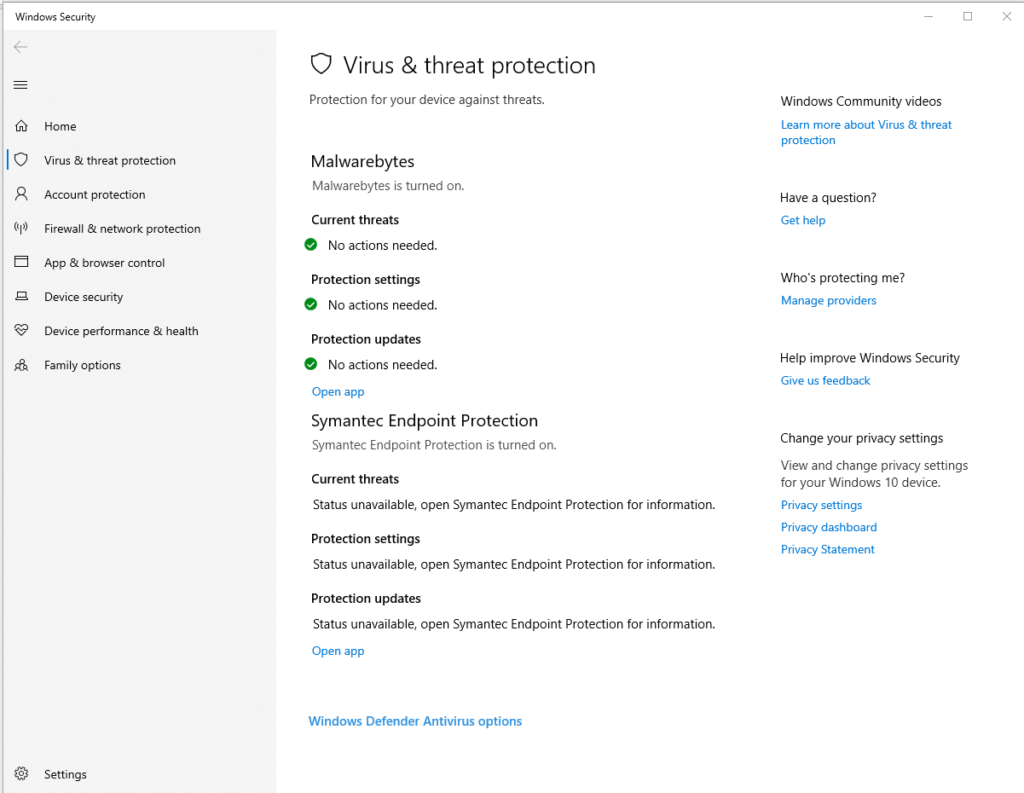
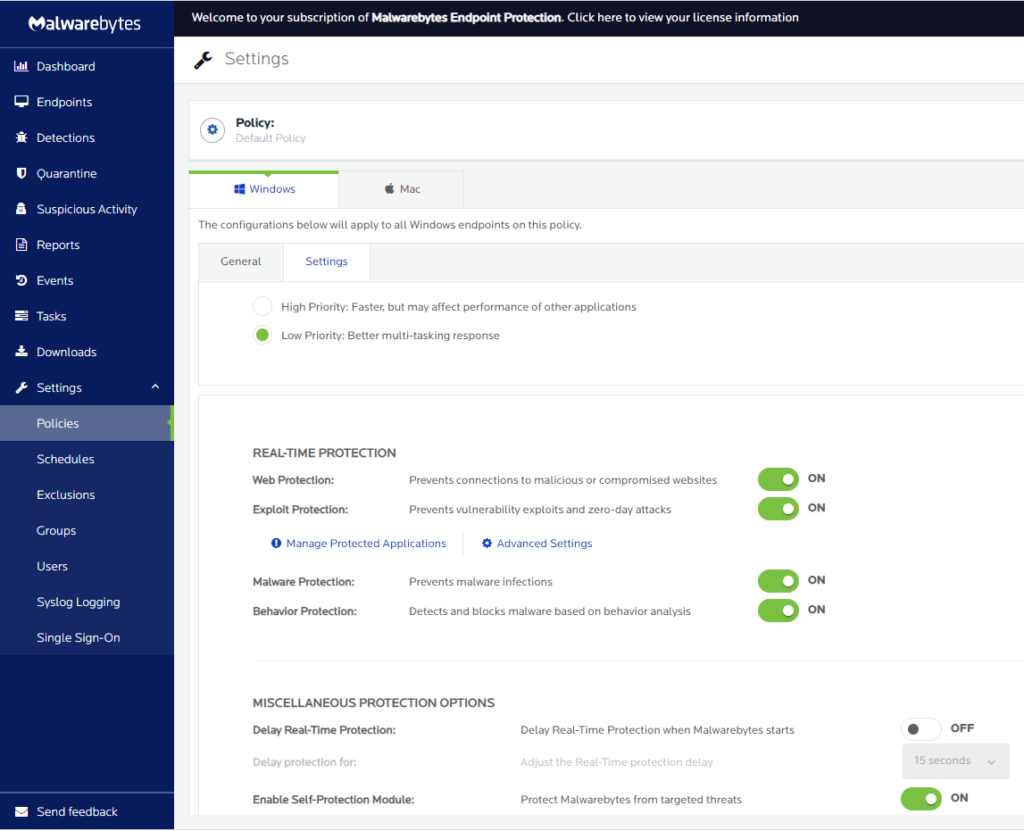
8. Scan and clean viruses, spyware and malware. A virus, spyware, malware, or malicious software could cause your PC to run slowly. A good example is unexpected pop-up messages, programs that unexpectedly start automatically, sound from your PC background, or the sound of your hard disk constantly working.
It is recommended to prevent viruses, spyware and malware by running anti-malware and anti-virus software regularly, for example every midnight. Also make sure you have those security software up to date.
You can scan viruses or other malicious software and manage Windows security settings by using Windows Security which is included in Windows 10.