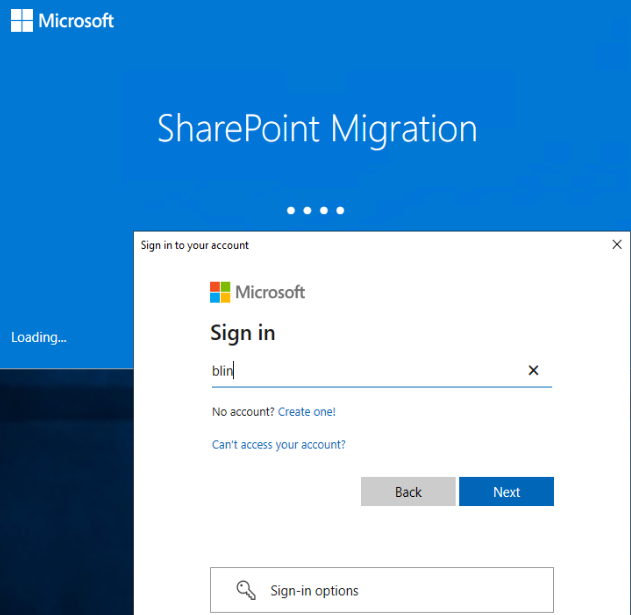
- Login Office 365.
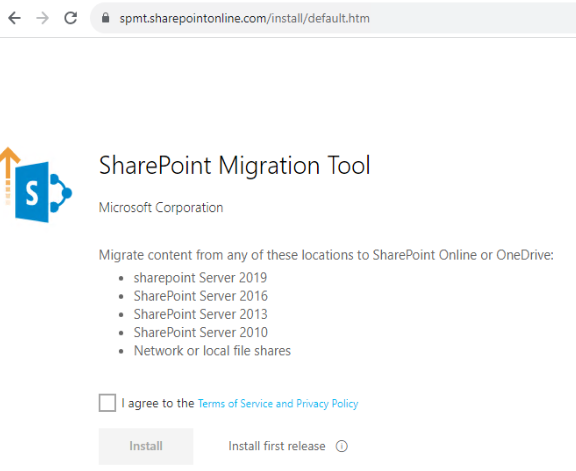
3. Click on Install.
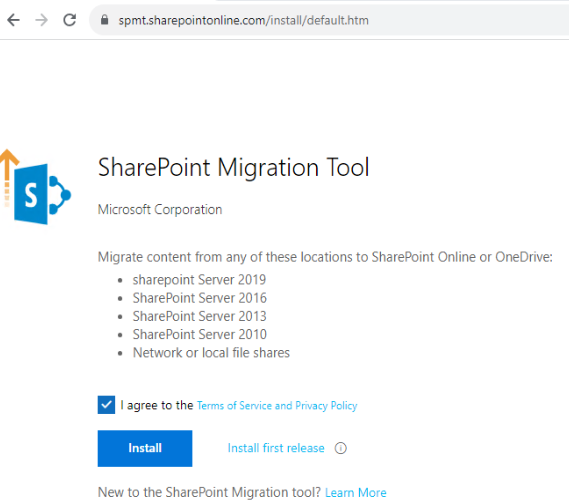
4. Click on SharePoint.exe you just downlaoded.
5. Login your office 365 global Administrator account.
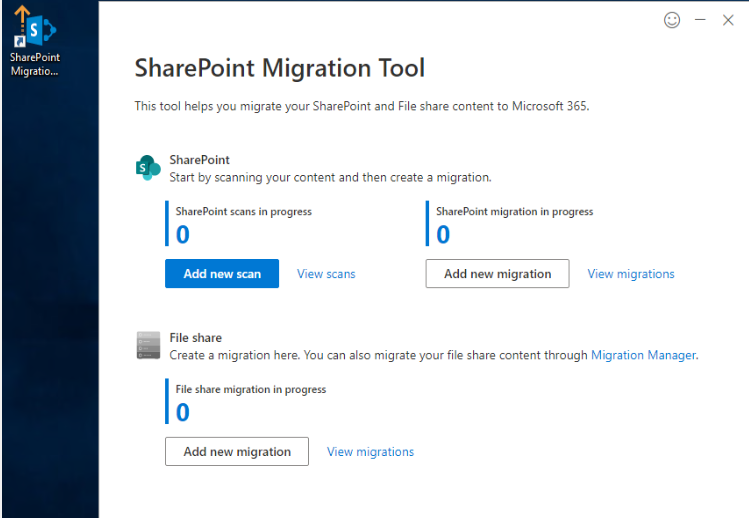
6. Now, you should have SharePoint Migration Tool ready.
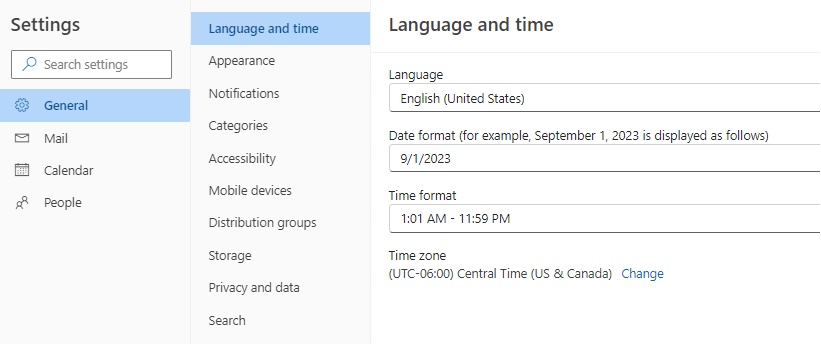
To change the online Outlook time, please follow these steps:

2. Click on View all Outlook settings.
3. Select General > Language and time.
4. Select the language, date format, time format, and time zone you want to use.
5. Select Save.
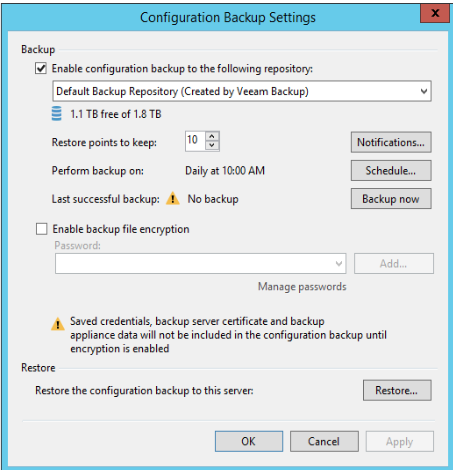
3. In Configuration Backup Settings, click Restore under Restore.
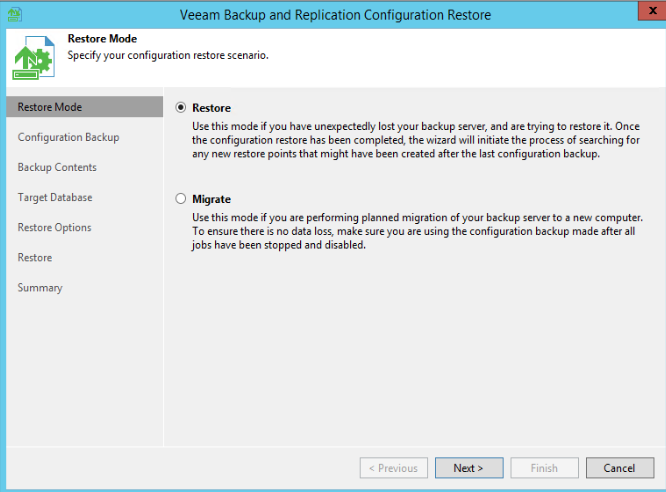
4. In Restore mode, you have two options: Restore and Migrate. Check Restore in our example.
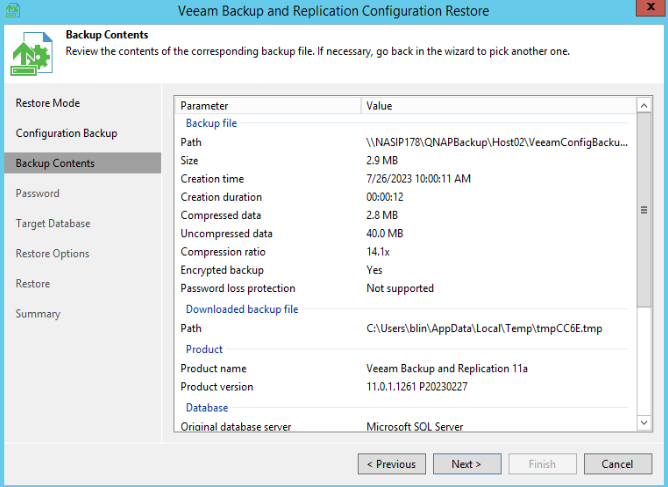
5. In Configuration Backup, browse to the configuration file .bco.
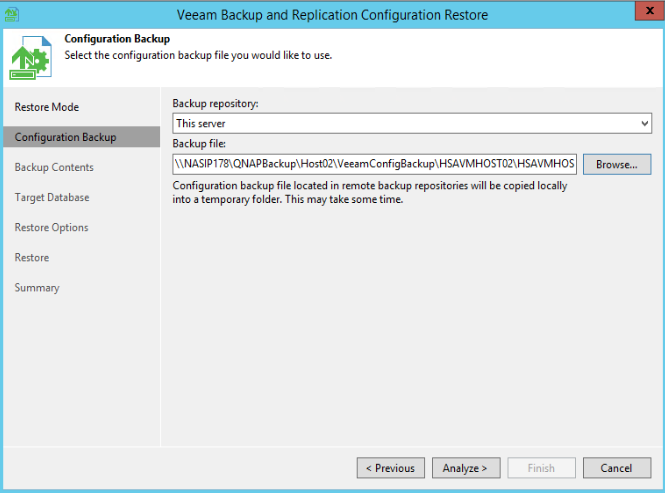
6. Click Analyze to check Backup Contents, and then Next.
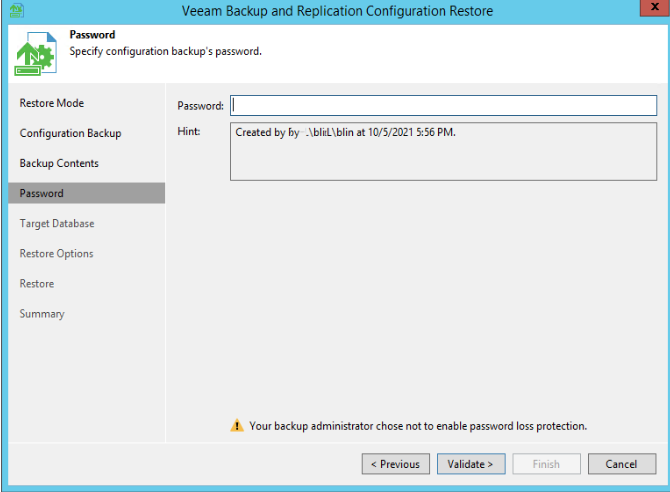
7. Enter your password and click on Validate.
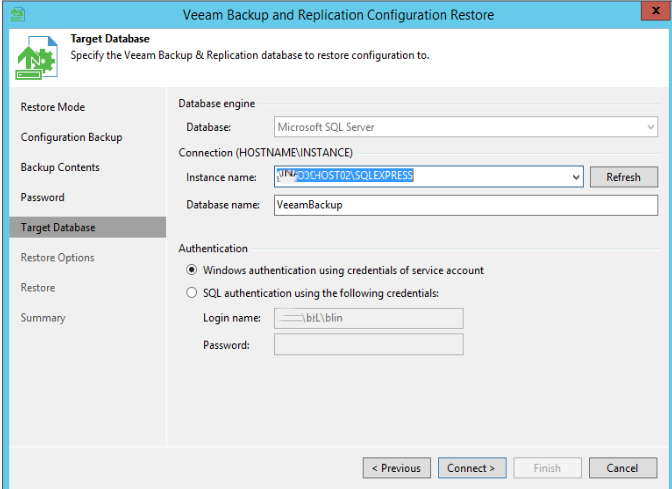
8. In Target Database, keep the default settings, and click on Connect.
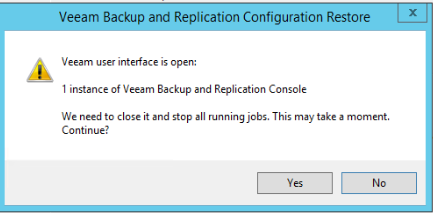
9. Click Yes in the popup.

10. In Restore Options, check all options and click on Restore.

11. Click Yes in the popup.
12. When finishing, click Next.
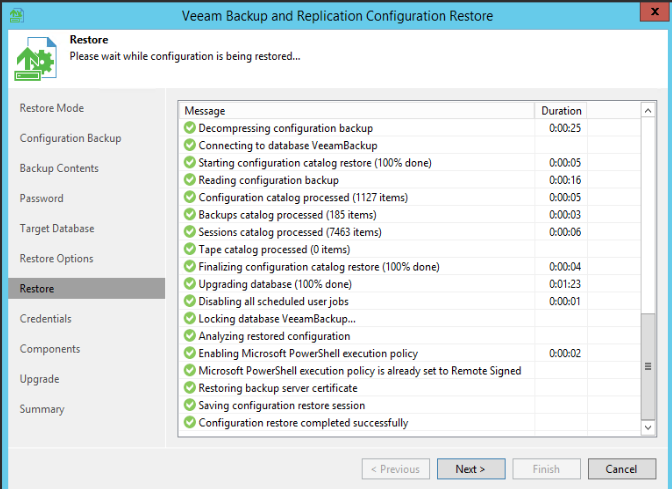
13. Click Collect in Credentials.

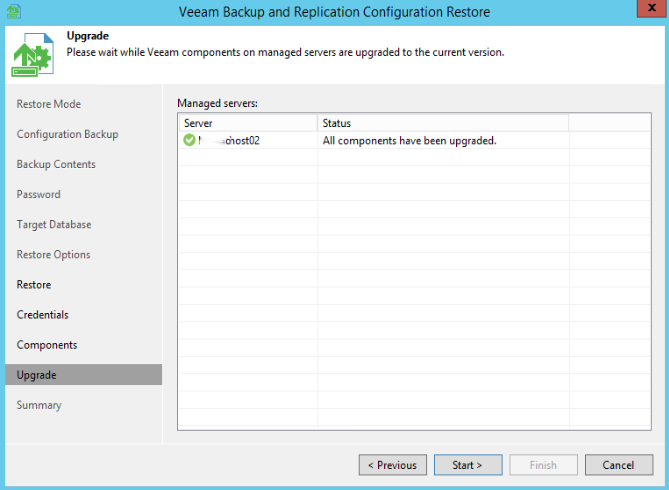
14. Click on Upgrade and then Start.
15. If Configuration restore is completed successfully, click Finish.
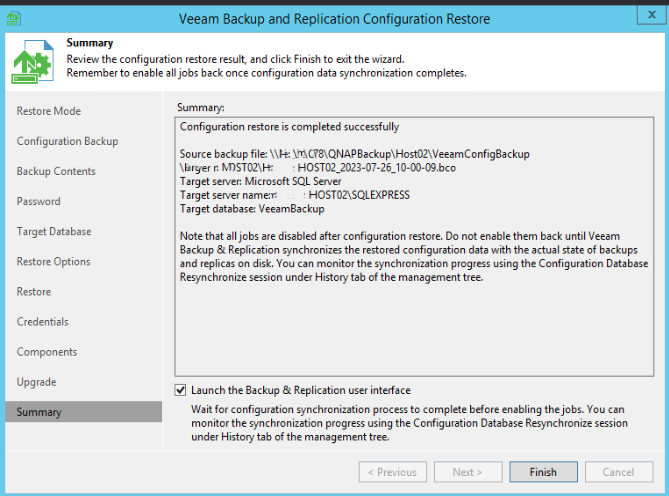
16. Now, login Veeam Backup Console to check the backup jobs or start a backup job.
Yes, you can do it running Powershell command:
Get-Service Veeam* | Stop-Service
Get-Service Veeam* | Start-Service

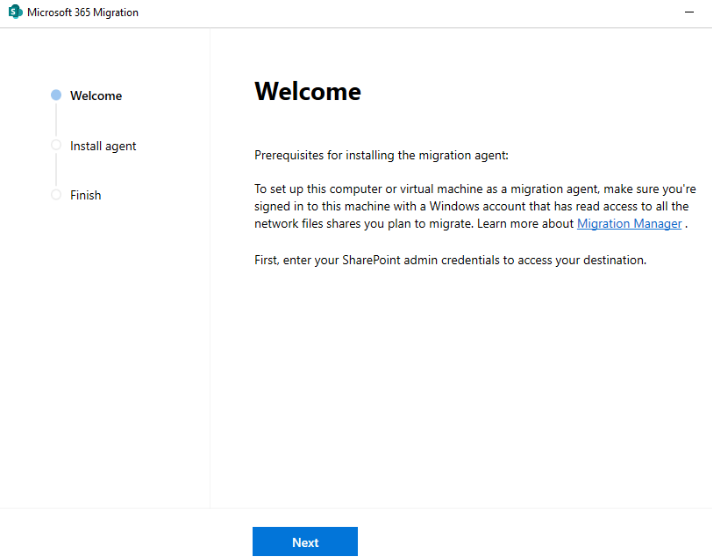
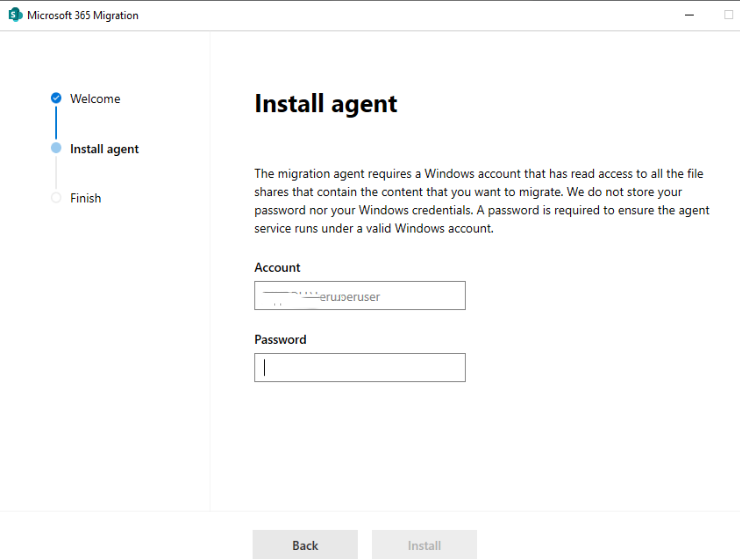
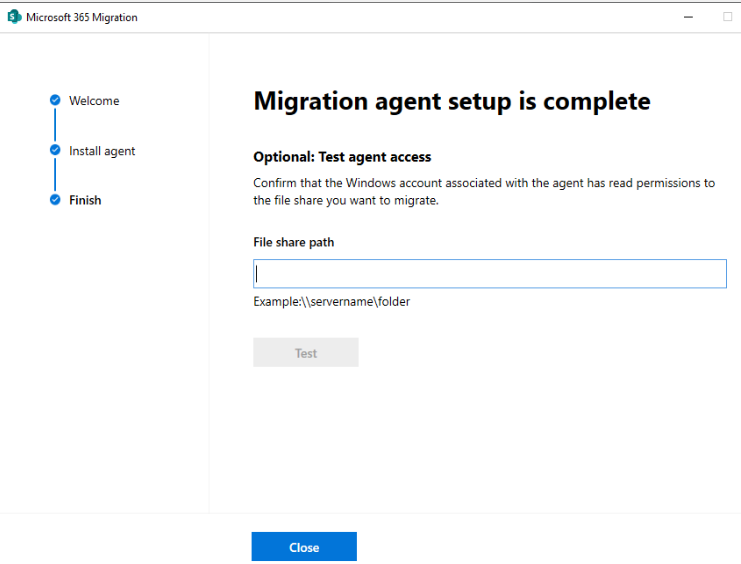
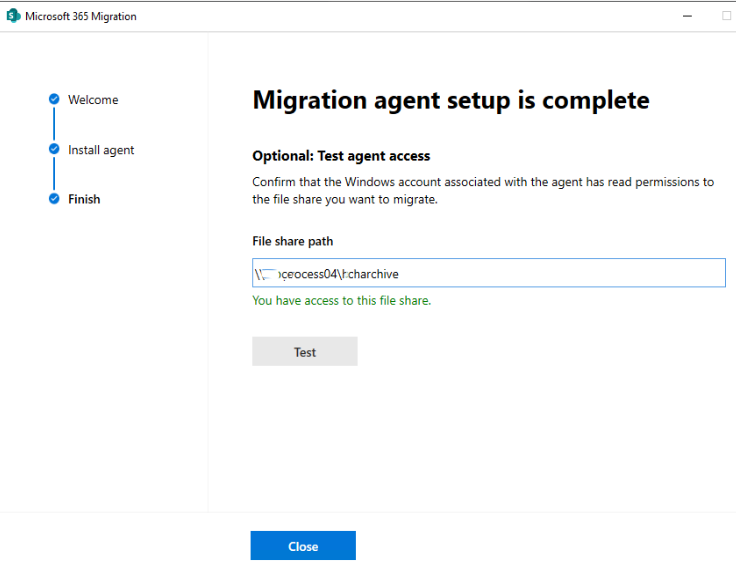
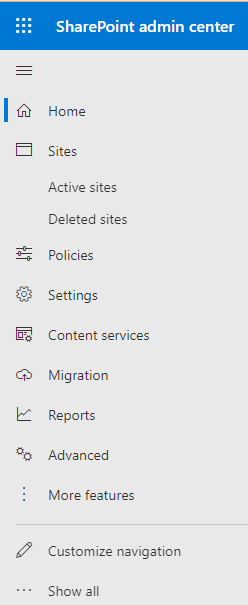
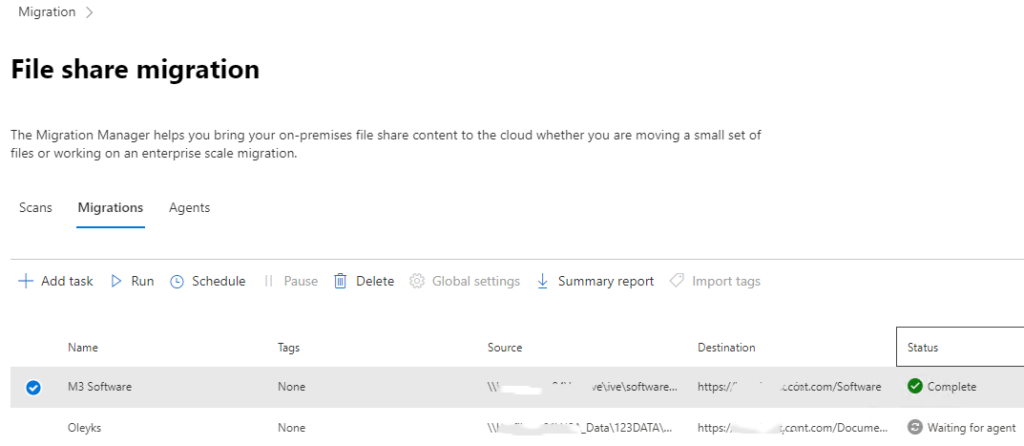
This article we will shows you how to move your network shared folders and files with their permissions to SharePoint. Note: before you start the migration, you need to install Migration agent on one of network computers.
3. Click on Migration.
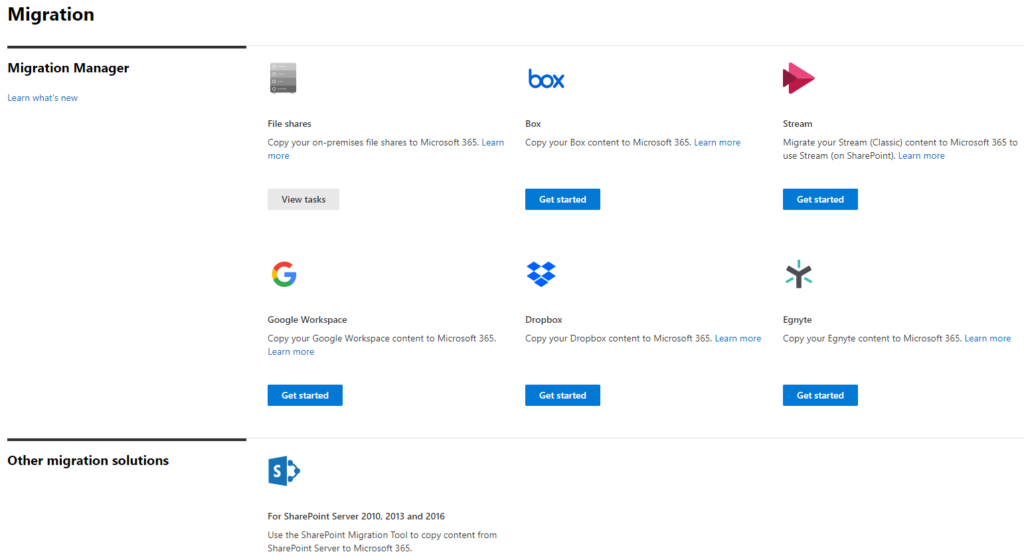
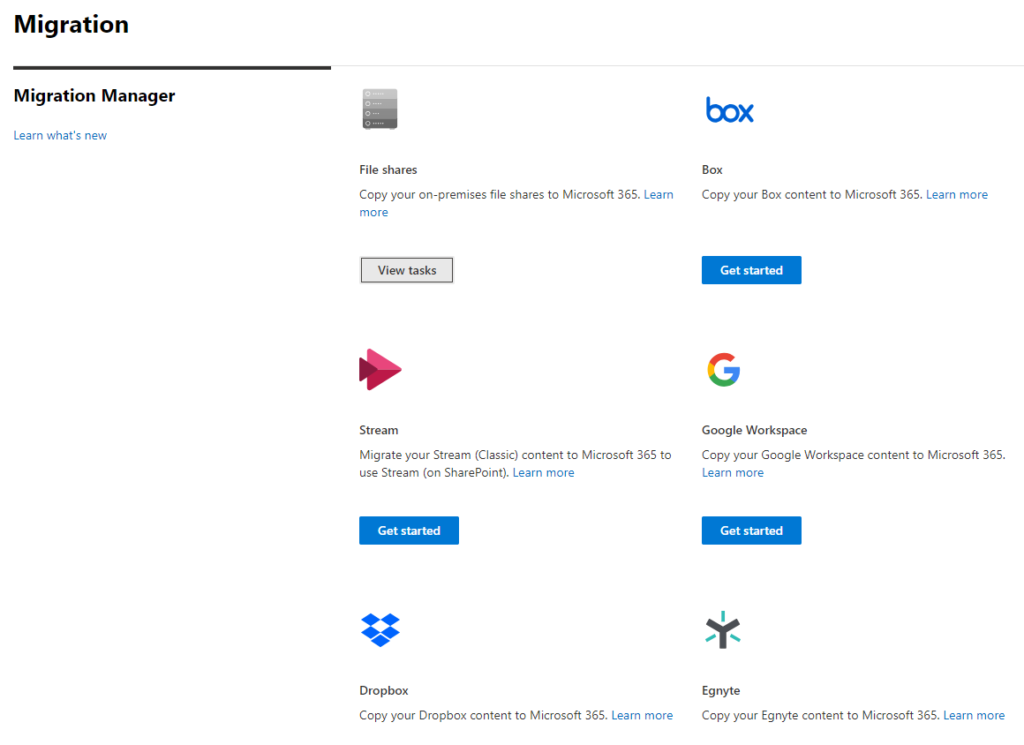
4. Click on View tasks in File share under Migration.
5. Click Migration under File share migration.
6. Click Add task under File share migration.
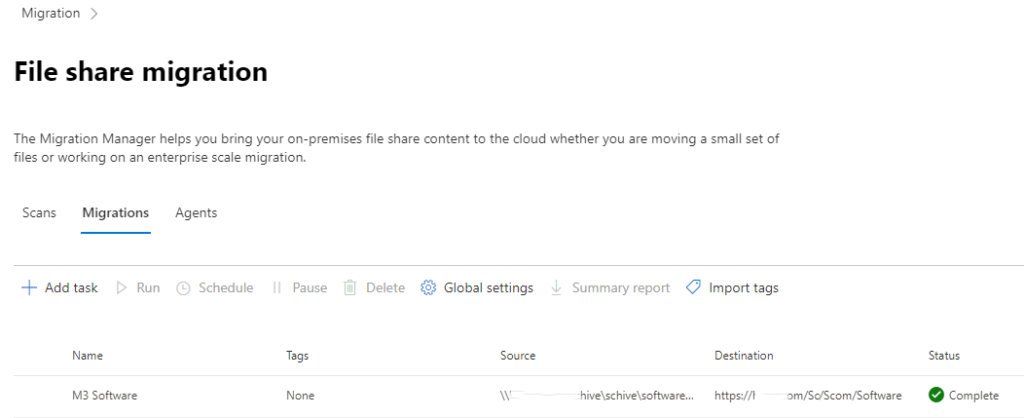
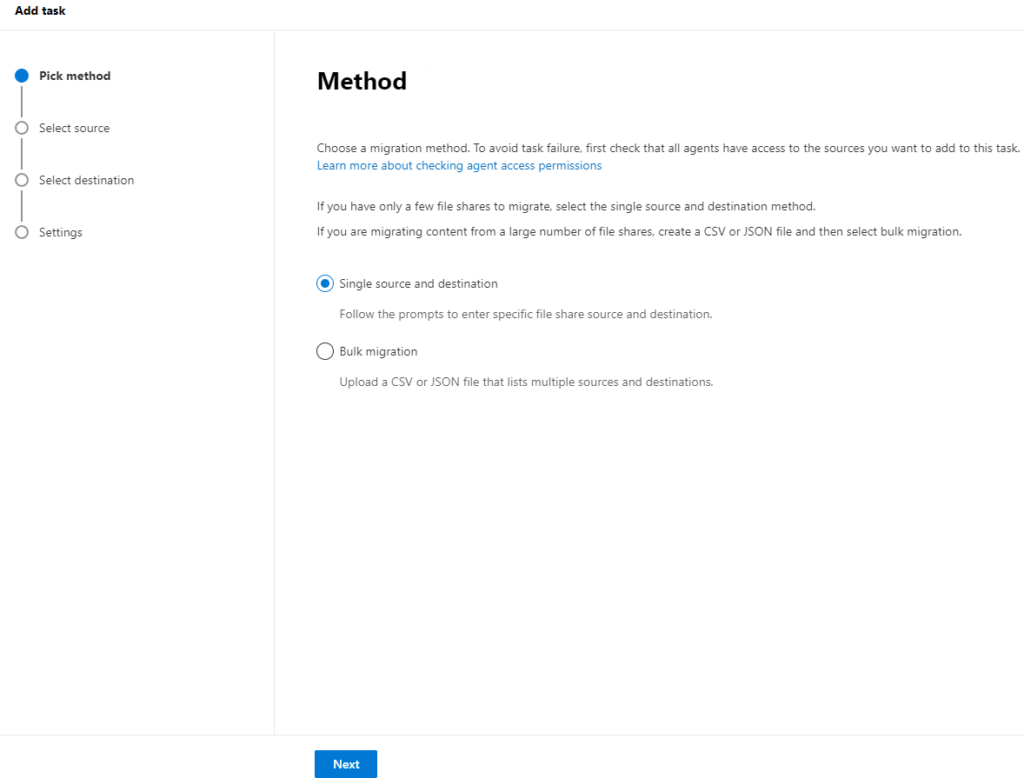
7. Check what you want to migration, Single and destination in our example under Method.
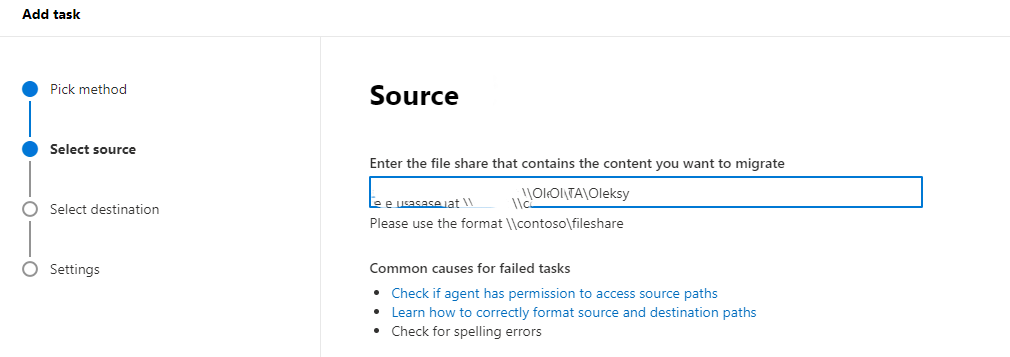
8.Ener the Source, for example \\chicagotech\shared.
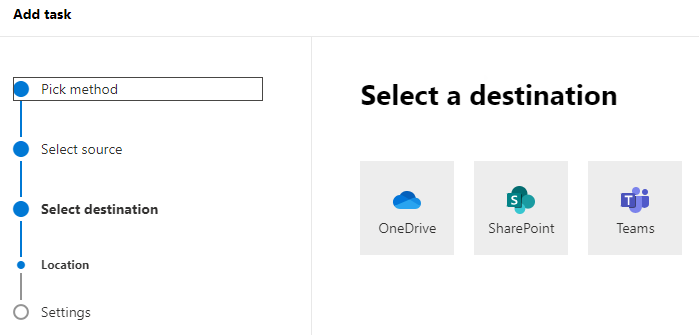
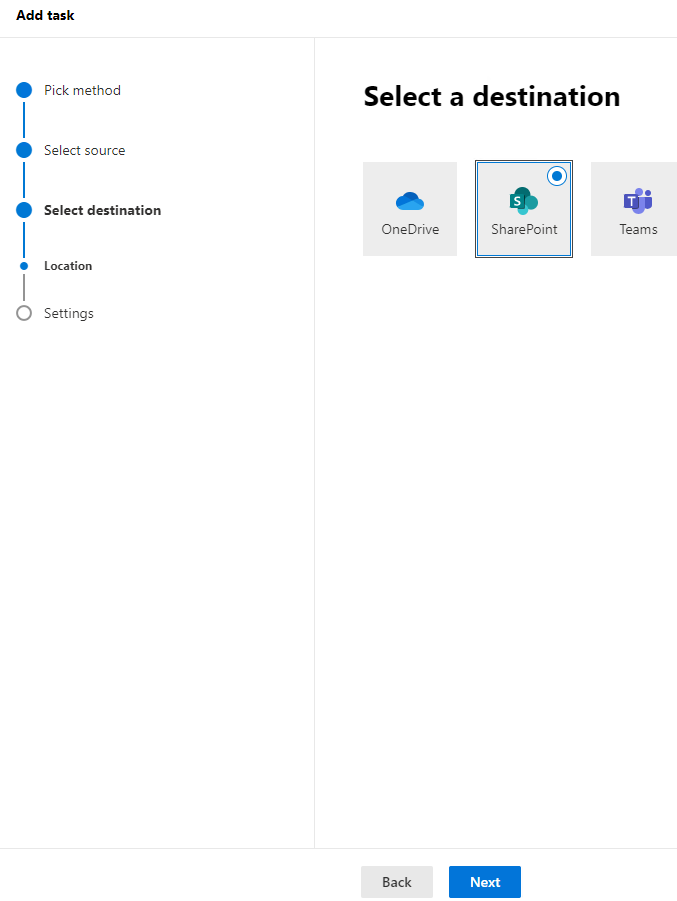
9. Click on SharePoint in Select a destination.
10. Click on Next.
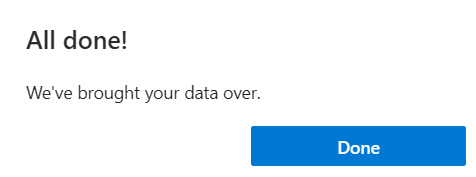
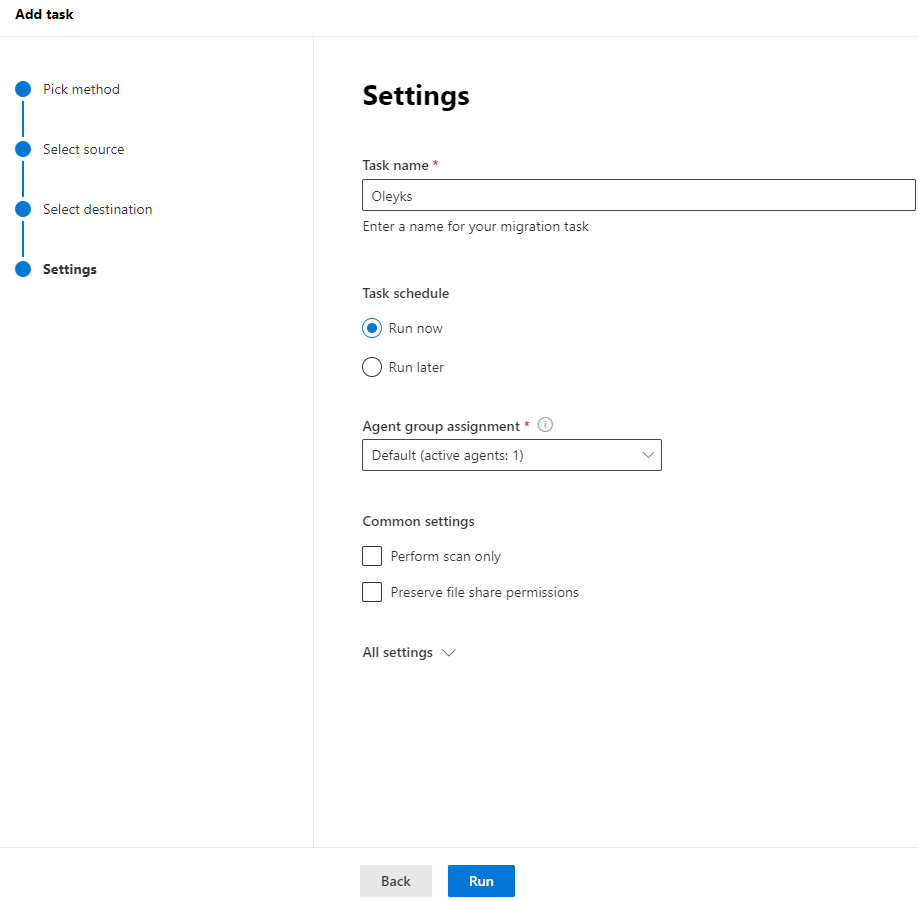
11. In Settings, enter Task name, select Task schedule and then click on Run. Note: remember to check Preserve file share permissions which will reserve network permissions to the SharePoint.
12.
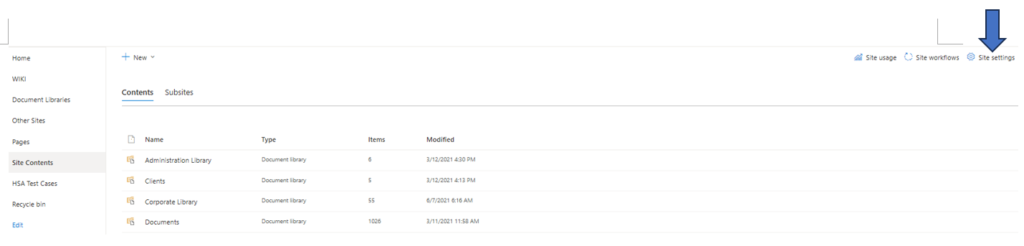
Note: if the user can’t access it because the permissions issue even you have checked Preserve file share permissions, that could be the library inheritance issue.
To fix it, go to the Site > Site Settings.
Click on Site permissions.
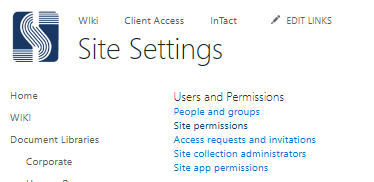
permissions of the site, deleted the inheritance of the unique library settings and all the users started reflecting under the permissions.
Or you can manage the permissions here.

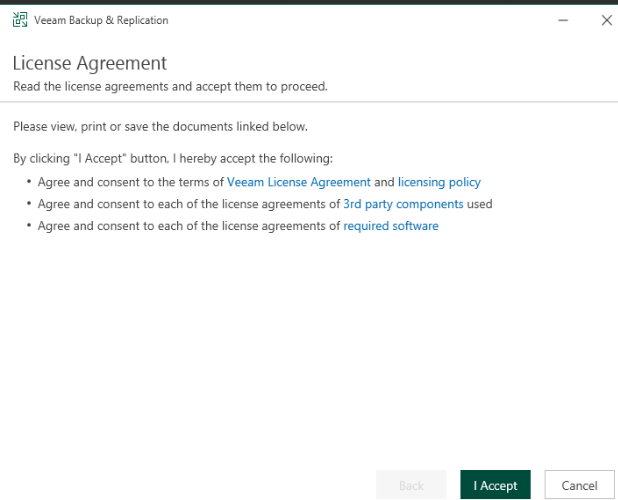
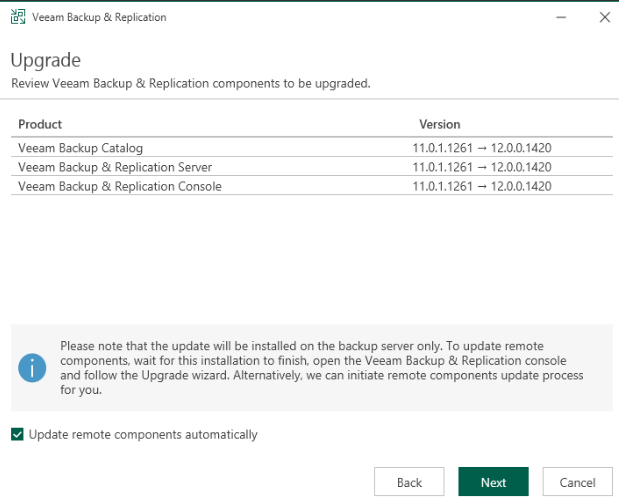
Please use the Veeam Backup & Replication upgrade wizard to install the product.
4. Under Upgrade, you may want to check Update remote components automatically. Then click Next.
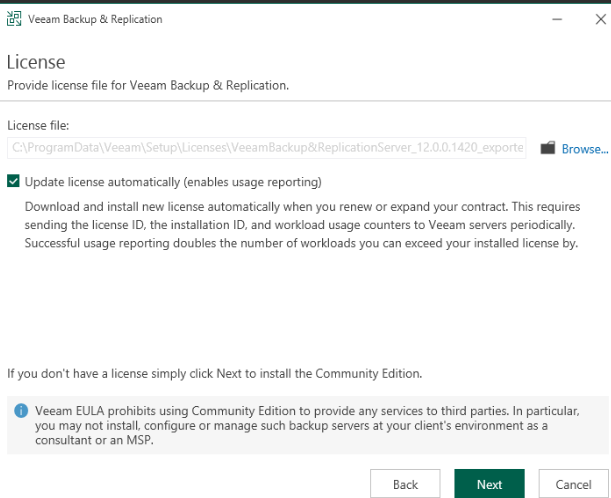
5. Make sure the license file location is correct, click on Next.
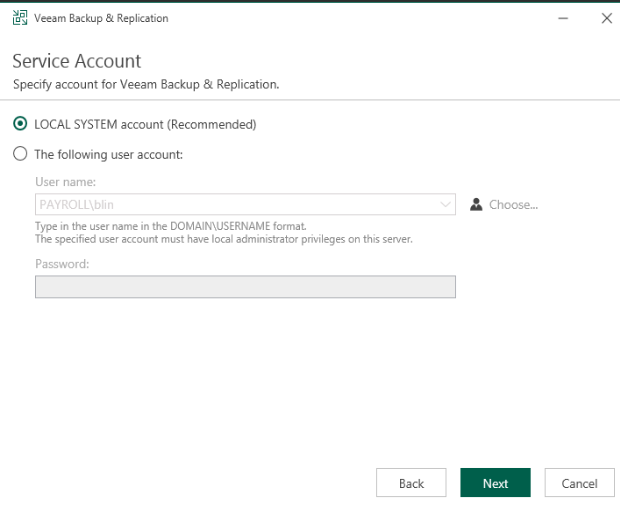
6. Choose your Service Account, and then Next.
7. Make sure you selections are correct in Database, click on Next.
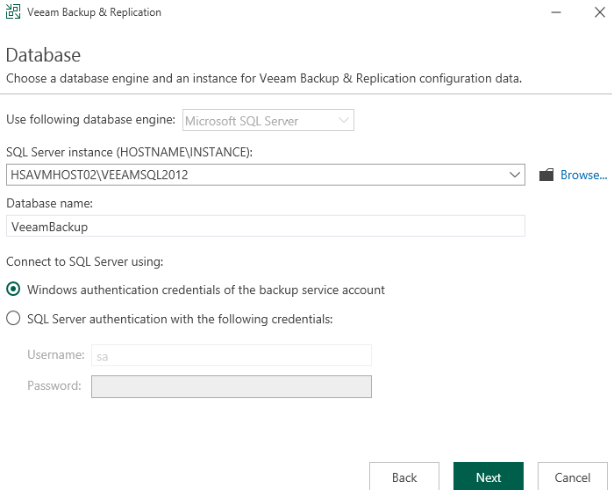
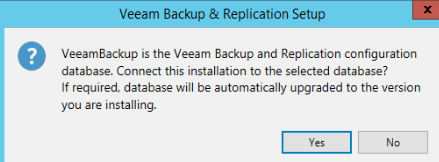
8. Click Yes for Veeam Backup & Replication Setup.
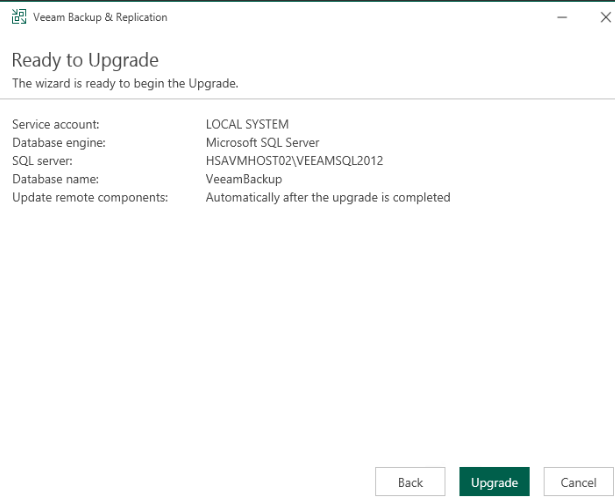
9. Click on Upgrade.
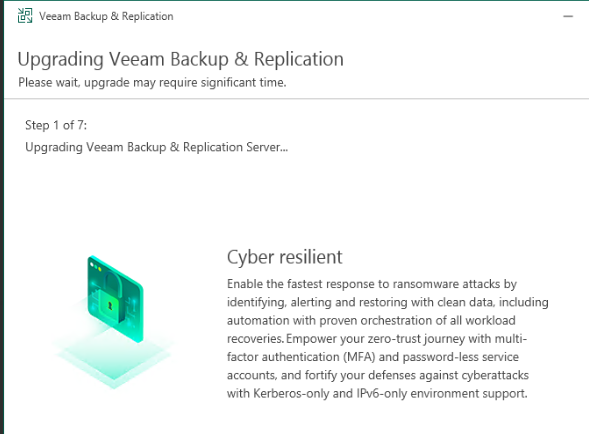
10. The upgrade may take one to two hours to complete.
Q: I am the only person can access our Cisco product support in the company. My boss would like to add more IT personals to access Cisco product support. However, I can’t figure out how to add them.
A: You must have a Cisco ID and then link to the contract. Here are the steps.
For profiles to have full access, they most have an Active CCOID with a complete profile, meaning: a valid physical address, a phone number and email address saved in your Cisco Account. And Organization/Company name.
They must also be associated to an Active Service Contract to be entitled for support
The users can create a new profile at: https://id.cisco.com/signin/register
For more information how to create a CCO user ID go to:
https://www.cisco.com/c/en/us/buy/customer-support-information/account-profile-login-information/account-registration.html
Or try this steps:
Creating a CCOID
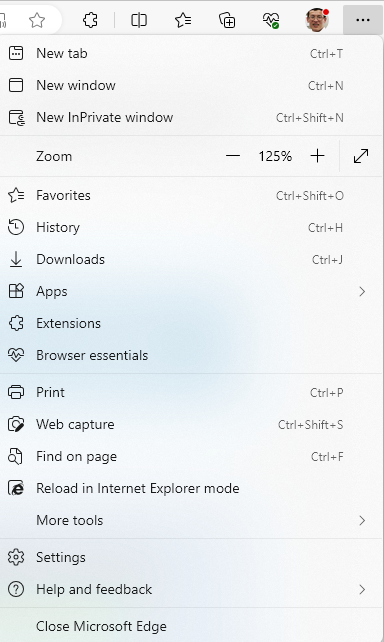
A. Export Microsoft Edge password on a device A
2. Select Profiles from the menu, then press Passwords on the right.

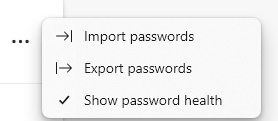
3. Click the three dots next to Saved passwords, then select Export passwords.
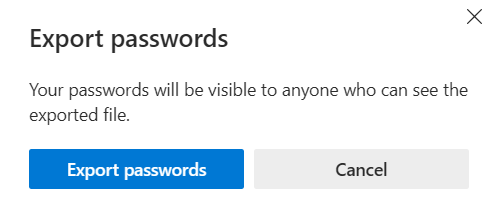
4. Click on Export passwords.
5. Login your local device.

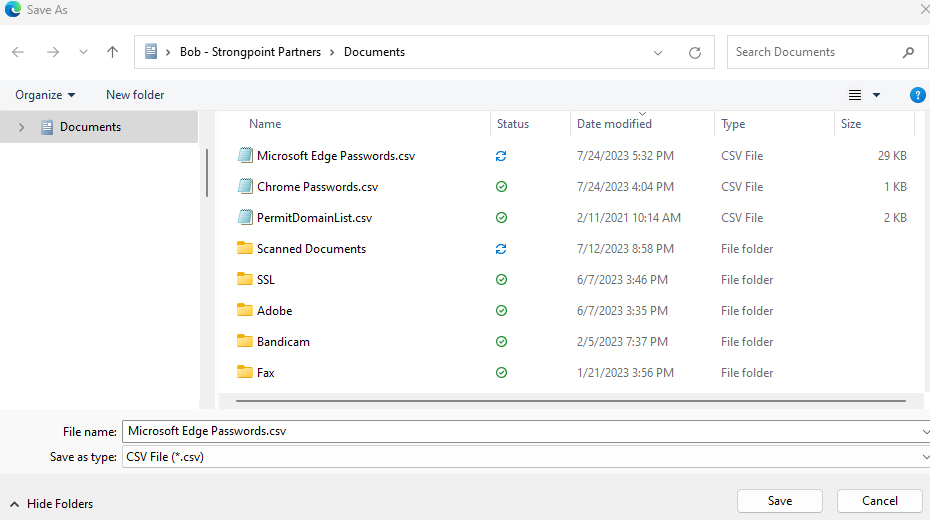
6. Select a save location, then press Save.
B. Import Microsoft Edge on a device B
Repeat above 1 to 3
4. Transfer password file to device B.
5. Click on Import
6. Click on Choose file
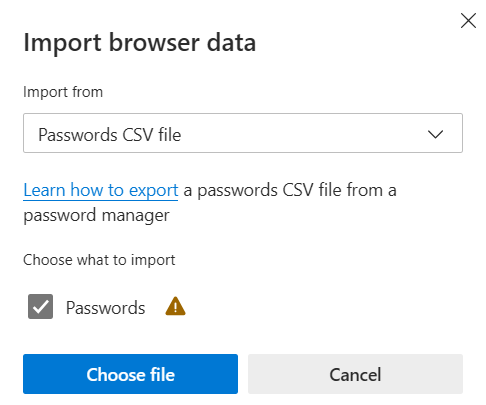
7. Select Microsoft Edge Password.csv.

8. Click Done and test the imported passwords.