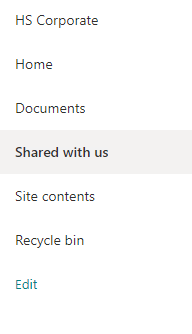
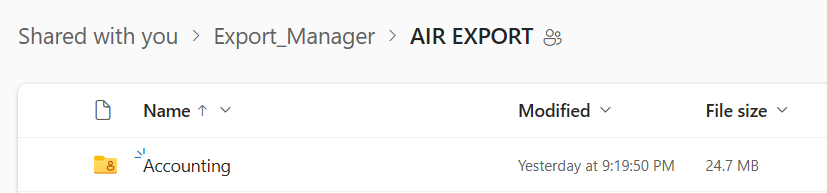
In the OneDrive web interface, go to Share with you and locate the shared folder you want to map in File Explorer.
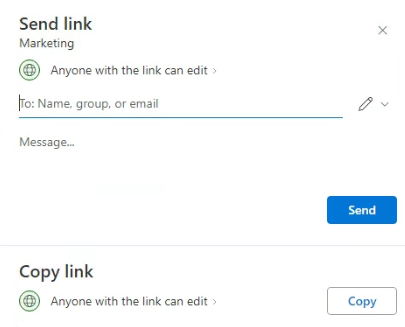
3. Copy the CID number from the address bar. These are the digits and letters after the “cid=” part of the URL. Don’t include any other characters that separate the CID, such as % or &. 123456789asdfghjkl in our example.
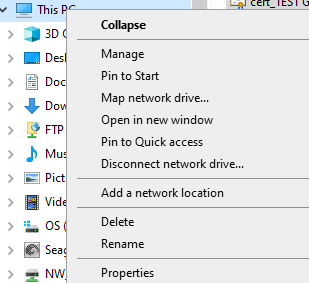
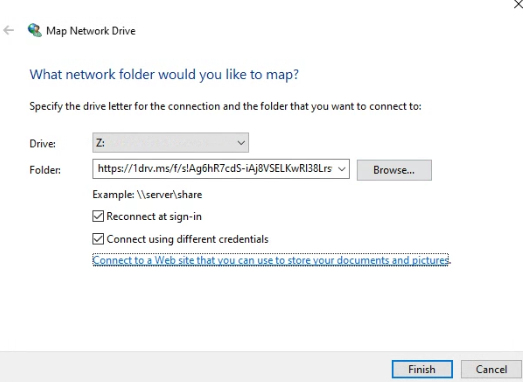
4. In Windows Explorer, right click on This PC and then select Map network drive.
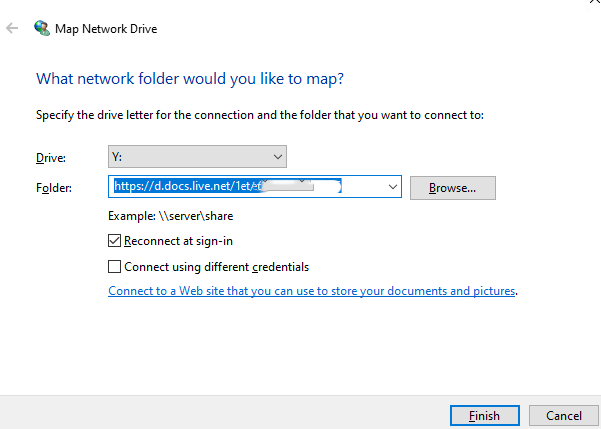
5. In the Folder field, enter https://d.docs.live.net/ followed by the CID you copied in step 3.
6. Check the “Connect using different credentials” box.
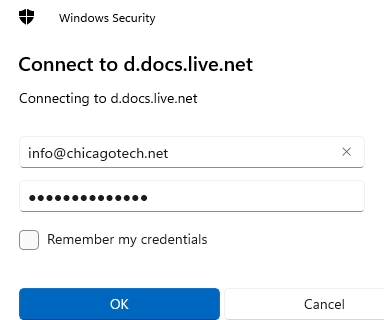
7. Click Finish and enter sender or the person who share OneDrive credentials.
8. You should now see all of your OneDrive folders and files under This PC in Windows Explorer
As an AI language model, I don’t have real-time access to the specific details or offerings of companies like GoDaddy. However, I can provide you with general information about certificate validity periods and subscription periods for SSL certificates, which are commonly used in web hosting and security.
Certificate Validity Period: The certificate validity period refers to the length of time for which an SSL certificate remains valid. SSL certificates are used to secure websites and enable encrypted communication between a web server and a user’s browser. The validity period typically ranges from a few months to a few years, depending on the certificate type and the issuer’s policies. Common validity periods include 1 year, 2 years, or 3 years.
Subscription Period: The subscription period usually refers to the length of time for which you purchase or subscribe to an SSL certificate service. This may or may not align exactly with the certificate validity period. For example, you might purchase an SSL certificate for a longer validity period but choose to renew or pay for the subscription annually. Subscription periods can vary based on the provider and the specific SSL certificate plan you choose.
To get accurate and up-to-date information about the specific offerings and options available on GoDaddy, I recommend visiting their official website or contacting their customer support directly. They will be able to provide you with the most accurate and detailed information regarding their SSL certificate products and the associated validity and subscription periods.
Resolution Enable “Save User Credentials” in client authentication settings under GlobalProtect Portal GUI: Network > GlobalProtect > Portals> (portal name) > Agent > (agent name) > Authentication. So user only needs to enter their username/password combination one time.
After receiving CA validates SSL files, you can continue with the SSL installation on Palo Alto Firewall.
Step 1: Prepare your SSL files
To install SSL files on Palo Alto, you have to merge them into a single file. Here’s how.
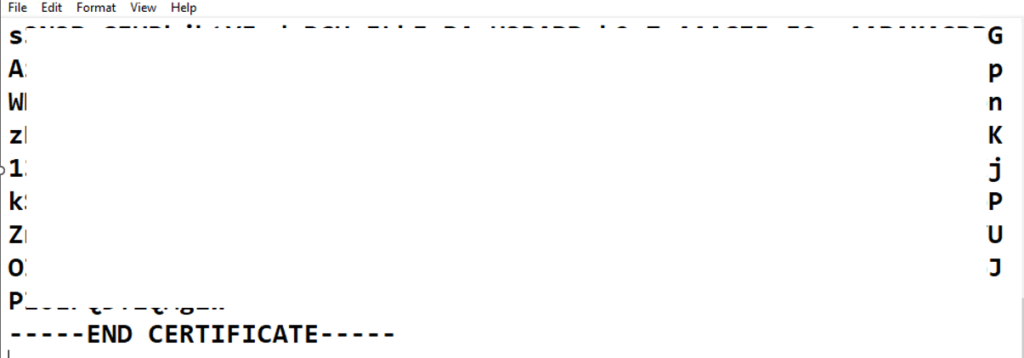
Open your primary SSL Certificate (.crt file with randomized name) and copy the full text including —–BEGIN CERTIFICATE—– and —– END CERTIFICATE —–tags
2. Create a new plain text document and paste the certificate’s content. Make sure you haven’t left any white spaces or extra line breaks.
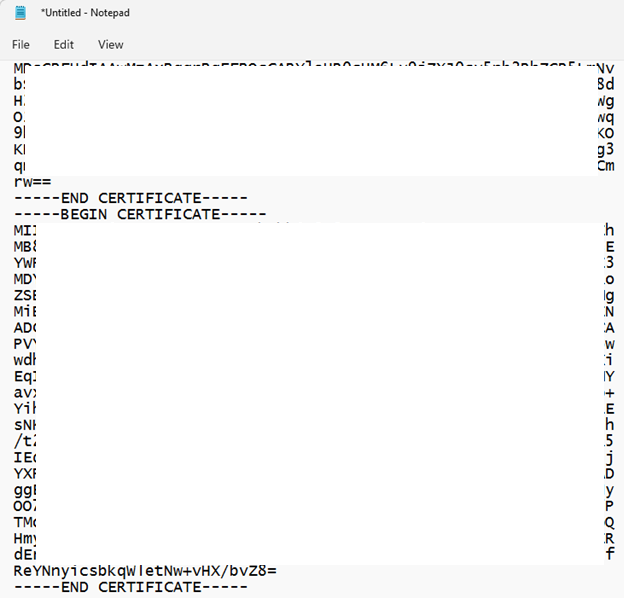
3. Now, open your intermediate certificate (gd_bundle.crt or similar) and copy-paste its contents in the new plain text document you’ve just created, right under your primary SSL Certificate.
Note: If you receive more than one intermediate certificate from your CA, place the second intermediate cert under the first.
4. Your new plain text Notepad document should look like this: —– BEGIN CERTIFICATE —– (SSL Certificate encrypted data) —– END CERTIFICATE —– —– BEGIN CERTIFICATE —– (Intermediate CA encrypted data) —– END CERTIFICATE —–
5. Save your Notepad SSL file containing primary and intermediate certificates with the same name as your CSR file. Make sure it has the .cer extension.
Step 2: Import your SSL Certificate
Log into your Palo Network dashboard
Select the Device tab, and in the left section expand the Certificate Management tree and click on Certificates.
At the bottom of the screen, click Import.
4. In the Import Certificate window, next to Certificate Name, enter the name of your SSL Certificate. It must be the same as the CSR name.
5. Click Browse to locate your .cer SSL file. Don’t check the private key related radio buttons.
6. Click OK.
Step 3: Test your SSL
Option 1: Login the SSL website.
Option 2: After you have installed your SSL certificate, you can use GoDaddy SSL checker test tool.
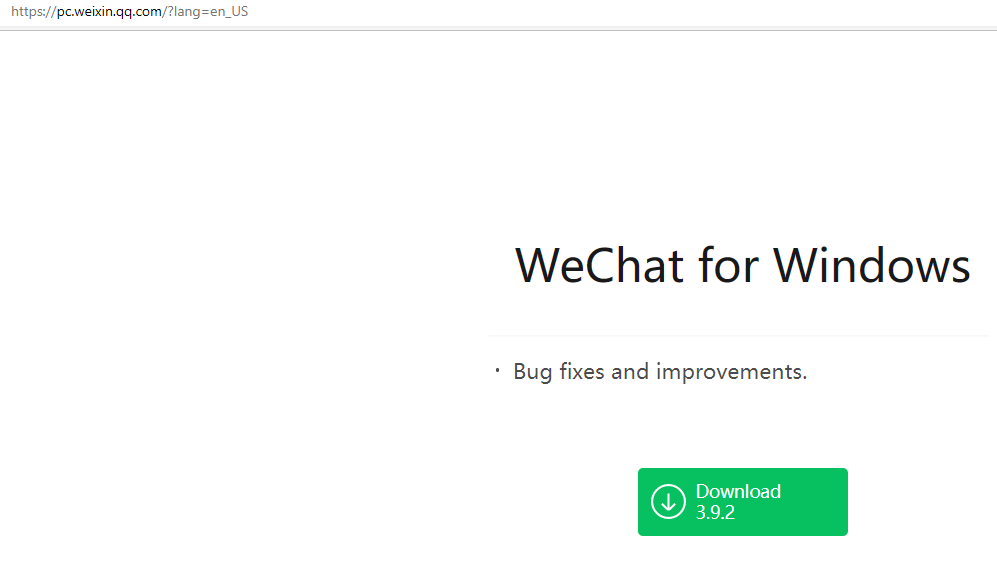
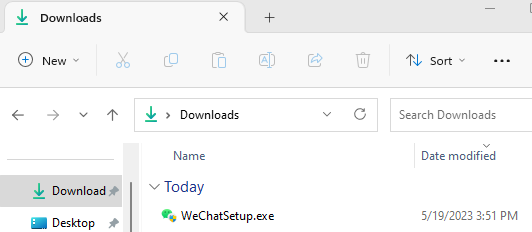
Step 2: To download WeChat for Windows 10/11, click the Download button to get the WeChatSetup.exe file, which should be located in download folder.
3. After getting WeChat download for Windows 10, double-click on the .exe file and follow the on-screen instructions to install it on your PC.
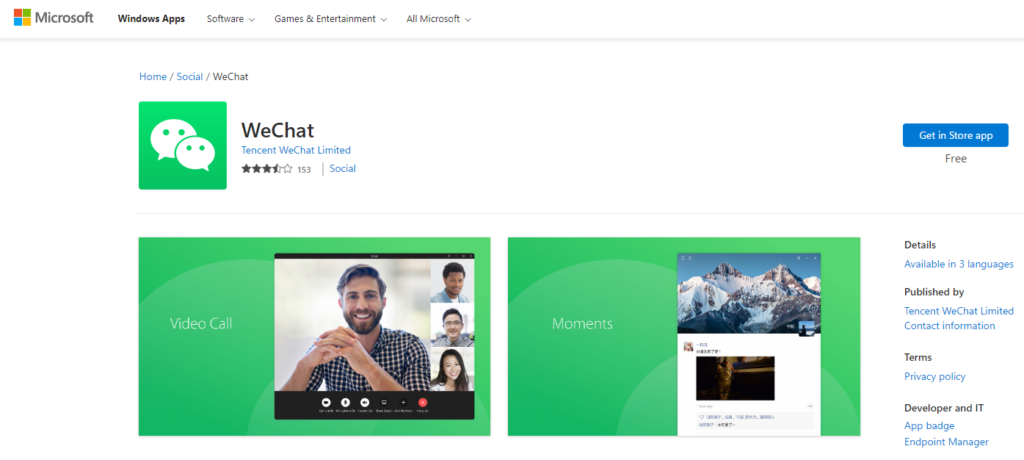
Option 2: WeChat Download PC via Windows 10/11 Microsoft Store
You can download and install WeChat for Windows 10/11 via the built-in Microsoft Store.
Step 1: Open Microsoft Store on your PC.
Step 2: Type WeChat for Windows to the search field and press Enter. Then, click the Install button to start downloading and installing.
3. After installing the PC version of WeChat, open the WeChat app on your mobile phone, use the mobile app to scan the QR code on the PC screen, and confirm the login. Then, you can send messages, share files, and make a voice/video call on your Windows 10 computer.
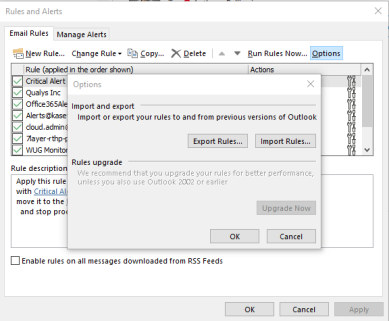
Step 1: Export Rules 1. From the Home screen in Outlook, navigate to Rules > Manage Rules & Alerts
2. Select Options > Export Rules
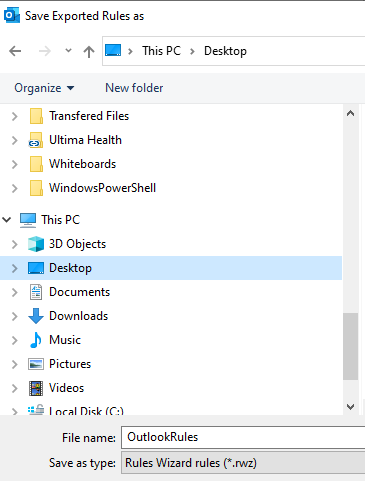
3. Choose your Desktop as the location to save the rules export and name it “OutlookRules” then click Save.
4. You can close the Options window and you should see a file called OutlookRules.rwz on your desktop.
Step 2: Import Rules Important note: this only needs to be done if Rules are not present after the migration. 1. From the Home screen in Outlook, navigate to Rules > Manage Rules & Alerts
2. Select Options > Import Rules
3. Browse to your Desktop and choose “OutlookRules.rwz” file then click Open. Close the Options window and you should now see the rules that have been imported.
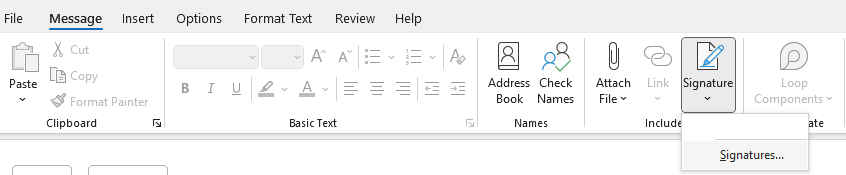
2. Open a New Email as if you are sending an email. Double click on Message and then Signature > Signatures
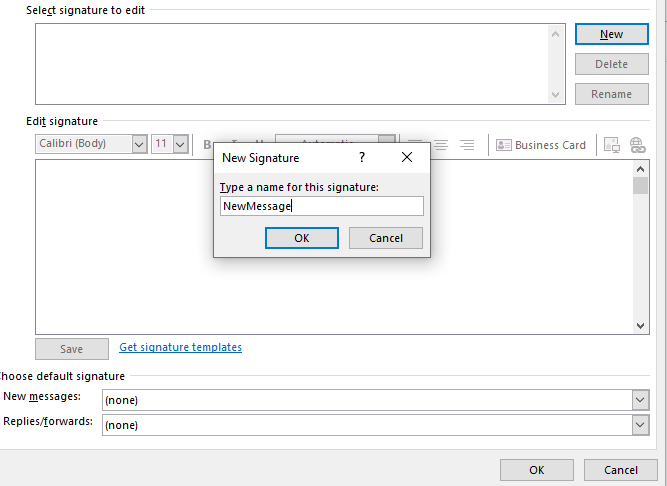
3. Select New and create a name for your signature. Paste signature in the Edit Signature window and hit Save. Repeat if you have different signatures for New Messages and Replies/Forwards.
4. Select appropriate signature for New message or Replies/Forwards and hit OK and close the new message window.
Any New Message or Reply/Forward should now have your newly created signatures.
With Windows Quick Assist, you can establish a remote connection to a PC running Windows. Here is how.
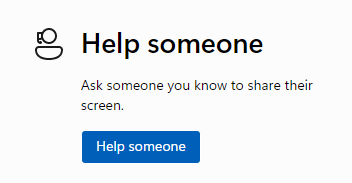
To help someone you know by using Quick Assist
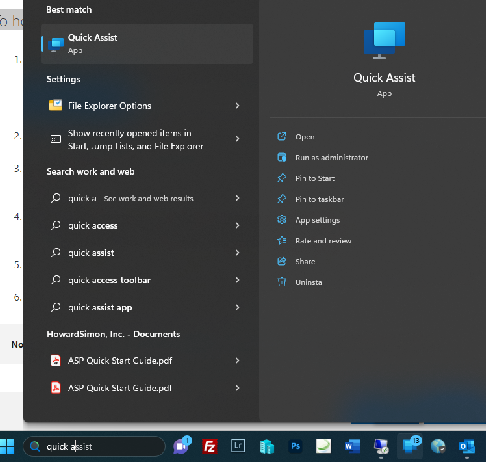
Select Start , enter Quick Assist, then select it in the list of results (or press the Windows key + Ctrl + Q). Open Quick Assist
2. Select Help someone.
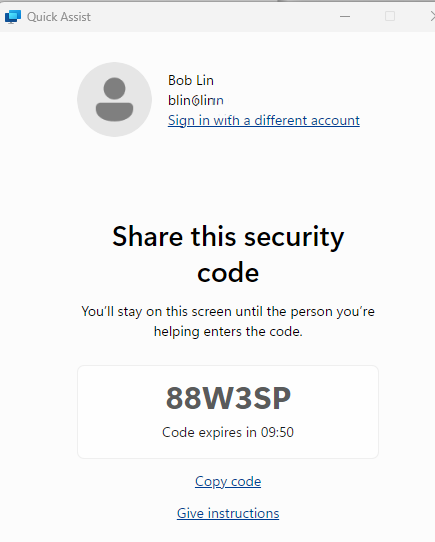
3. Share the 6-digit code with the person you’re helping.
4. The person who needs help enters and then click on Submit.
5. When you’re connected and helping someone, you can use different tools in Quick Assist if you like, such as a laser pointer, annotation, chat for typing messages, and more.
6. If you’d like to request full control of their PC, select Request control, then wait for them to allow it.
7. When you’re done helping them, select Leave.
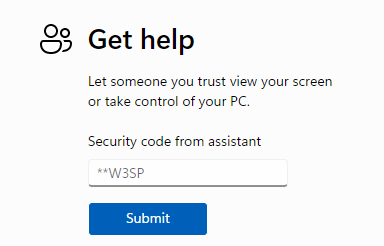
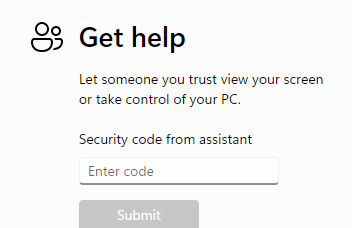
To get help from someone you trust using Quick Assist
Select Start , enter Quick Assist, then select it in the list of results (or press the Windows key + Ctrl + Q). Open Quick Assist
In the Code from assistant box, enter the 6-digit code they gave you, then select Submit.
To allow the connection and start sharing your screen, select Allow.
When someone is helping you, they might request full control of your PC. If you want to allow it, select Allow. To stop allowing full control, select Cancel control.