How to Configure Microsoft Local Administrator Password Solution (LAPS)

The Microsoft Local Administrator Password Solution (LAPS) provides management of local account passwords of domain joined computers. This article shows how to deploy and configure LPAS.

A. Microsoft LAPS Prerequisites

To install Microsoft LAPS, we need at least one management computer, some client workstations, Microsoft Active Directory. Microsoft LAPS also needs a specific Group Policy client-side extension (CSE) installed in each computer to do all managements task.

The management computer could be Domain Controller or any joined domain computer.

B. Installing Microsoft LAPS

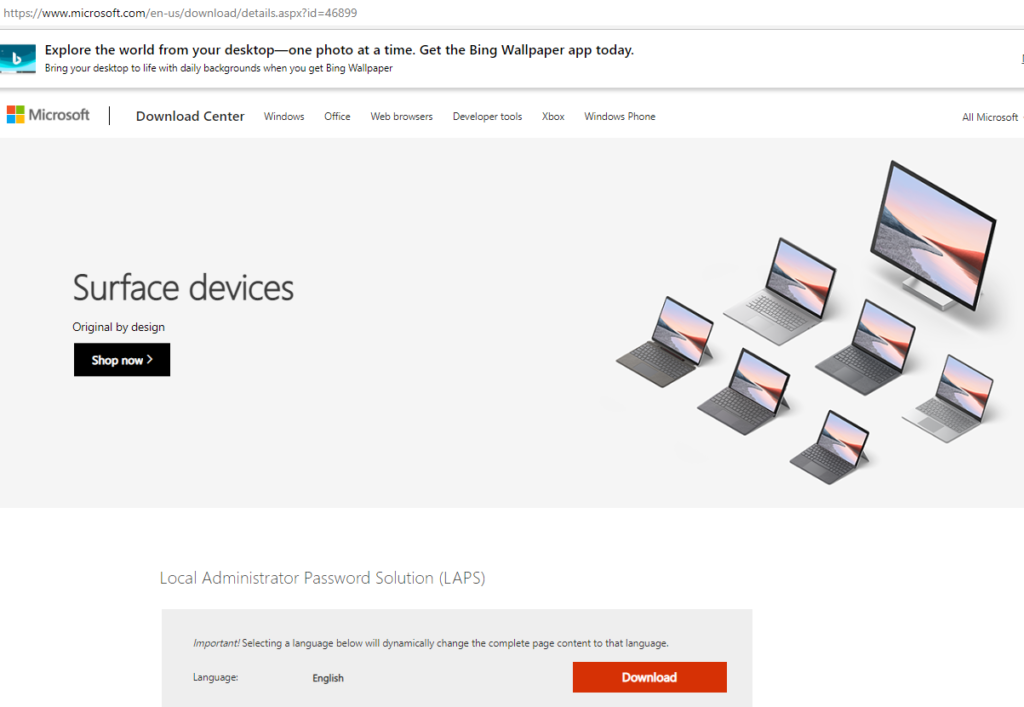
1. Download Microsoft LAPS Package by going to by this link: https://www.microsoft.com/en-us/download/details.aspx?id=46899

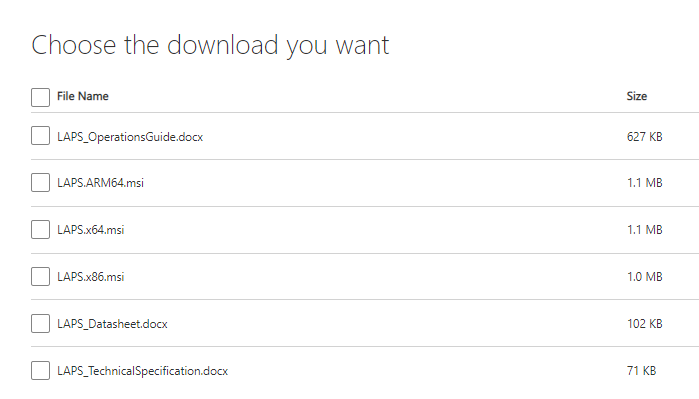
2. Check the LAPS file you want to download, for example, LAPS.x64.msi file.


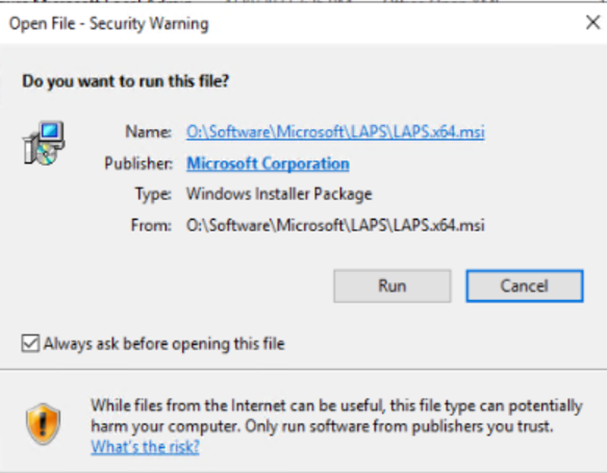
3. Double on the downloaded LAPS.x64.msi and click run to continue.

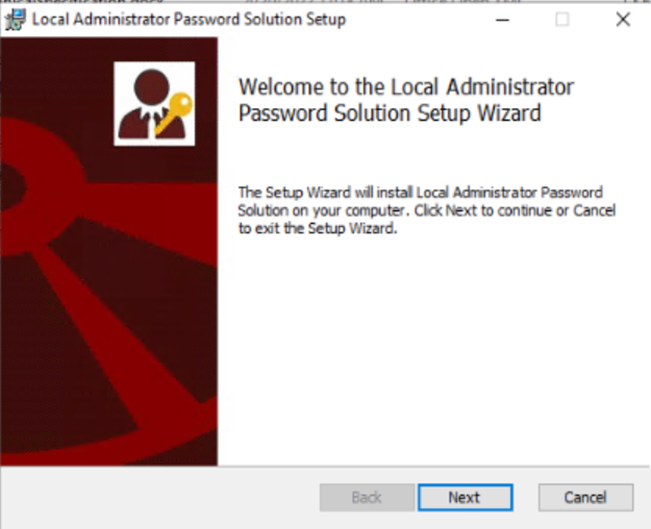
4. Click on Next in Welcome to the Local Administrator Password Solution Setup Wizard.

5. Check I accept the terms in the License Agreement and click on Next.
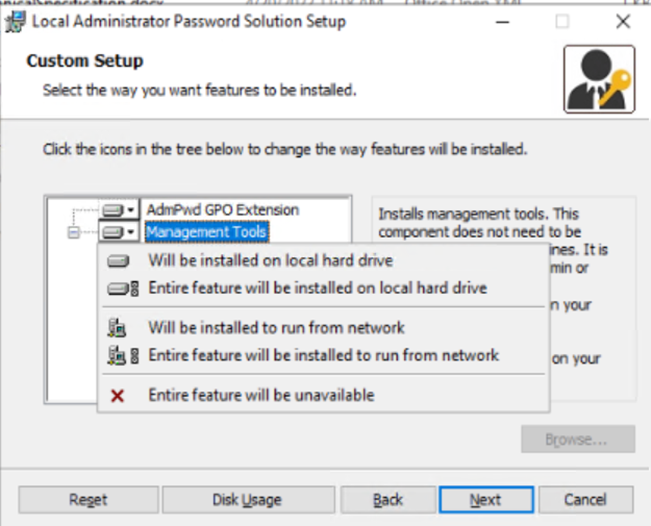
6. in Custom Setup,

right click on Management Tools, and select Entire Features will be installed on local hard drive. Then Next.
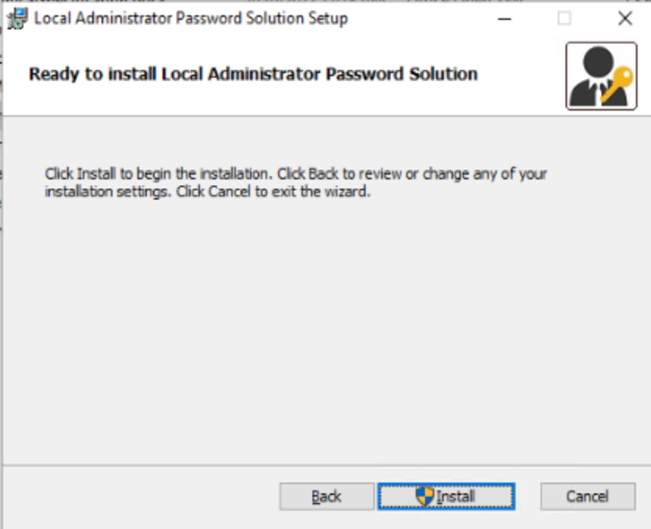
7. Click Install.

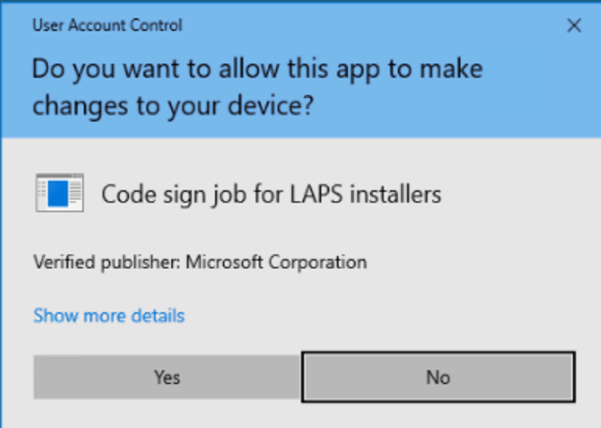
8. Click Yes to continue.

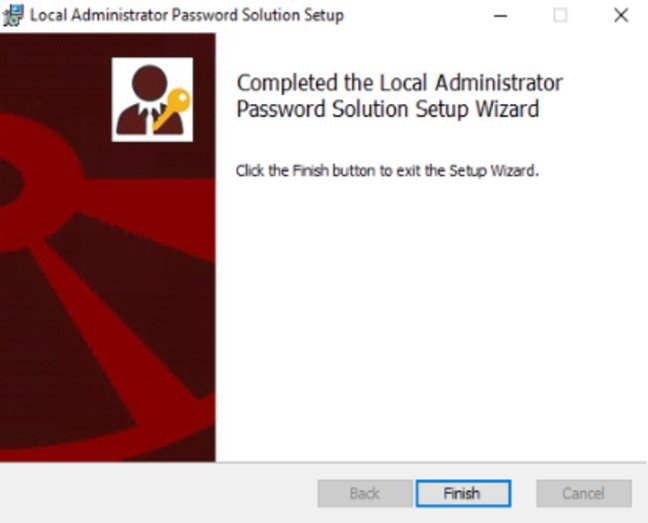
9. Click on Finish to complete LAPS setup.

C. Update Active Directory Schema

We need to extend AD schema so that the LAPS can use two new attributes in computer objects.

1. ms-Mcs-AdmPwd – Save the administrator password in clear text
2. ms-Mcs-AdmPwdExpirationTime – Save the timestamp of password expiration.

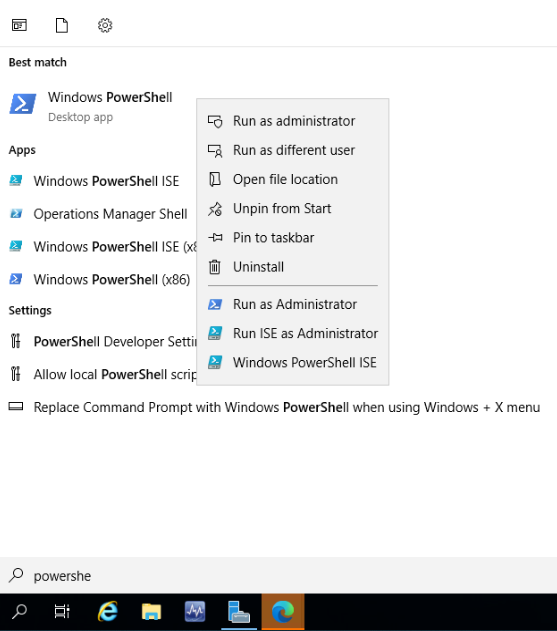
1. Launch PowerShell run as Administrator


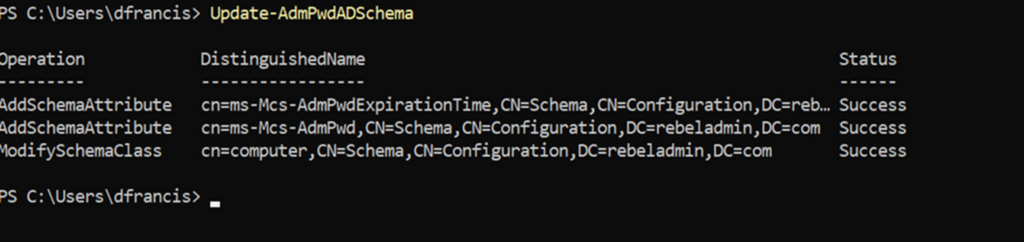
2. Run this PowerShell command:
    Import-module AdmPwd.PS

to import module.


3. Now, run Update-AdmPwdADSchema to update the schema.

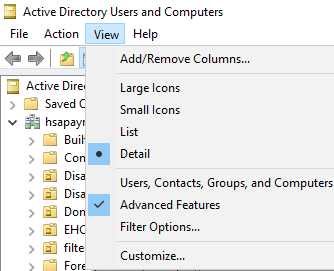
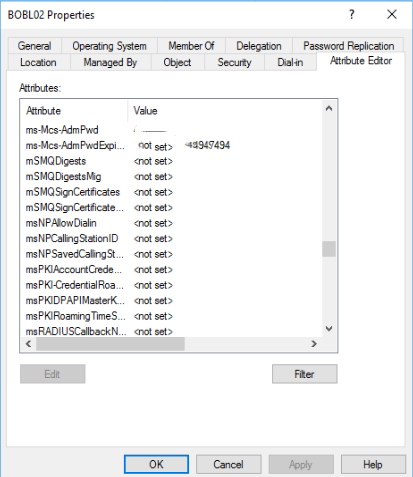
4. After schema update, we can see these two new attributes by going to the computer’s property: ms-Mcs-AdmPwd and ms-Mcs-AdmPwdExpirationTime


During the password update process, the computer object itself should have permission to write values to ms-Mcs-AdmPwd and ms-Mcs-AdmPwdExpirationTime attributes. To do that we need to grant permissions to SELF built-in account.

To do that,

How to Install Certificate in Windows Server using MMC

Step 1: Run Microsoft Management Console (MMC).

Step 2. Add Snap-in

Step 3. Add Certificate.

Step 4. Check Computer account.

Step 5. Import Certificate, for example Highlight Personal>All Tasks>Import.

Step 6. Click Next in Welcome to the Certificate Import Wizard and make sure Local Machine is checked.

Step 7. Follow the wizard to complete the import.

11. Check the Certificate by double click on the imported certificate.

What computers and servers include and exclude in LAPS

 LAPS manages the password of the local administrator account of the domain-joined clients or servers on the domain controller by GPO.  If you want to deploy LAPS to all workstations only but not server and domain controllers, you can only add the computers you want to this OU.

Can or should we install LAPS on Domain Controller?

LAPS managed computers can be any joined domain computer, the domain-joined clients or servers on the domain controller including DC. There are the steps to configure LAPS

1 Installation of GP CSE (Group Policy Client Side Extension) via MSI installation
1-1 On management computers
1-2 On clients to be managed
2 AD preparation
2-1 schema extension
2-2 Permission updates
3 Group policy configuration

How to renew or reactivate certificate

In this article we use ssls.com certificate as example to show you how to renew or reactivate certificate.

  1. Log in to account in certificate authority website and find renew or reactive page, perhaps under MY SSL

2. Click Renew or Reactivate.

3. In Reissue for: Verify that the domain name you want a reissued certificate for is correct.

4. Save private key: You have two options, download the new key automatically generated in your browser (this is default) or submit a manually generated CSR.

Note: The private key will be downloaded to the local computer, perhaps, download folder.

5. Complete Domain Control Validation (DCV)

Before the Certificate Authority (CA) can issue SSL, they need to verify that the organization or individual has the right to receive the SSL certificate.

You may have three options:

Email Validation — receive an email at a domain-based or whois email.

HTTP Validation — upload the validation file at your host.

DNS Validation — set up a CNAME record in the domain’s DNS zone.

6. Choose approval email

In our example, select “Receive an email” as the domain control validation method. The contact email address from WHOIS or one of the following generic domain-based emails:

  • admin@
  • administrator@
  • postmaster@
  • webmaster@
  • hostmaster@

7. Domain Control Validation by email.

The organization administrator may receive the email. It looks like this.

8. Follow the email link to complete DCV.

9. You should receive the Certificate after DCV

It may take a few minutes. It looks like this email.

Note: You can also download the certificate from website

10. Install Certificate in Windows server using MMC

Step 1: Run Microsoft Management Console (MMC).

Step 2. Add Snap-in

Step 3. Add Certificate.

Step 4. Check Computer account.

Step 5. Import Certificate, for example Highlight Personal>All Tasks>Import.

Step 6. Click Next in Welcome to the Certificate Import Wizard and make sure Local Machine is checked.

Step 7. Follow the wizard to complete the import.

11. Check the Certificate by double click on the imported certificate.

How to add multiple email addresses to a domain account

Situation: The client has multiple email addresses for their users. They would like to know how to setup multiple email addresses for each domain account.

Resolution: we can modify Attribute Editor in Active Directory Users and Computers.

  1. Make sure Advanced Features are checked in Active Directory Users and Computers.

2. Right click on Properties.

3. Click on Attribute Editor.

4. Highlight proxyAddresses and click on Edit.

5. Add your default email address using SMTP (UP CASES), other email addresses smtp (low cases).

6. Click OK to save the settings.