It is recommended to use Disk Clean to free spaces in Windows. If you still need more spaces after Disk Clean, you can free more spaces manually. Here is how.
Uninstall unwanted Programs by going to Control Panel/Uninstall a program
Clean Temporary files by going to C:\Users\username\AppData\Local\Temp.
Use Storage Sense
Move data to an external storage or the Cloud like OneDrive or Google Drive.
For troubleshooting or settings, you may need to access computer BIOS (Basic Input / Output System). Here are some options.
Option 1: Press BISO key(s): Press the key(s) when you turn on a computer and while it goes through a very quick POST (power on self test) . This is the list by manufactures.
ASUS: F2
Acer: F2 or DEL
Dell: F2 or F12
HP: F10
Lenovo Laptops: F2 or Fn + F2
Lenovo Desktops: F1
Lenovo ThinkPads: Enter then F1.
Microsoft Surface Tablets: Press and hold volume up button.
Samsung: F2
Toshiba: F2
Option 2: Use Advanced Start Menu in Windows 10
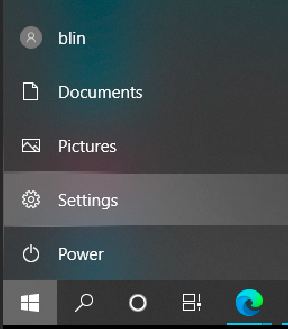
Click Start icon and then Settings.
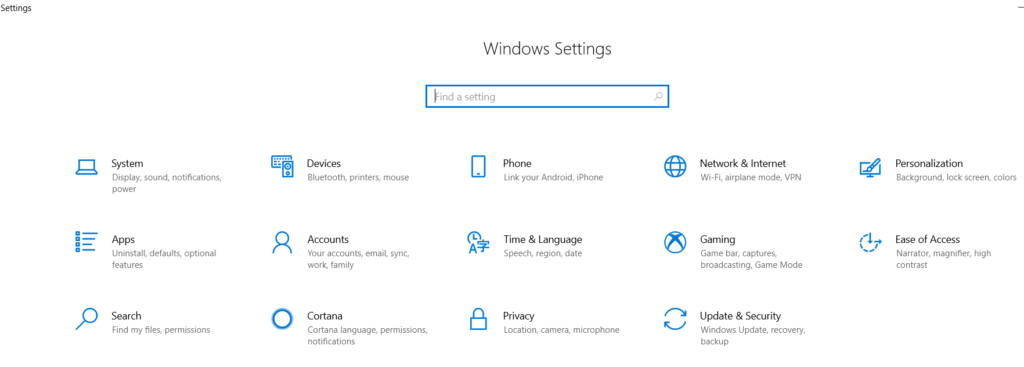
Click Update & Security.
Select Recovery in the left pane.
Click Restart now under the Advanced startup.
After restart, the computer goes to Choose an option window. Click on Troubleshooting.
Click Advanced options under Troubleshoot.
Click Restart under UEFI Firmware Settings.
After accessing BIOS, you may setup boot order, Date/Time, System configuration, Security, Performance, Power Management, Post Behavior. Please view the step by step video:
Windows Safe mode starts Windows OS in a basic state, which bot into a limited set of files and drivers for troubleshooting. If you are having problems when booting Windows 10, you can boot in safe mode by interrupting the startup process three times. Here is how:
Hold down the power button for 10 seconds to turn off your computer.
Press the power button again to turn on your computer.
On the first sign that Windows has started, hold down the power button for 10 seconds to turn off your Computer.
Repeat 2 and 3 for 3 time.
Now that you should be in winRE. Please follow these steps to take you to safe mode: On the Choose an option screen, select Troubleshoot > Advanced options > Startup Settings > Restart.
After the computer restarts, you’ll see a list of options. Select option 5 from the list or press F5 for Safe Mode with Networking. Please view the step by step video:
Windows Safe mode starts Windows OS in a basic state, which bot into a limited set of files and drivers for troubleshooting.
In a case, you can’t turn on windows 10 or you get a blacks screen when booting, you may want to boot it with Safe Mode for troubleshooting. There are many ways to boot into safe mode in Windows 10. Note: in most cases, F8 or Shift+F8 don’t work any more.
Option 1: Use a Windows 10 installation DVD or bookable USB and the Command Prompt
In BIOS, make sure the PC boot from DVD or USB first. For example, Dell PC, press F2 when booting.
Press Enter when showing “Press any key to boot from CD or DVD” .
Select the language and keyboard layout you prefer and click Next
In Install now screen, click on “Repair your computer“ on the bottom left corner of the screen.
In Choose an option, click on Troubleshoot.
In the Troubleshoot screen, click on “Advanced options” screen.
In Advanced options screen, click “Command Prompt (Use the Command Prompt for advanced troubleshooting).”
Now, type this command: bcdedit /set {default} safeboot minimal, and then press Enter. It shows “The operation completed successfully.”
Type Exit to close the command prompt, and click on Continue on Choose an option screen.
After restart, Windows 10 starts into Safe Mode. Now, you can login with an admin account to troubleshoot the problem.
Press and hold the “Shift” key and click on the “Restart” button in the Windows Start menu.
This will bring up the “Advanced Startup Options” screen. Select “Troubleshoot” from the menu.
Next, select “Advanced options” and then “Startup Settings.”
You’ll be presented with a list of options for how to start Windows. Press the “4” key or F4 to boot into “Safe Mode.”
Alternatively, if you want to boot into Safe Mode with Command Prompt, you can use these steps:
Press and hold the “Shift” key and click on the “Restart” button in the Windows Start menu.
Select “Troubleshoot” from the menu.
Next, select “Advanced options” and then “Startup Settings.”
Press the “6” key or F6 to boot into “Safe Mode with Command Prompt.”
This will start Windows in Safe Mode with the Command Prompt running. You can then use the Command Prompt to troubleshoot and fix issues with your computer.
Option 4: Use bcdedit command
You can use the bcdedit command to configure your system to boot into Safe Mode. Here are the steps to configure your system to boot into Safe Mode using bcdedit:
Open the Command Prompt as an administrator. You can do this by right-clicking on the Start menu and selecting “Command Prompt (Admin)”.
In the Command Prompt, type the following command and press Enter:
bcdedit /set {current} safeboot minimal
This will configure your system to boot into Safe Mode with minimal drivers and services.
If you also want to enable network support in Safe Mode, type the following command and press Enter:
bcdedit /set {current} safeboot network
This will configure your system to boot into Safe Mode with networking.
Restart your computer. It should now boot into Safe Mode automatically.
When you’re finished with Safe Mode and want to boot back into normal mode, open the Command Prompt as an administrator again and type the following command, then press Enter:
bcdedit /deletevalue {current} safeboot
This will remove the Safe Mode boot configuration and allow your system to boot into normal mode again.
That’s it! You’ve now configured your system to boot into Safe Mode using the bcdedit command.
SMB is a network communication protocol for providing shared access to files, printers, and serial ports between nodes on a network. If you have a problem to access a network shared drive in Windows, you may want to enable it. Here is how.
Press enter when you see this message: Press any key to boot from CD or DVD…
In Windows Setup screen, chose your Language, Time and Keyboard method then click Next.
Click Install now
If you have a Windows 10 product key, enter here. If you upgrade from Windows 7 or Windows 8 click the option ‘I don’t have a key’ and ‘Do this later’ .
Select Windows 10 Edition.
Check Accept the license terms then click Next .
Click Custom: Install Windows only (advanced) to continue.
If you would like to restore previous files or folders because they have been deleted or auto save overrides them, you can use Restore Previous Version in OneDrive. Here is how.
Find the folder you want to restore.
Right click on it.
Select Restore previous version.
You may have different versions. Select the version you want to restore.
You also have a n option to restore to a different location.
If you would like to restore previous files or folders because they have been deleted or auto save overrides them, you can use Restore Previous Version in Windows. Here is how.
Find the folder you want to restore.
Right click on it.
Select Restore previous version.
You may have different versions. Select the version you want to restore.
You also have a n option to restore to a different location.