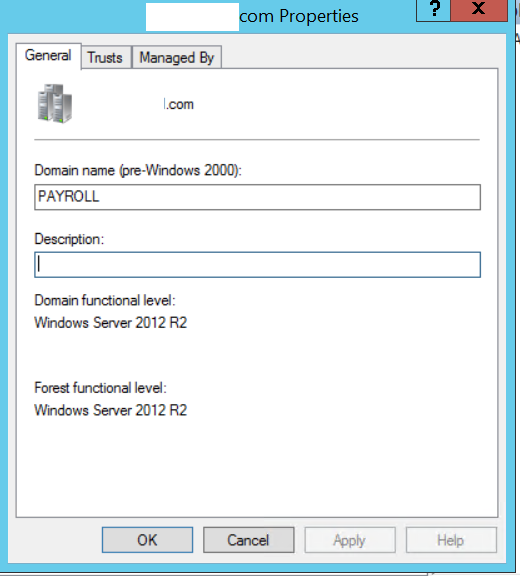
Note: Windows Server 2019 requires a Windows Server 2008 domain and forest functional level. To check the forest functional level, open Active Directory Domains and Trusts. Right click on domain and select Property.
Install and join the new Windows Server 2016 to your forest. Restart when prompted.
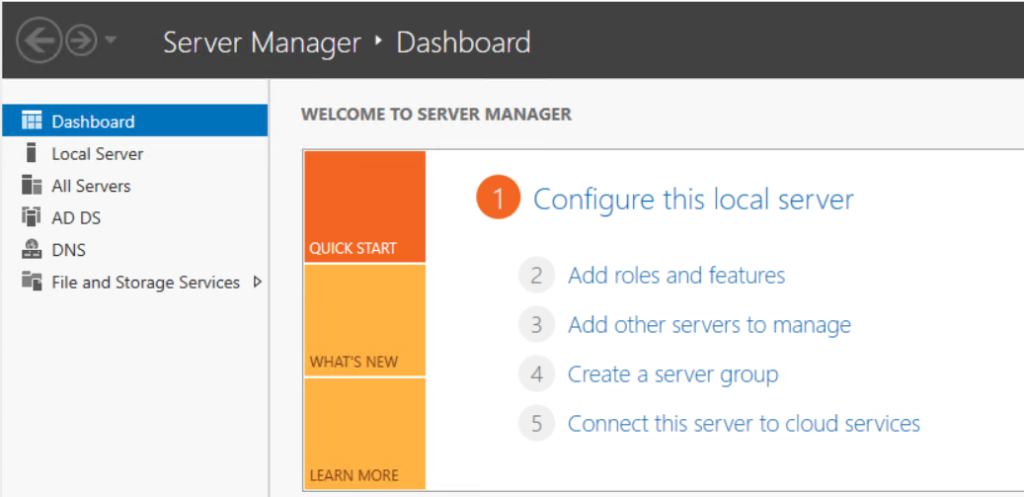
Login administrator account and open Server Manager, click Add Roles and Features.
3. In Before you screen begin, click Next.
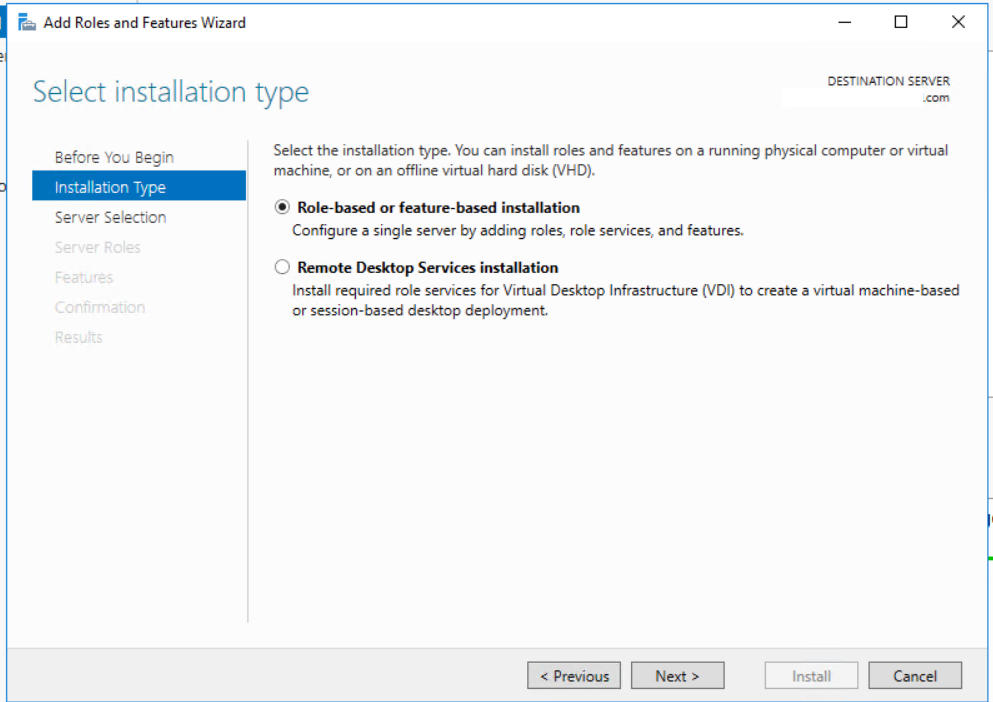
4. In Select installation type, the default is Role-based or feature-based installation. Click Next.
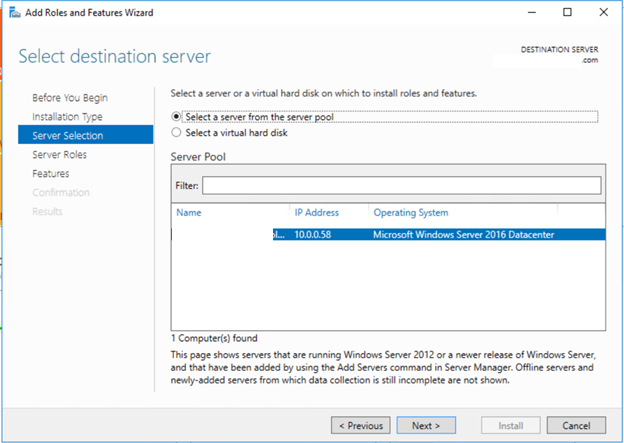
5 In Select destination server, click Next.
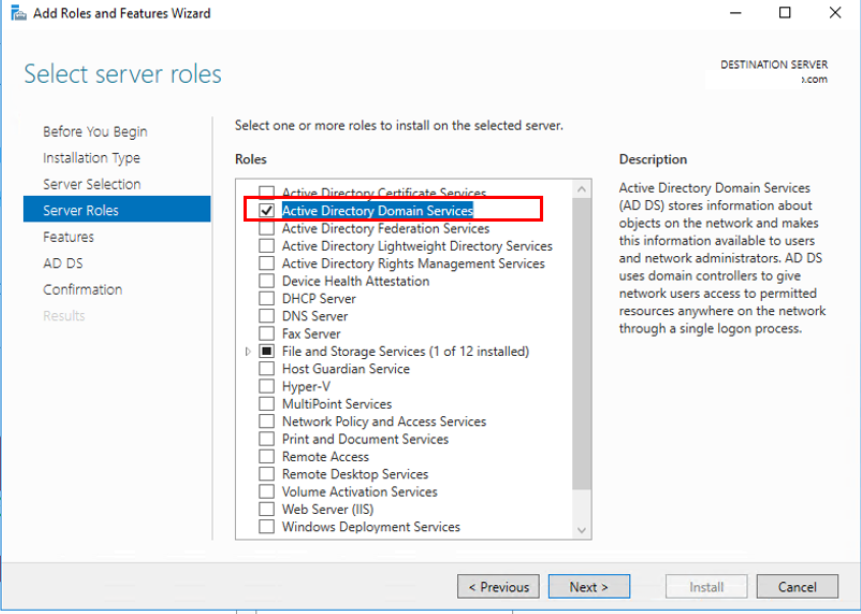
6. In Select server role, check the Active Directory Domain Service and click Next.
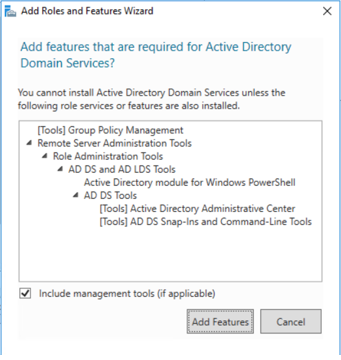
7. Click on Add Features in Add Roles and features Wizard popup.
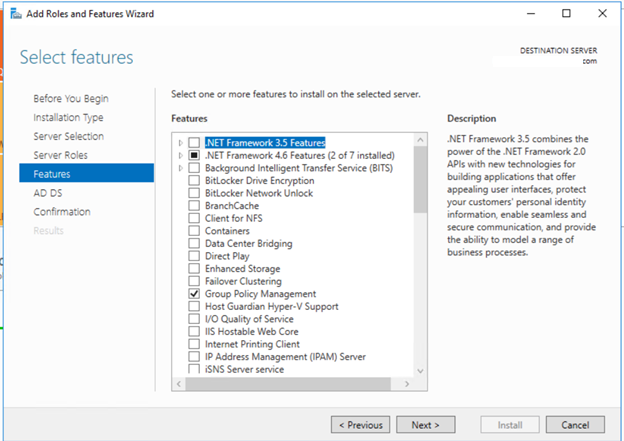
8. Click Next in Select features.
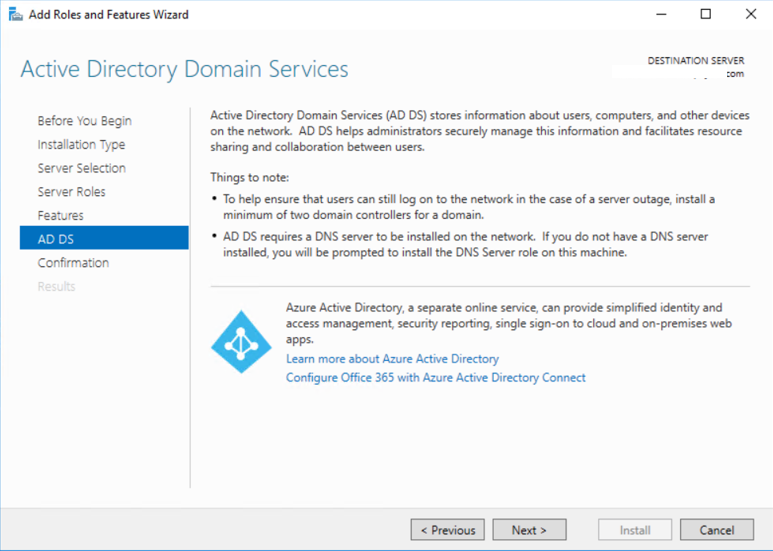
9. Click Next in Active Directory Domain Service.
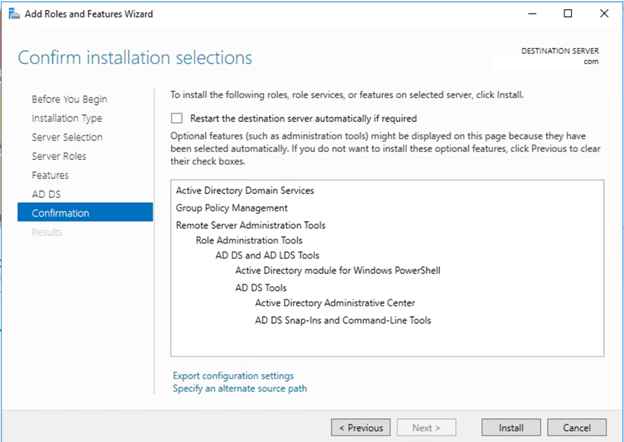
10. Click Install in Confirm installation selections. Note: you may check Restart the destination automatically if required.
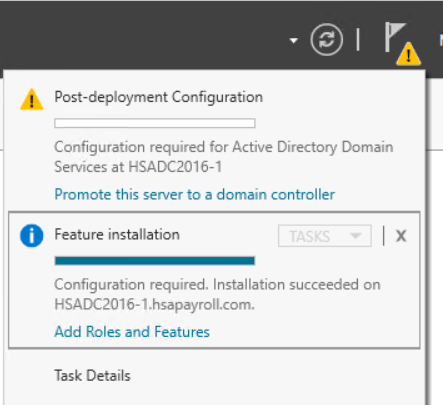
11. The installation may take a while. In Server Manager, click the yellow triangle, and from the drop-down click Promote the server to a domain controller.
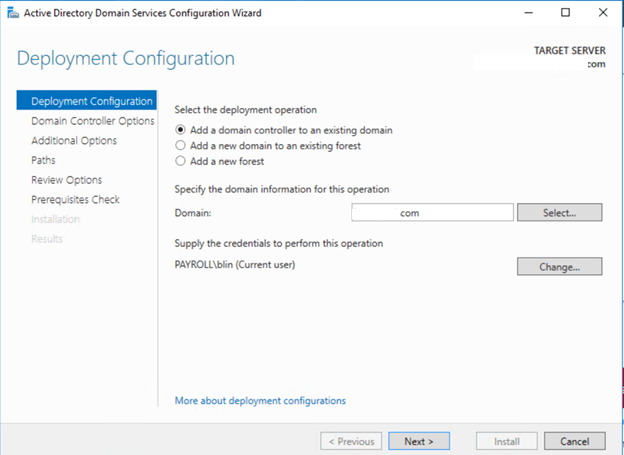
12. On the Deployment Configuration screen, select Add a domain controller to an existing forest and click Next.
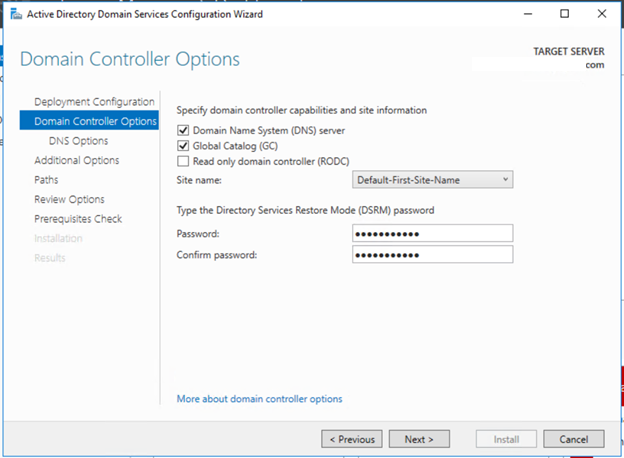
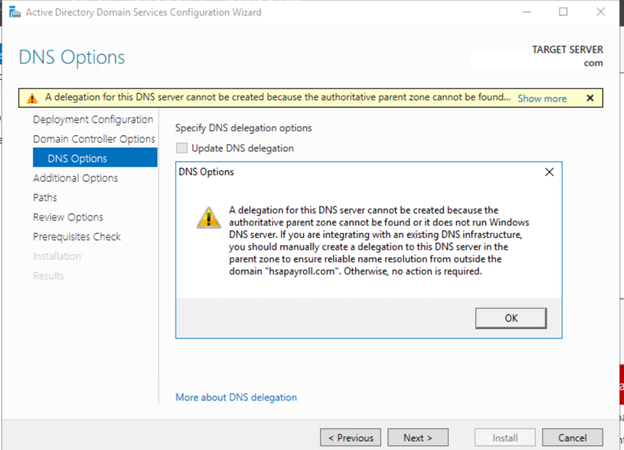
13. You have options to enable DNS and GC or RODC options in Domain Controller Options. Enter the password and click Next.
14. If you enable DNS on the new DC, you may receive a warning. Just click OK to continue.
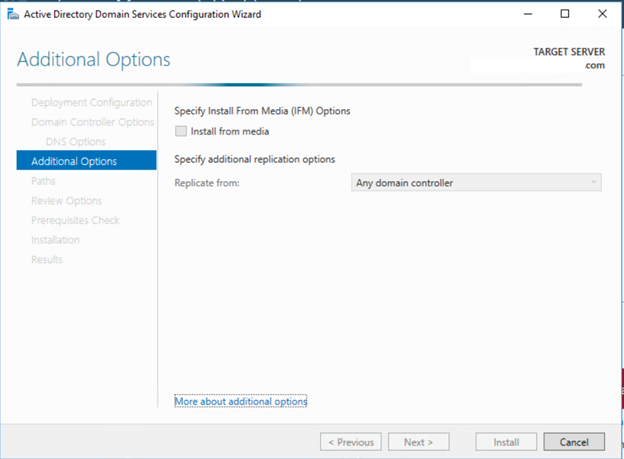
15. In Additional Options, click Next to continue.
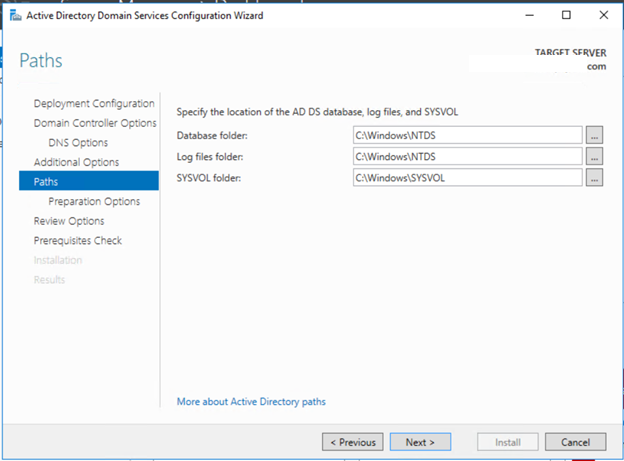
16. Click Next in Paths.
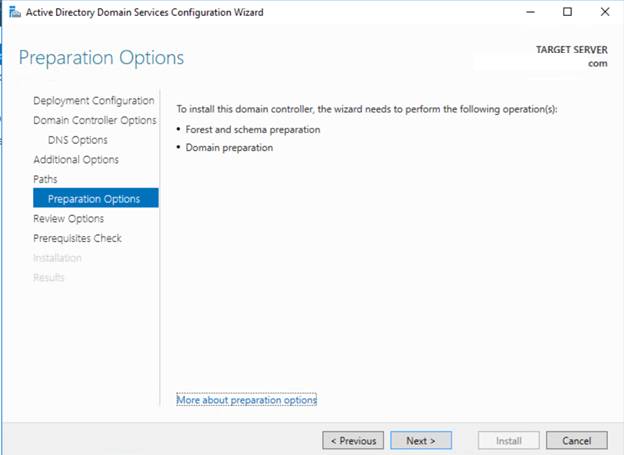
17. Click Next in Preparation Options.
18. For the remainder of the screens click Next. On the Prerequisite Check screen, click install.
19. After the restart, now it is time to transfer FSMO roles. On the Windows Server 2012 R2 server, in Server Manager, under tools, select Active Directory Module for Windows PowerShell.
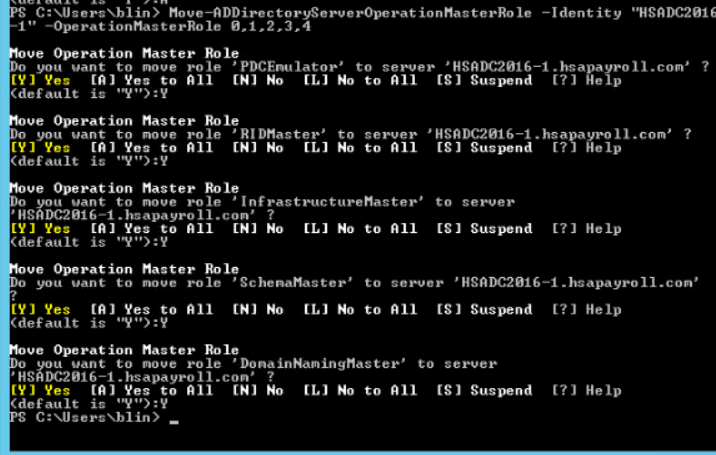
20. In the PowerShell windows use the Move-ADDirectoryServerOperationMasterRole to move the FSMO roles. You can type the name of each -OperationMasterRole or use numbers to specify the roles.
In this article, we will show you how to upgrade Domain Controller from Windows Server 2012 R2 to Windows Server 2016 in-place.
Note: It is recommended to promote a domain controller on a new server Windows 2016 and then demote the old one. However, for many small companies, they have only one DC and in-place upgrade is their only option.
A. Collect info
1. Open a command prompt, go to c:\Windows\system32, and then type systeminfo.exe. Copy and save the resulting system information.
2. Type ipconfig /all into the command prompt, and then save the resulting configuration information into the same location as above.
3. Open the Registry Editor, go to the HKEY_LOCAL_MACHINE\SOFTWARE\Microsoft\WindowsNT\CurrentVersion hive, and then copy and paste the Windows Server BuildLabEx (version) and EditionID (edition) into the same location as above.
B. Prepare
1. Windows 2016 domain controller requires the domain functional level to be 2003 or higher. To check the domain functional level, open Active Directory Domains and Trusts. Right click on the domain and then Property.
2. To do in-place upgrade of an existing domain controller to the Windows Server 2016, you need to run adprep /forestprepand adprep /domainprepmanually.
Adprep.exe is in Windows server 2016 DVD Support>Adprep folder.
When running adprepe /forestprep, you will receive the warning, enter C and press Enter to continue.
3. Ru dcdiagto check the status of DC health
For example, dcdiag /test:DNS
4. Verify current AD schema by running Powershell (in elevated mode) and run following command:
Microsoft recent update such as Windows 10 vision 2004 and 20H2 cause some problems in some computers. This article shows you how to not approve or decline these updates in WSUS.
1 With Windows Server Update Service (WSUS) open, navigate to Update Services>Servername>Updates>All Updates.
2. In Approval, select Any Except Declined; in Status, select Any. Click Refresh.
3. Right click on the update you want to decline. Select Decline.
4. Click Yes in the Decline Update warming.
5. To confirm the declined updates, select Declined in Approval and any in Status. Then click Refresh.
Note: You can also disable
Automatic Approvals. To do that, Got o Options>Automatic Approvals. Uncheck
Default Automatic Approval Rule.
In this article, we will show you how to upgrade Domain Controller from Windows Server 2012 R2 to Windows Server 2019 in-place.
Note: It is recommended to promote a domain controller on a new server Windows 2019 and then demote the old one. However, for many small companies, they have only one DC and in-place upgrade is their only option.
A. Collect info
1. Open a command prompt, go to c:\Windows\system32, and then type systeminfo.exe. Copy and save the resulting system information.
2. Type ipconfig /all into the command prompt, and then save the resulting configuration information into the same location as above.
3. Open the Registry Editor, go to the HKEY_LOCAL_MACHINE\SOFTWARE\Microsoft\WindowsNT\CurrentVersion hive, and then copy and paste the Windows Server BuildLabEx (version) and EditionID (edition) into the same location as above.
B. Prepare
1. Windows 2019 domain controller requires the domain functional level to be 2008 or higher. To check the domain functional level, open Active Directory Domains and Trusts. Right click on the domain and then Property.
2. To do in-place upgrade of an existing domain controller to the Windows Server 2019, you need to run adprep /forestprepand adprep /domainprepmanually.
Adprep.exe is in Windows server 2019 DVD Support>Adprep folder.
When running adprepe /forestprep, you will receive the warning, enter C and press Enter to continue.
3. Ru dcdiagto check the status of DC health
For example, dcdiag /test:DNS
4. Verify current AD schema by running Powershell (in elevated mode) and run following command:
In this article, we will show you how to upgrade Domain Controller from Windows Server 2016 to Windows Server 2019 in-place.
Note: It is recommended to promote a domain controller on a new server Windows 2019 and then demote the old one. However, for many small companies, they have only one DC and in-place upgrade is their only option.
A. Collect info
1. Open a command prompt, go to c:\Windows\system32, and then type systeminfo.exe. Copy and save the resulting system information.
2. Type ipconfig /all into the command prompt, and then save the resulting configuration information into the same location as above.
3. Open the Registry Editor, go to the HKEY_LOCAL_MACHINE\SOFTWARE\Microsoft\WindowsNT\CurrentVersion hive, and then copy and paste the Windows Server BuildLabEx (version) and EditionID (edition) into the same location as above.
B. Prepare
1. Windows 2019 domain controller requires the domain functional level to be 2008 or higher. To check the domain functional level, open Active Directory Domains and Trusts. Right click on the domain and then Property.
2. To do in-place upgrade of an
existing domain controller to the Windows Server 2019, you need to run adprep /forestprepand adprep /domainprepmanually.
Adprep.exe is in Windows server 2019 DVD Support>Adprep folder.
When running adprepe /forestprep, you will receive the warning, enter C and press Enter to continue.
3. Ru dcdiagto
check the status of DC health
For example, dcdiag /test:DNS
4. Verify current AD schema by
running Powershell (in
elevated mode) and run following command: