To check installation in Progress in Microsoft System Center, login System Center/Operations manager. Go to Administration>Device Management>Pending Management.
To check installation in Progress in Microsoft System Center, login System Center/Operations manager. Go to Administration>Device Management>Pending Management.
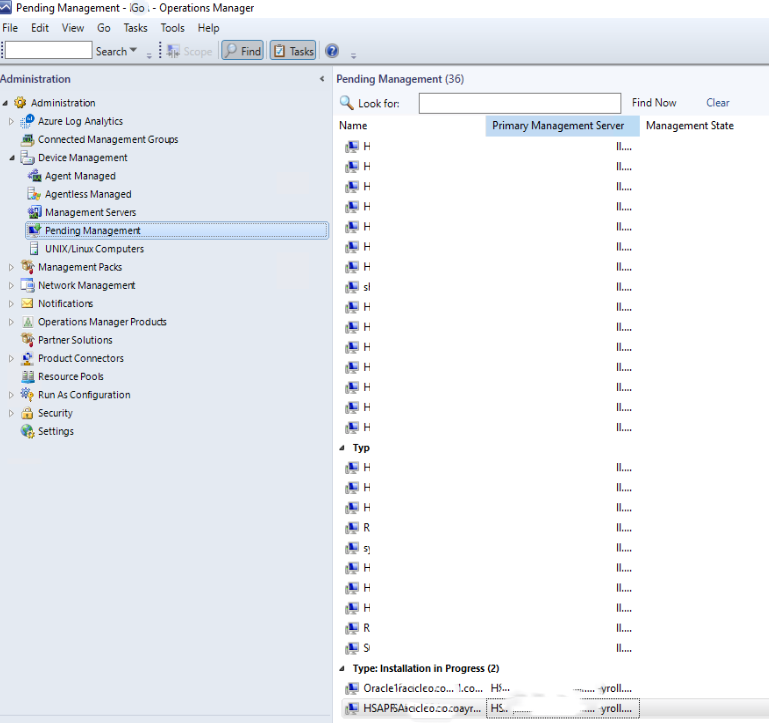
To check the status of System center Agent installation, login System Center/Operations manager. Go to Administration>Device Management>Pending Management.
Under Pending Management, you can check the status of Agent Requires Update, Failed Agent installation, and Installation in Progress.
Note: Before expanding a volume, you should have free space. If not, you may want to delete other volumes. Please refer to this post:
How to delete a Volume on QNAP

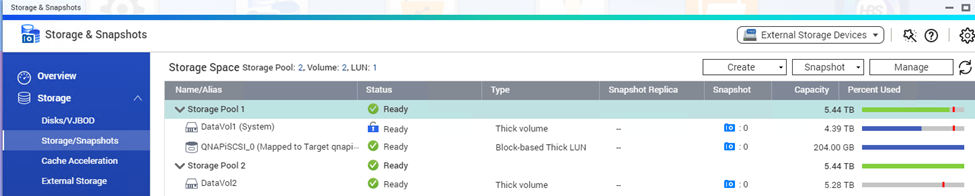
3. Click on Storage and then Storage/Snapshots.
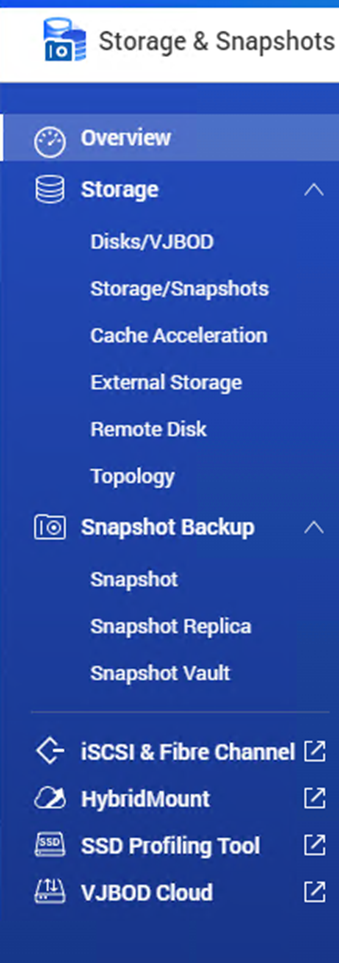
4. Select a volume you want to extend and then click Manage.

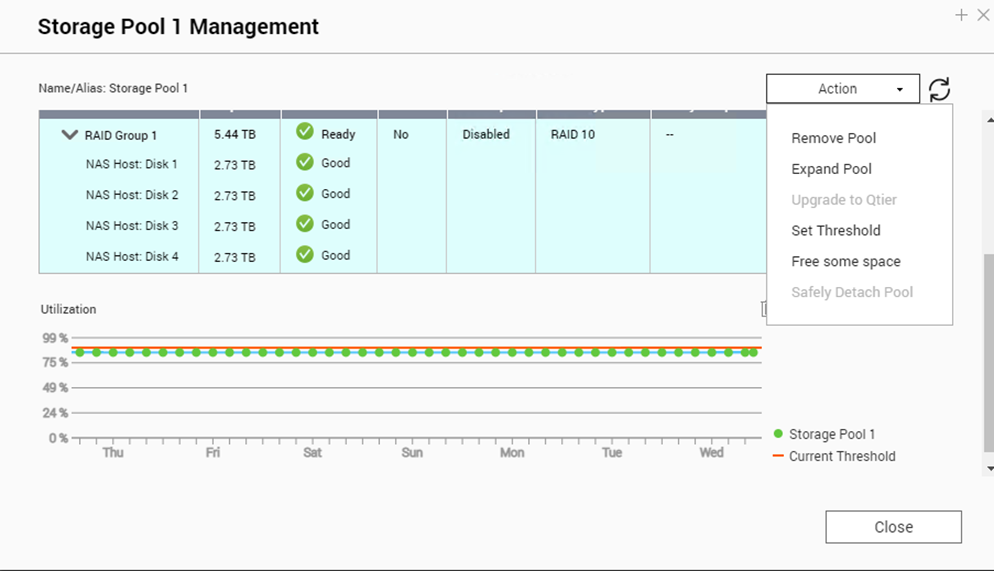
5. Click Action and then Expand Pool.
6. The Volume Resizing Wizard opens and keep the default selection. Click Next.
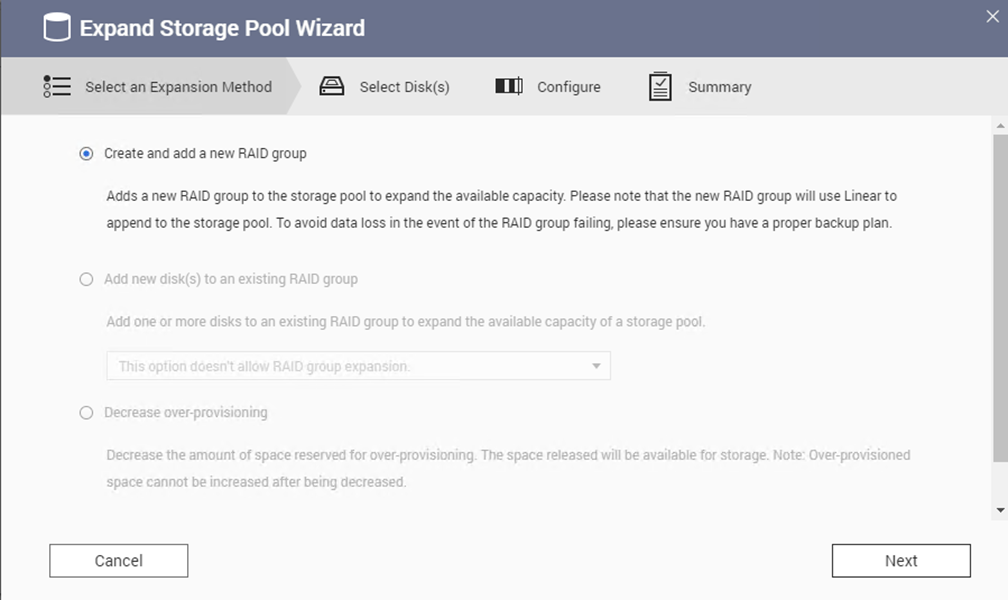
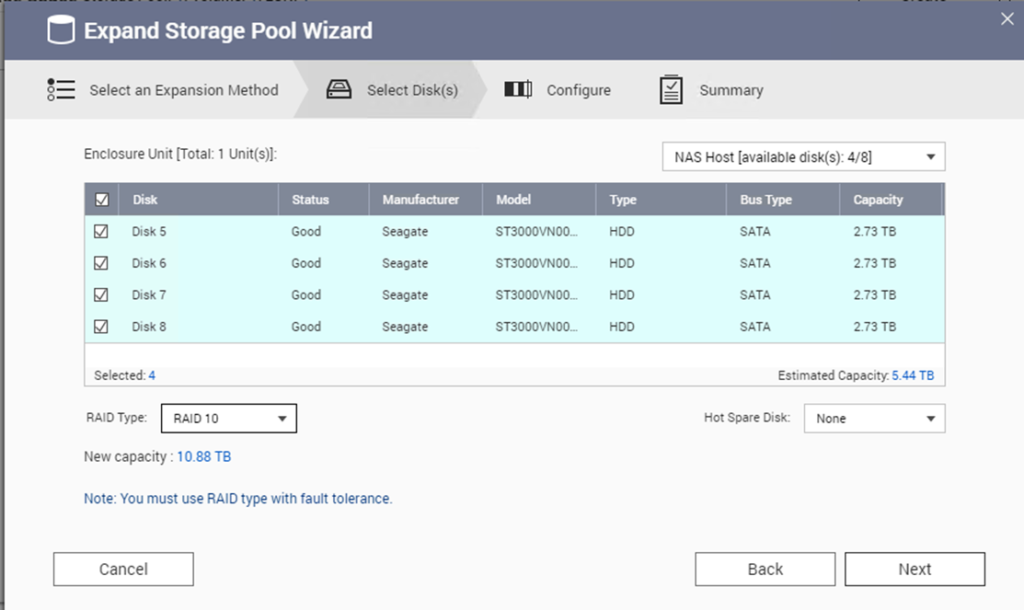
7. Specify a new capacity for the volume. Select Disks, in our example all. Select RAID type, for example RAID 10.
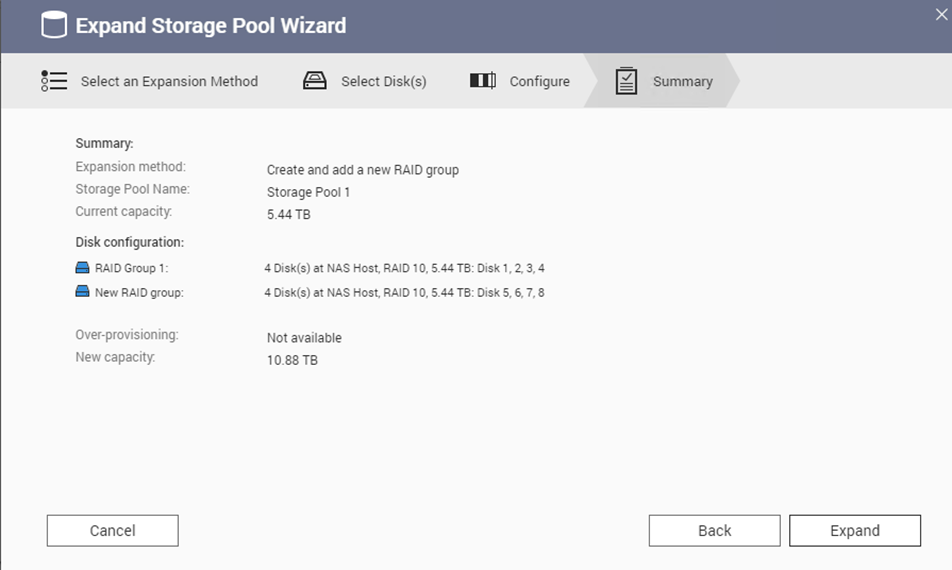
8. Review the expand summary
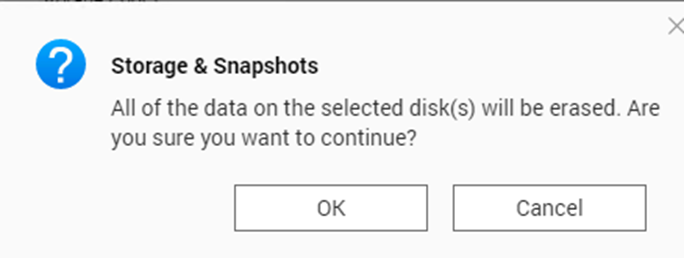
9. In the popup warning, click on Expand to process.
10. It is processing the expand.
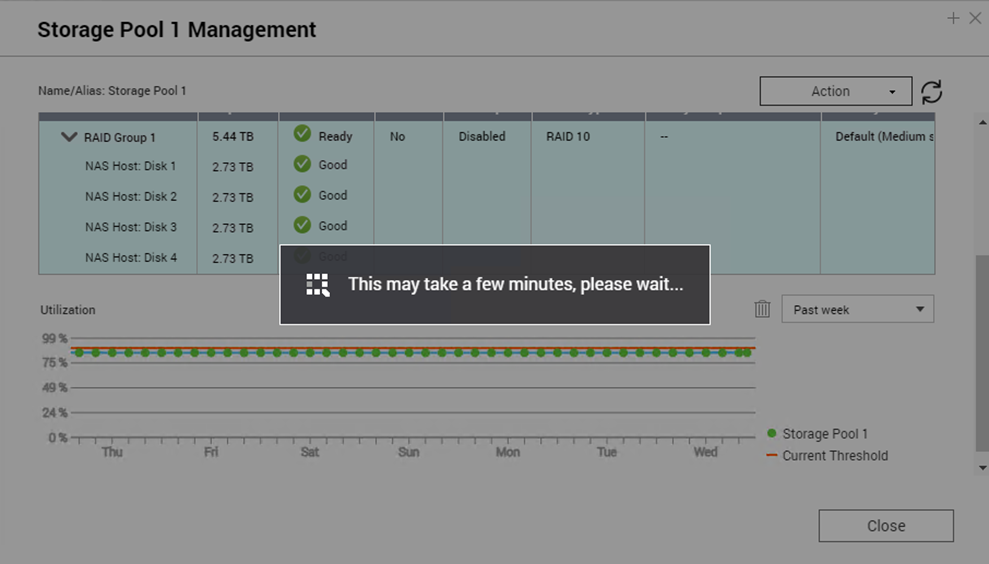
11. Completed.
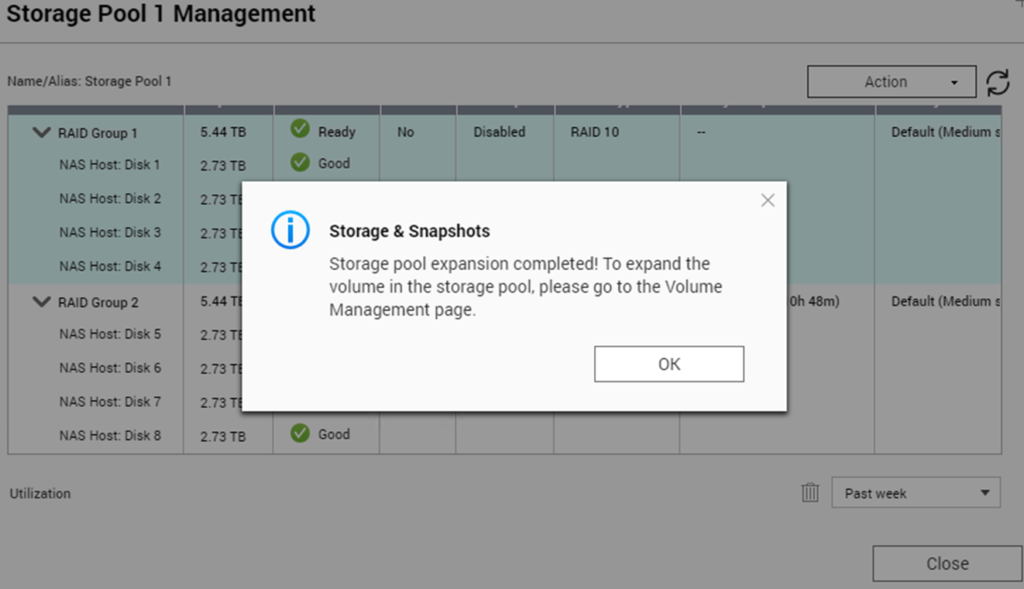
Storage Pool 1 Management shows
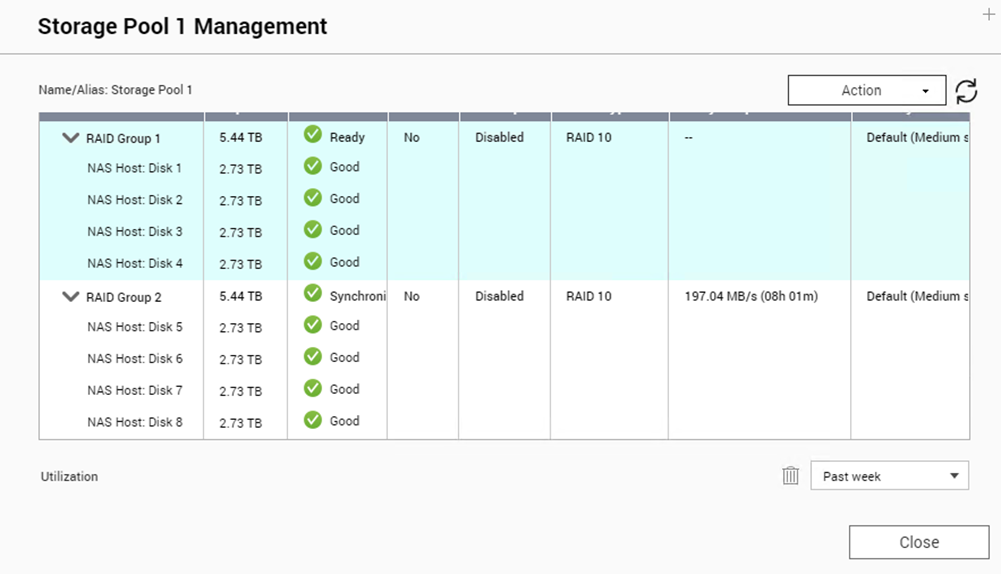
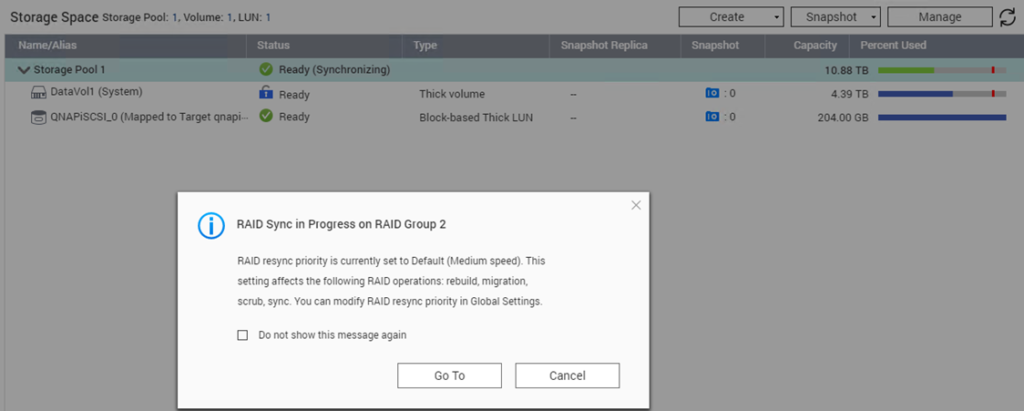
It is syncing.

Please view this step by step video:
Note:
3. Click on Storage and then Storage/Snapshots.
4. Select a volume and then click Manage.
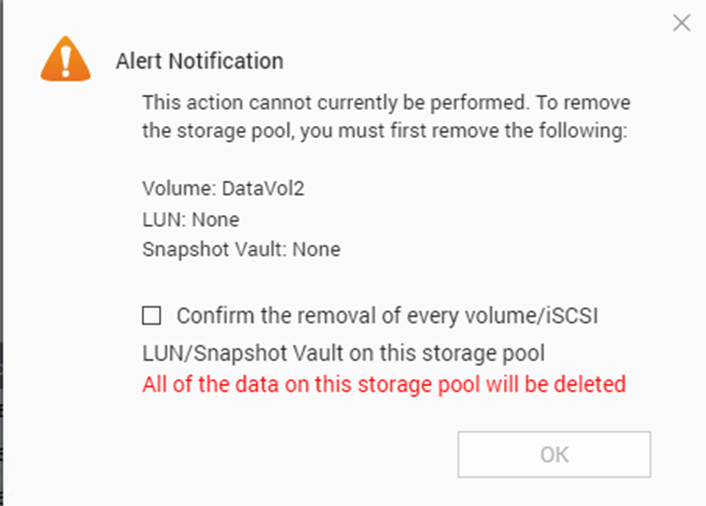
Warning: All data on the selected volume will be deleted.
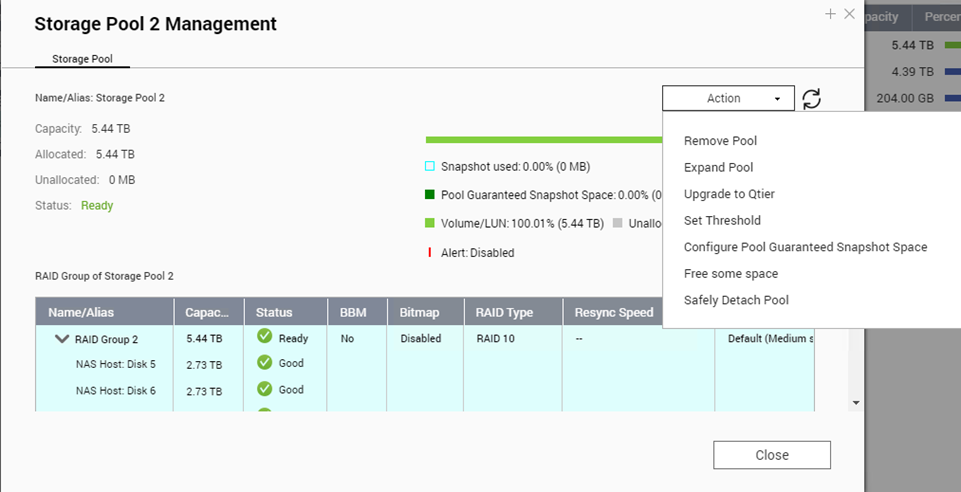
5. Select Action > Remove pool
6. Click OK to confirm the removal.
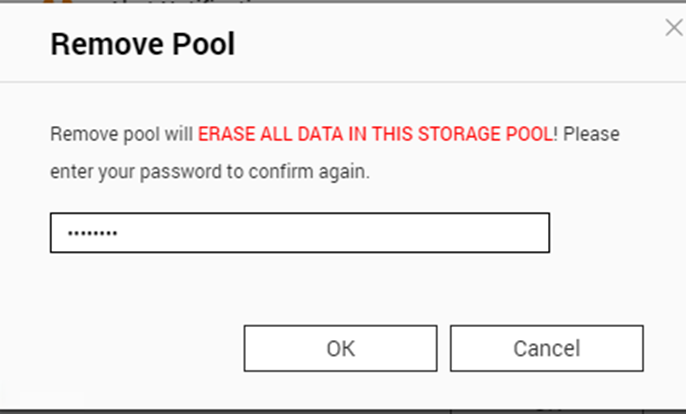
7. Enter the administrator password and click on OK to process the removal.
8. Pool 2 has been deleted.

Please view this step by step video: