How to backup a SharePoint using Veeam backup for Microsoft 365

  1. Do one of the following:
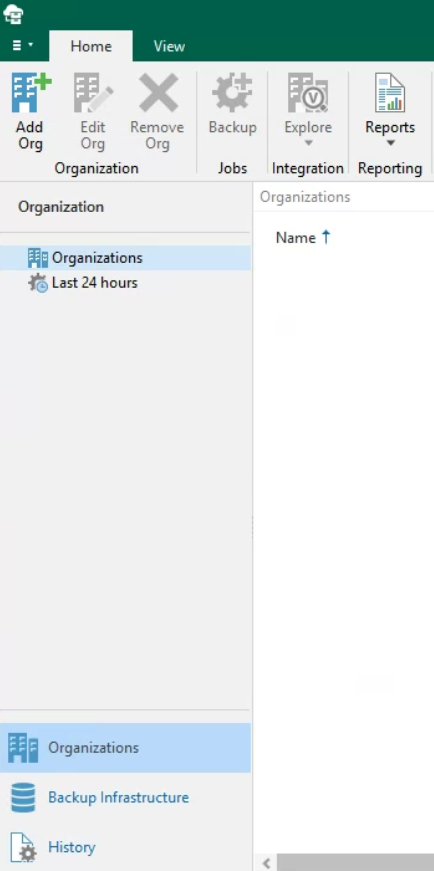
  • On the Home tab, click Add Org 

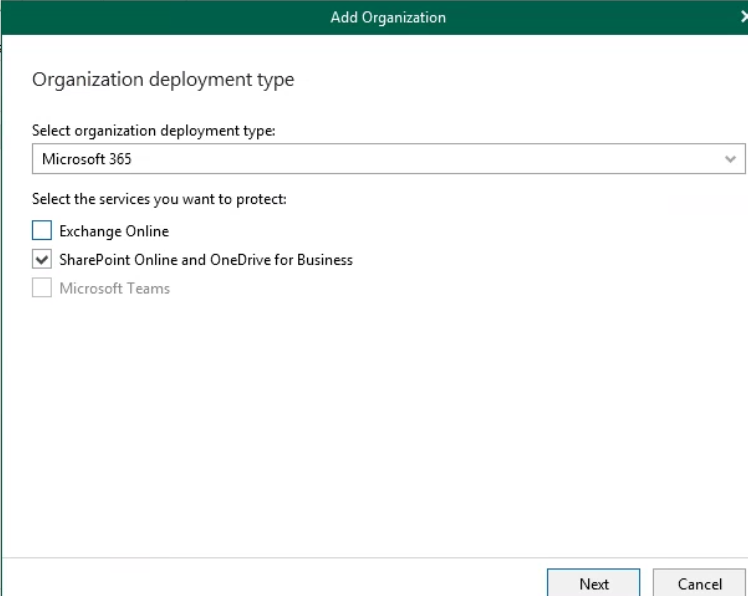
  • Check SharePoint Online and OneDrive for Business.
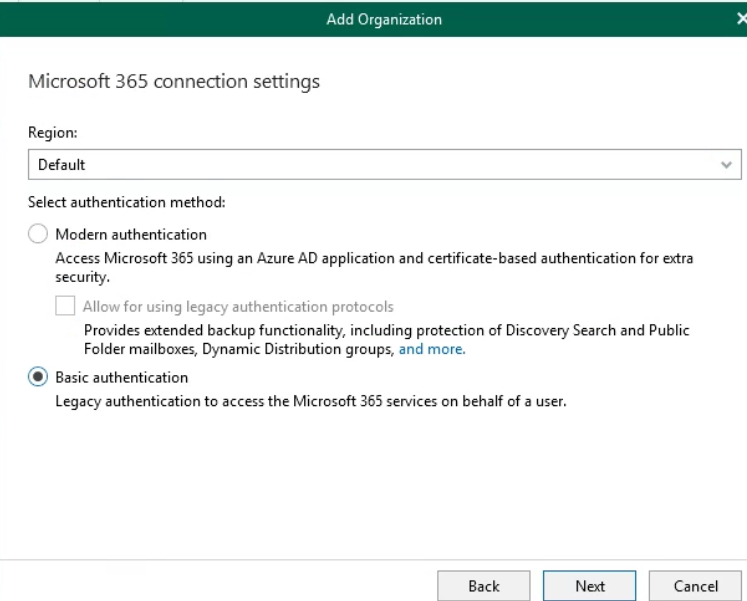
  • Check Moden authentication method and Next. Note: If you check Basic authentication, you may get an error.
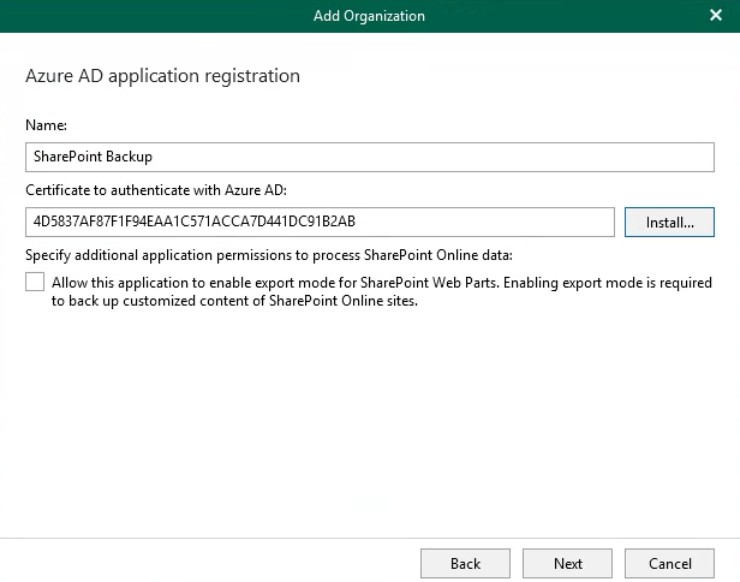
  • Enter the name and click Install.
  • Check Generate a new self-signed certificate.
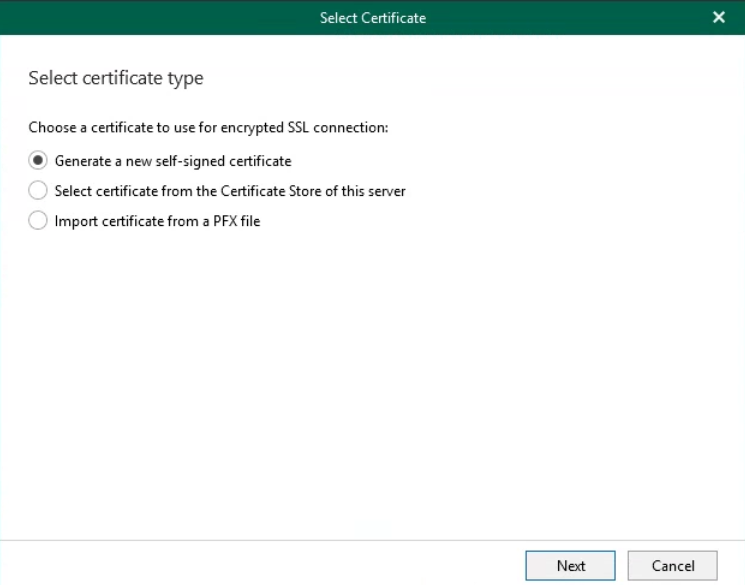
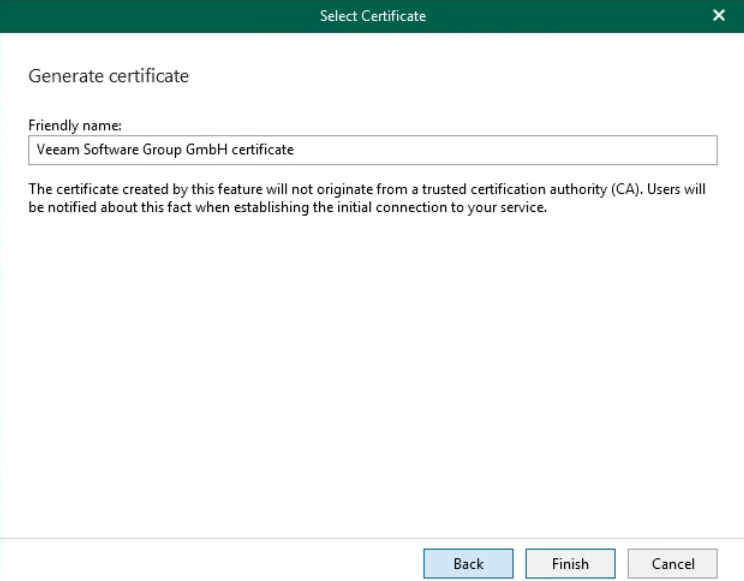
  • Enter name.
  • Click Next.
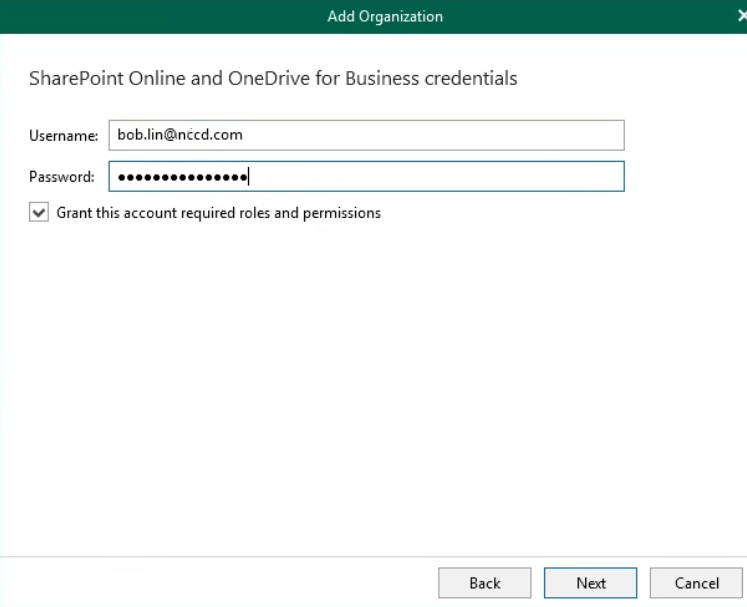
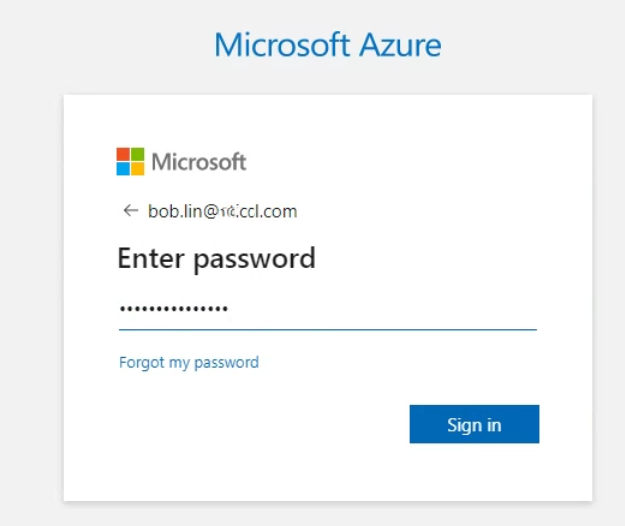
  • Enter your office 365 admin credentials.
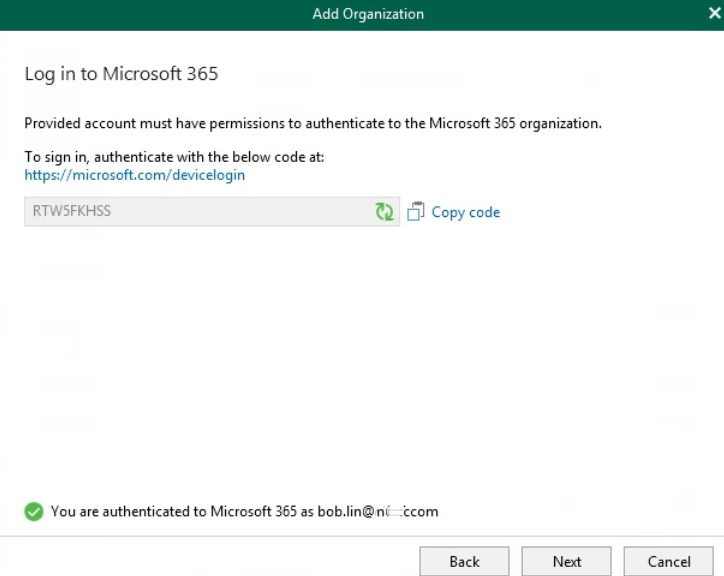
  • Copy code and click on https://microsoft.com.devicelogin.
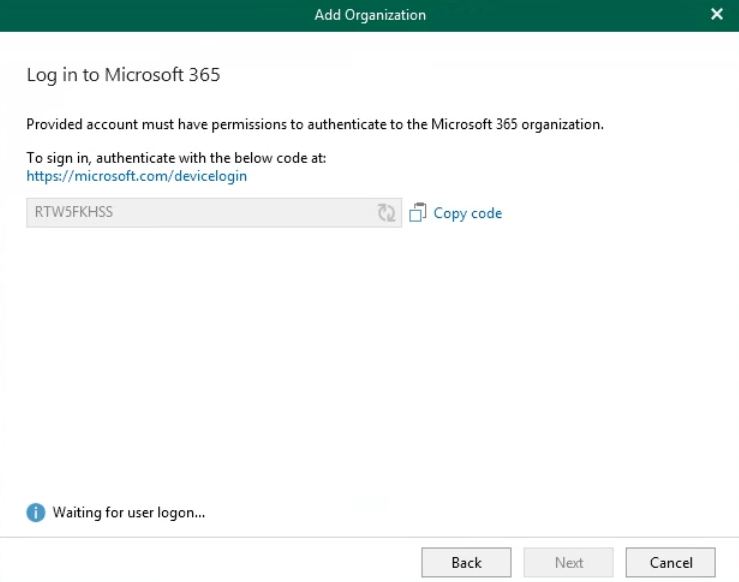
  • Post the code.

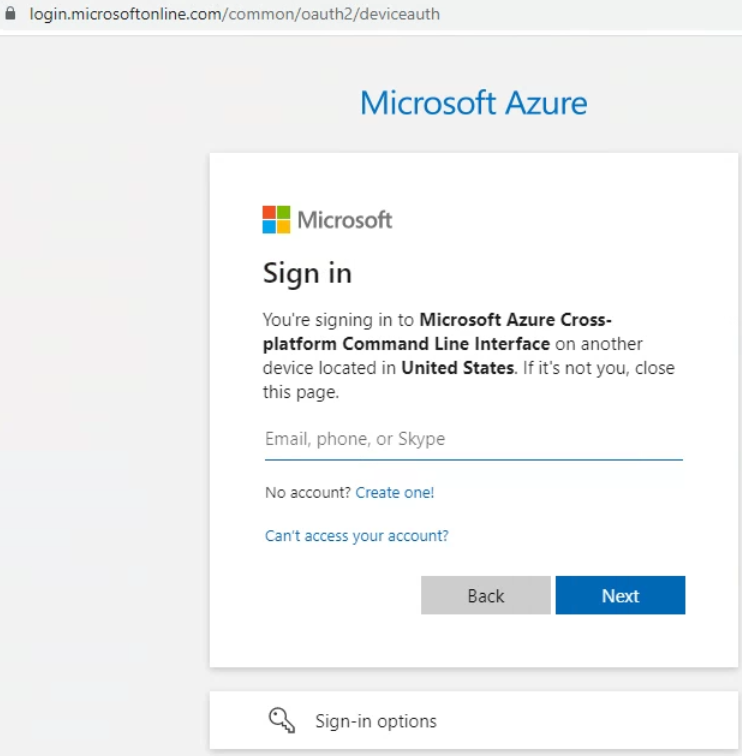
  • Sign in Azure using your Azure admin credentials.
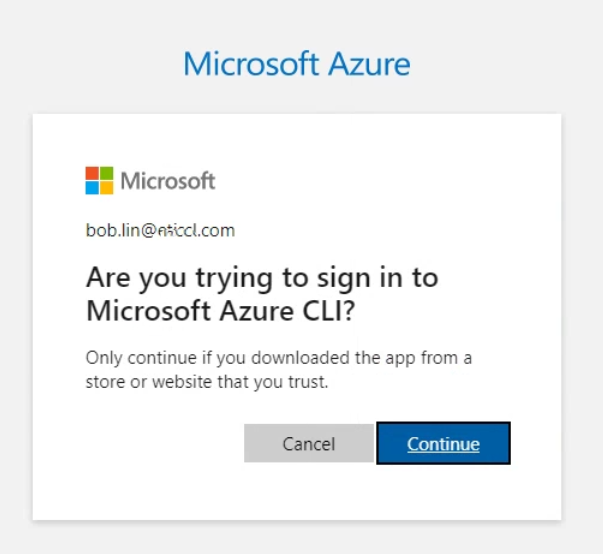
  • Click on Continue.

  • It shows You are authenticated to Microsoft 365 at
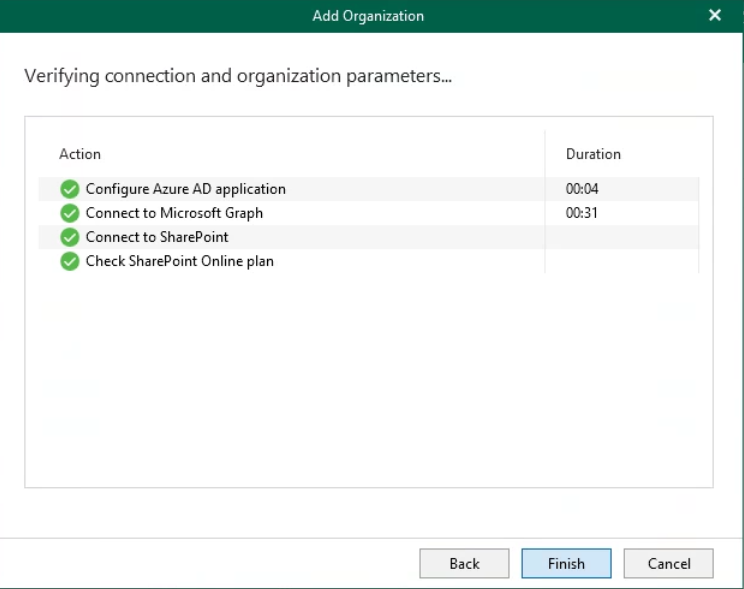
  • It takes a while to connect to your organization.
  • Click on Finish.
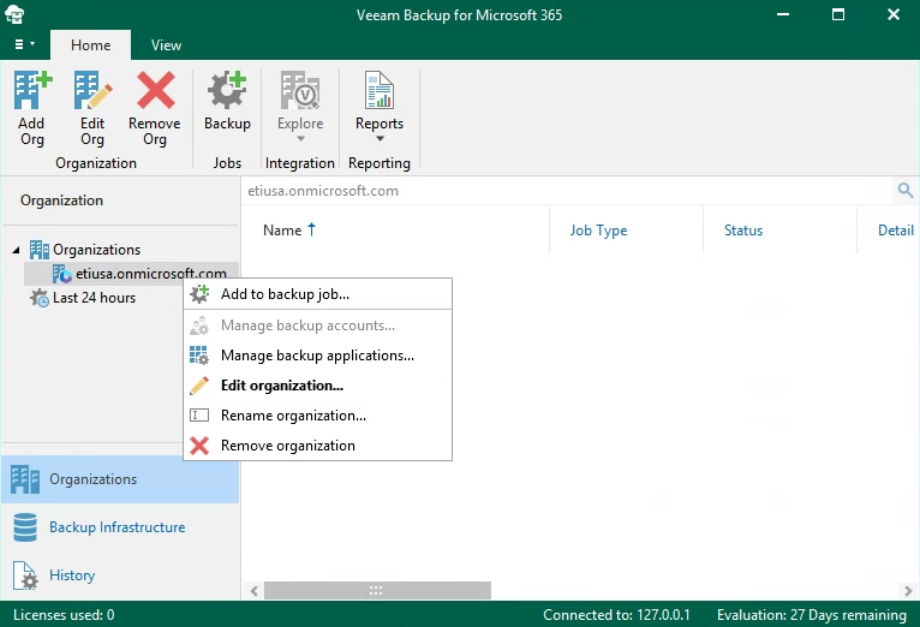
  • Now, right click on your organization and click Add to backup job
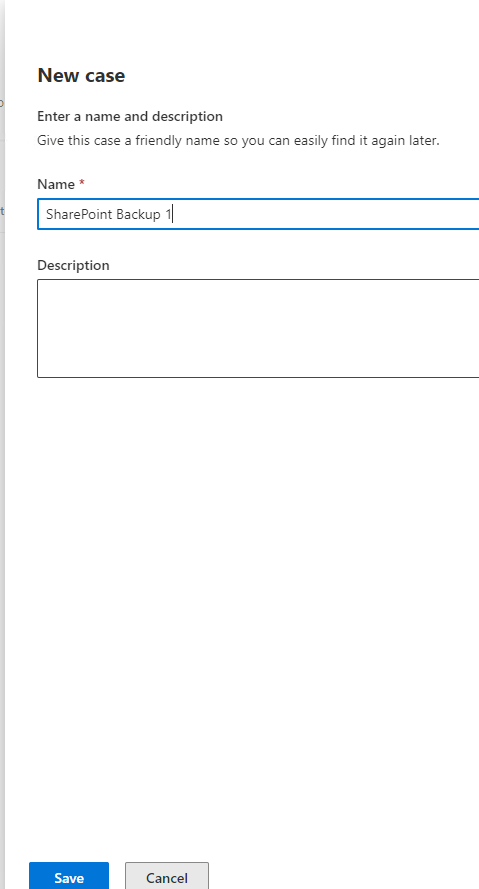
  • Enter the backup name.
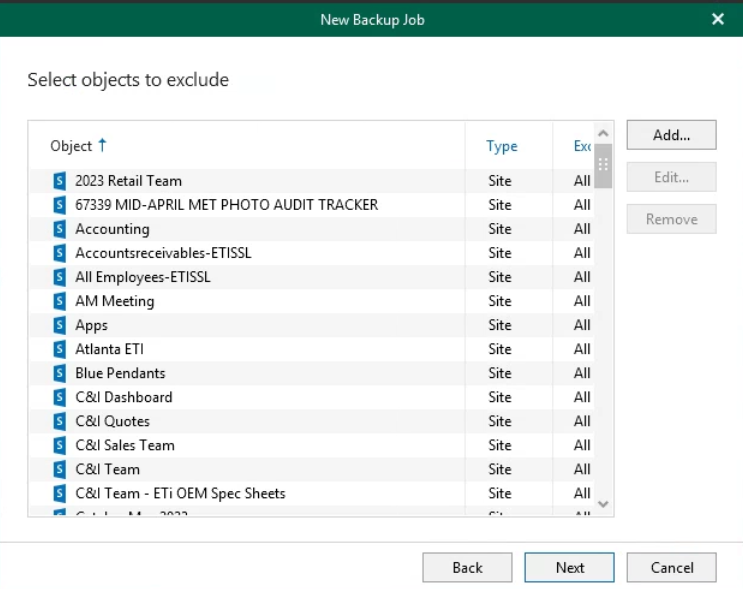
  • Select objects to back up.
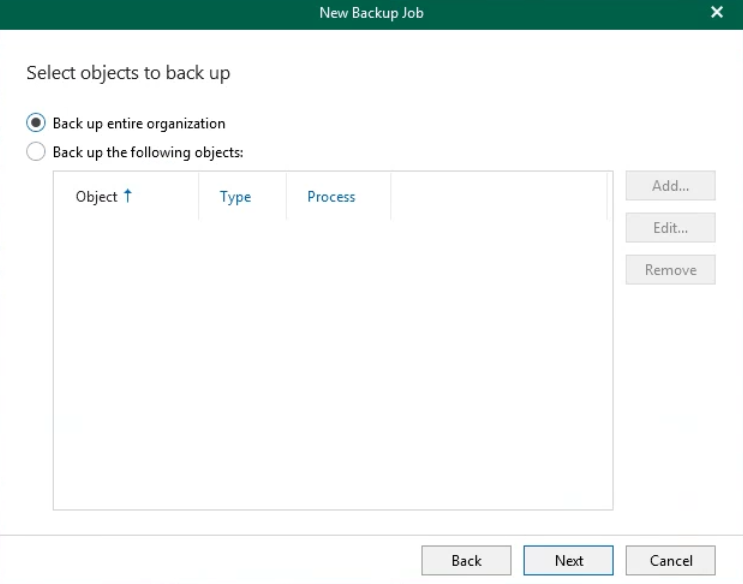
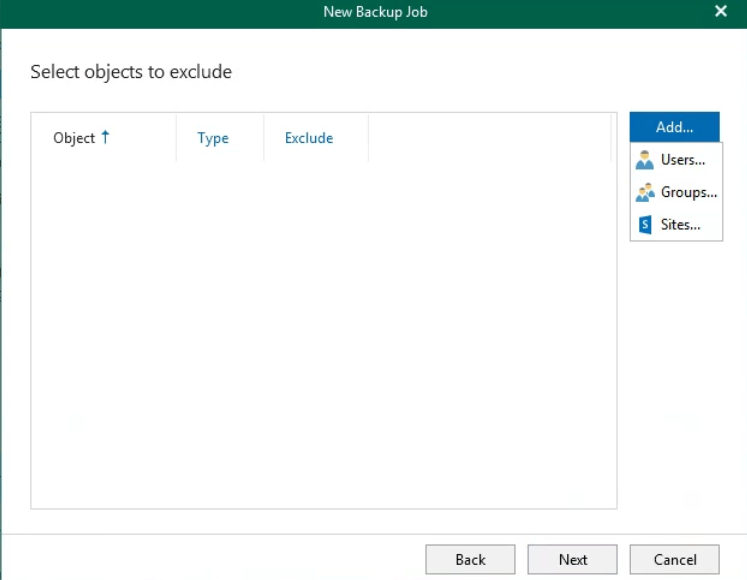
  • Click on Add.
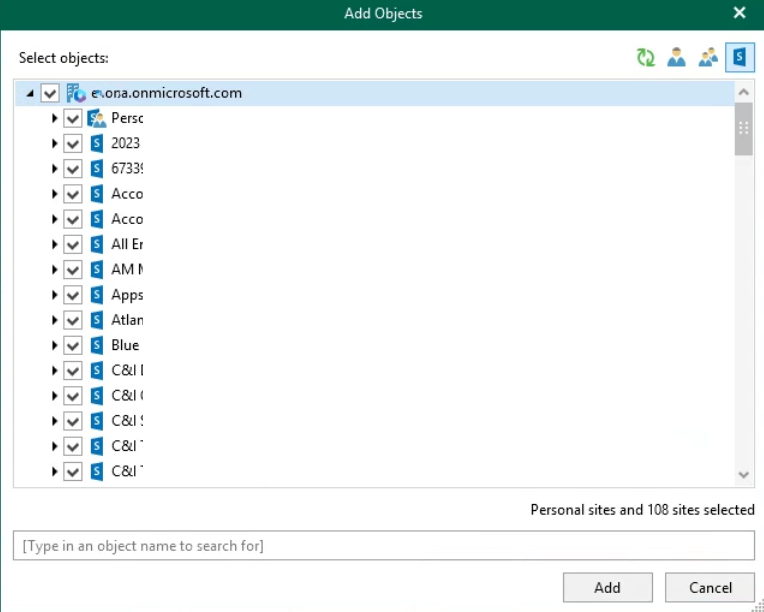
  • Select what you want to backup, for example sites…
  • Select the sites and click Add.
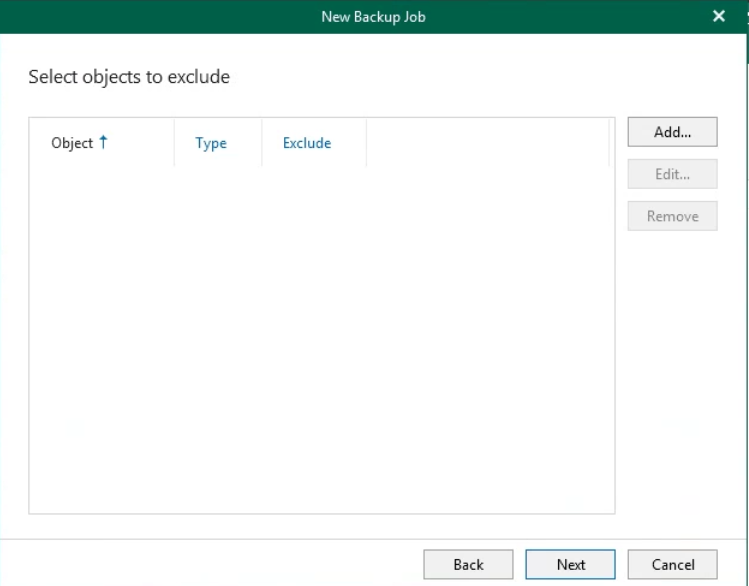
  • Click Next.
  • Make sure Backup proxy and repository are correct. Then Next.
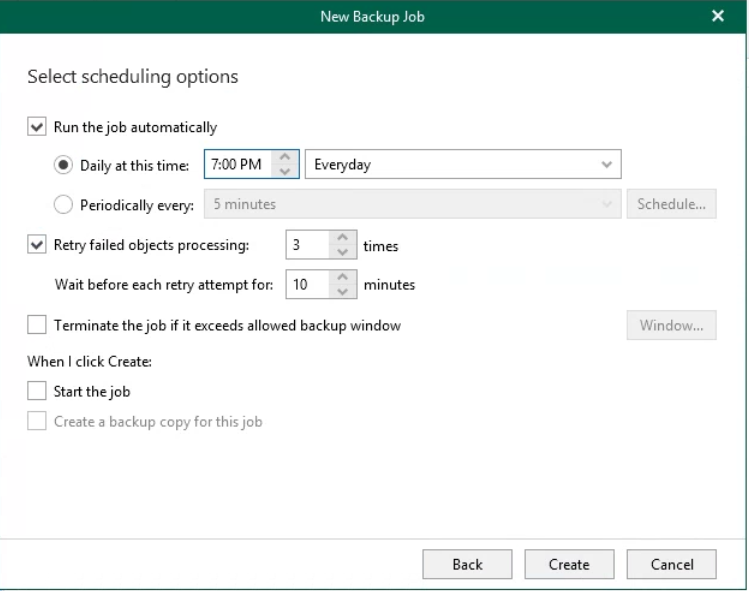
  • Schedule the backup.
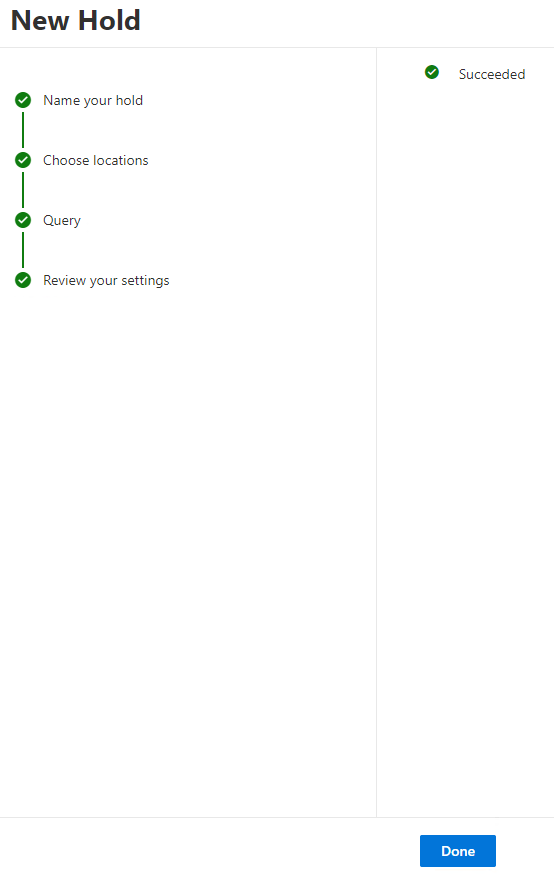
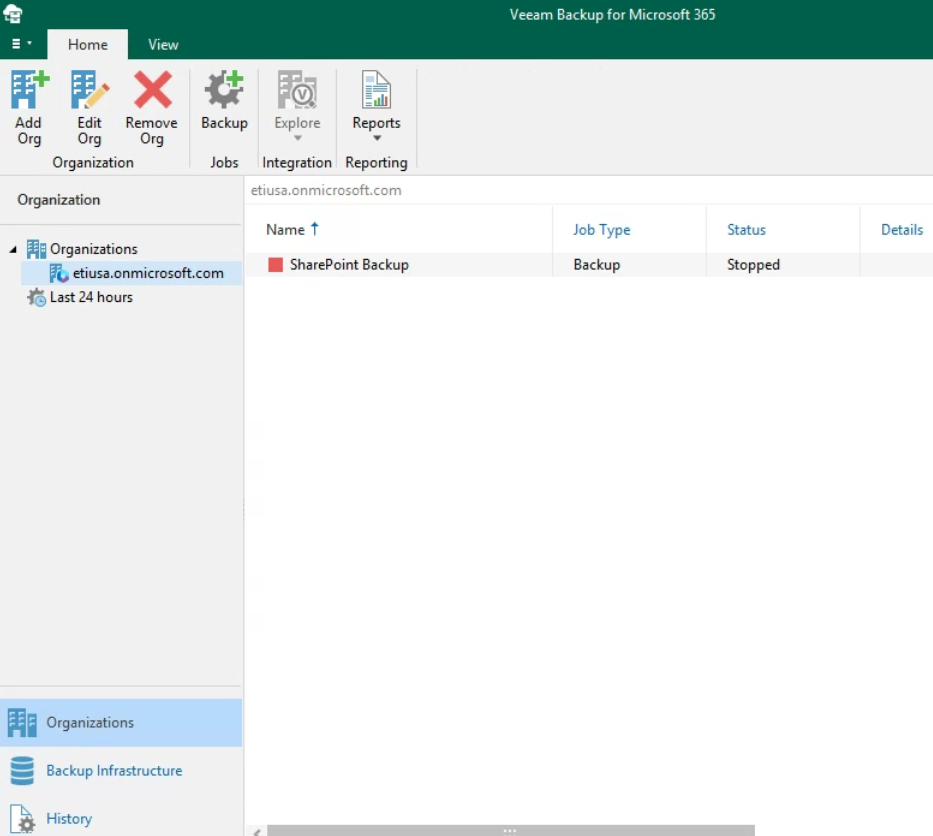
  • The backup is ready.

  • Right-click the Databases node and select Add database.
  1. Specify the location of the Microsoft SharePoint primary content database file (.mdf). The secondary database and the transaction log file (.ldf) will be added as well. Keep in mind that shared folders and mapped network drives are not supported as a location for Microsoft SharePoint content database files.

To add remote BLOB stores, click Add next to the Remote BLOB Stores section.

  1. Click OK.

How to access Remote Computer using Microsoft Intune

Configure the TeamViewer connector

To provide remote assistance to devices, configure the Intune TeamViewer connector using the following steps:

  1. Sign in to the Microsoft Intune admin center.
  2. Select Tenant administration > Connectors and tokens > TeamViewer Connector.
  3. Select Connect, and accept the license agreement.
  4. Select Log in to TeamViewer to authorize.
  5. A web page opens to the TeamViewer site. Enter your TeamViewer license credentials, and then Sign In.

Remotely administer a device

After the connector is configured, you’re ready to remotely administer a device.

  1. In the the Microsoft Intune admin center.
  2. Select Devices > All devices.
  3. From the list, select the device that you want to remotely administer > New Remote Assistance Session. You may have to select the three dots () to see this option.
  4. After Intune connects to the TeamViewer service, you’ll see some information about the device. Connect to start the remote session.

How to back up SharePoint Online manually

  • Step 1: Open your SharePoint Site in a web browser.
  • Step 2: Go to SharePoint Online files library and click on Documents. Select the files you need to back up, right click and choose the Download option. This will download the selected files to your device.

How to back up SharePoint Online using eDiscovery feature

eDiscovery tool helps in retaining critical business data for any period of time. This helps in locating data that could be used as a potential evidence during a legal procedure.

Note : You will need to subscribe to Microsoft 365 Enterprise E3 and E5 plans to access the eDiscovery tool.The eDiscovery tool comprises four modules:

Case : A way to organize data and restrict the held data to a certain set of users.

Hold : Protects important data from user modifications or deletions.

Search : Lets the administrator search for specific data.

Export : Exports the discovered data as a .pst file.

Case and Hold options are used to back up your SharePoint data while Search and Export options are used to search and export the data held by the user.Here is how you can backup SharePoint Online data using eDiscovery feature

  • Step 1:  Log in to Microsoft 365 admin center.
  • Step 2: Navigate to Admin centers -> Compliance.
  • Step 3: You will be redirected to the  Admin Center page for Security and Compliance. Navigate to eDiscovery and select the eDiscovery option from the drop-down menu, for example Standard.
  • Step 4: Next on Create a case.
  • Step 5: Enter the Case name and Description. Click Save.
  • Step 6: Double click on the case you just created.

  • This will redirect you to a new tab with settings specific to the case selected. The next step is to create a Hold.

How to create a hold in eDiscovery

  • Step 7: In the redirected page, navigate to Holds in the toolbar and click on Create.

  • Step 8: Enter the Hold name and description and click on Next. This will take you to the Choose locations option.
  • Step 9: Click on Choose sites option.
  • Step 10: In the next window, select the site that needs to be added and click on the button Choose > Done. This will take you back to the Create a New Hold page. Click Next.
  • Step 11: Click on Add Conditions options to filter data according to the date, sender name, size, subject, and so on. Click Next.

Limitations of SharePoint backup using eDiscovery feature

  • Each user has a limited storage available. If you delete files to stay within the storage limit, the deleted files cannot be recovered. Also, if the user account is deleted, then the backup data is lost forever.
  • eDiscovery feature is available only for organizations with Microsoft 365 Enterprise E3 or E5 plans.

How to back up SharePoint Online using OneDrive sync client

With OneDrive sync client, you can sync SharePoint Online files to your desktop so that these files are available offline. This can also be used as a backup to create a copy of your SharePoint data. Here is how you can backup SharePoint Online data using OneDrive sync client:

  • Step 1: Login to SharePoint and open the Site which needs to be synced with OneDrive desktop application.
  • Step 2: Navigate to the module Documents.
  • Step 3: Click on Sync to download the documents to the OneDrive folder on your desktop.  This will prompt you to open the OneDrive folder for confirmation.
  • Step 4: Click on Open Microsoft OneDrive.

All the selected files will be available on your desktop. However, the files will be in sync with SharePoint, and therefore, any deletion in SharePoint will be reflected in the desktop, erasing the backed up data.To create a backup, copy all the downloaded files to another folder on the desktop or to an external hard drive.Though the OneDrive Sync Client can be used as a backup, relying on it completely could be risky, as local machines are prone to crashes or malware attacks.

Limitations of SharePoint backup using OneDrive sync client

  • Infrequent Backups: Since the process of taking the backup is manual, creating consistent, regular backups will become a challenge
  • Limited Storage: To manage your storage space, you will be forced to delete older files that are of less importance at the moment
  • Responsibility on End User: This approach is applicable only if individual users take responsibility for backing up their data. An administrator cannot manage backup for individual users.