Situation: You may have a problem to load Outlook if the Outlook files are too large. This article provides some resolutions to reduce Outlook data files.
Resolution 1: Reduce the size of your Outlook data file by moving or archiving items from the file. To archive items from the file, configure the Cached Exchange mode settings. Here are step by step:
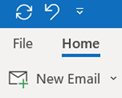
- With Outlook open, on the File tab.
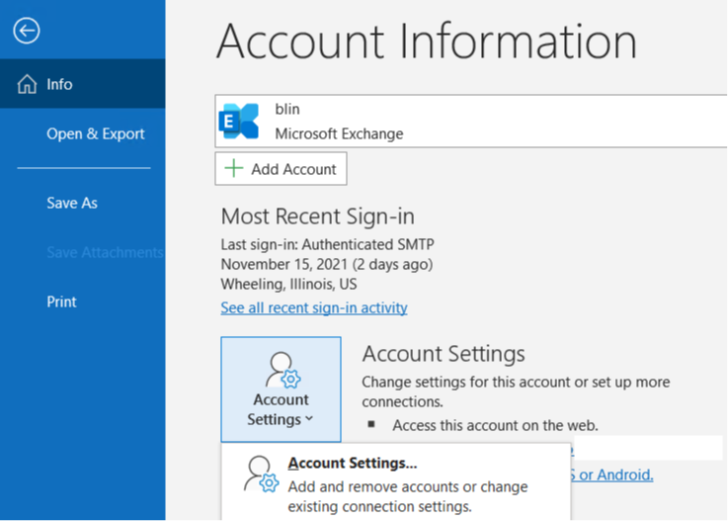
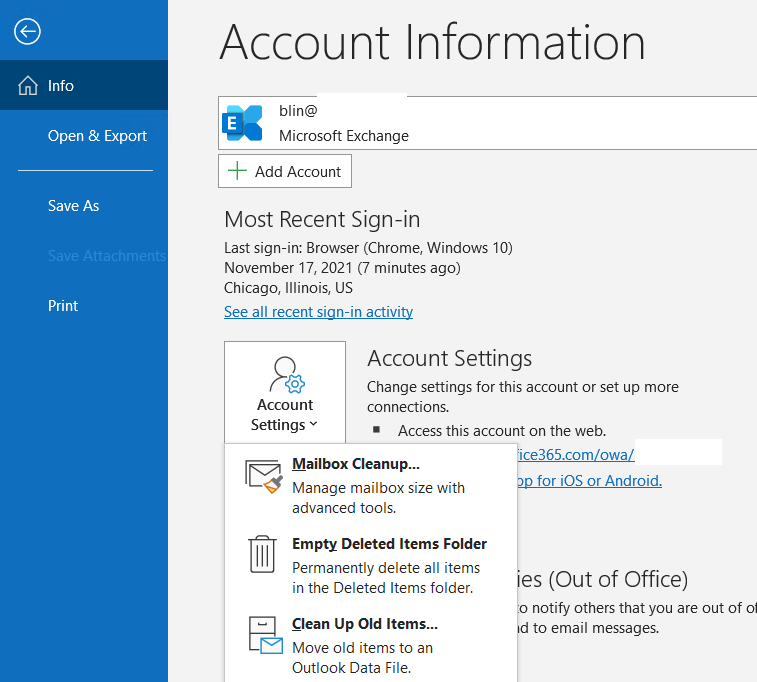
2. Click Account Settings, and then click Account Settings.
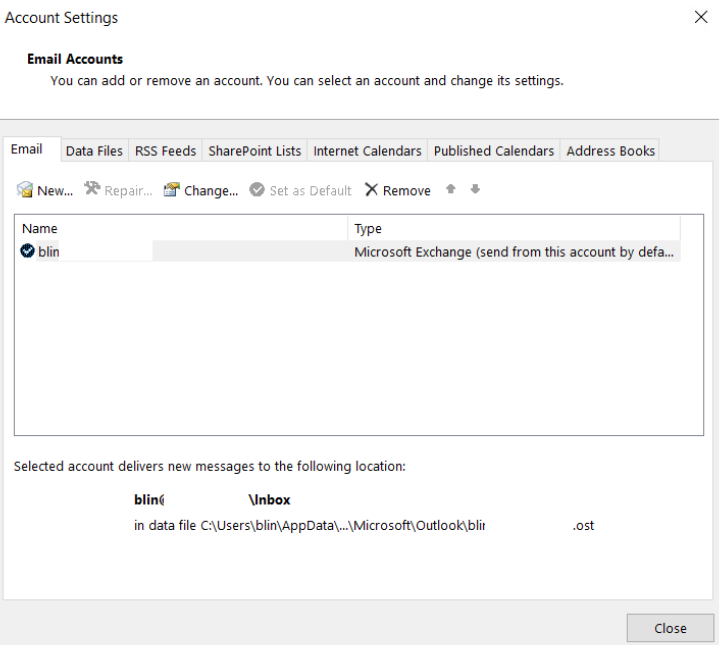
3. On the E-mail tab, double-click your Microsoft Exchange account.
4. In the Change Account dialog box, drag the Mail to keep offline slider to the desired number of months, for example 6 Months which will archive emails before 6 months.
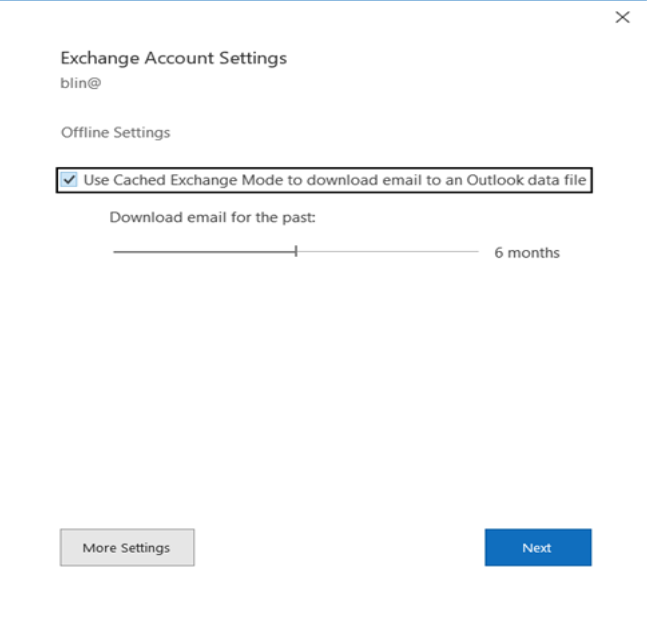
5. Click Next.
5. Click Done when you’re prompted to restart Outlook to complete the configuration change.
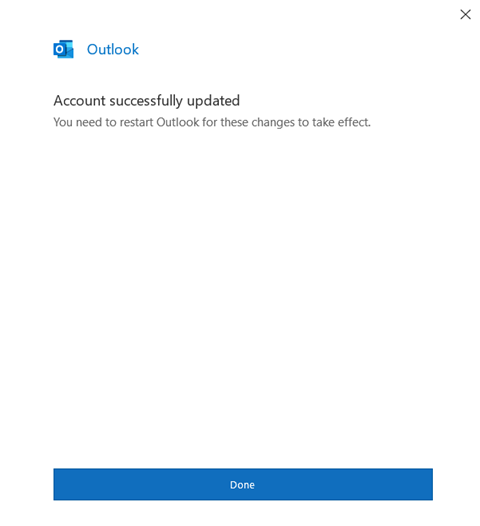
6. Restart Outlook.
Resolution 2: Run the Mailbox Cleanup tool to reduce the size of your mailbox and Outlook Data Files (.pst and .ost)
- Click the File tab.
2. Click Tools > Mailbox Cleanup.
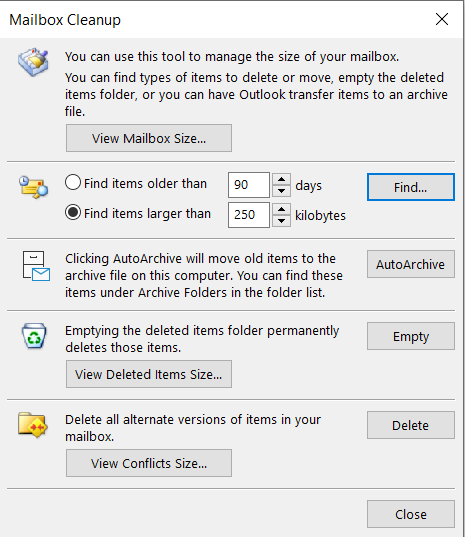
3. Select View Mailbox Size, Find items older than, Find items larger than, View Deleted Items Size, Empty Deleted Items folder, View Conflicts Size, or Empty Conflicts to perform your desired task.
Resolution 3: Use Conversation Clean Up to remove redundant messages
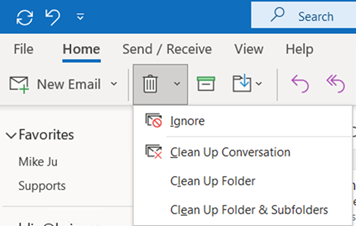
- On the Home tab, in the Delete group, click Clean Up.
- Click one of the following:
- Clean Up Conversation The current Conversation is reviewed, and redundant messages are deleted.
- Clean Up Folder All Conversations in the selected folder are reviewed, and redundant messages are deleted.
- Clean Up Folder & Subfolders All Conversations in the selected folder and any folder that it contains are reviewed, and redundant messages are deleted.
3. In popup, click Settings or Clean Up Folders.
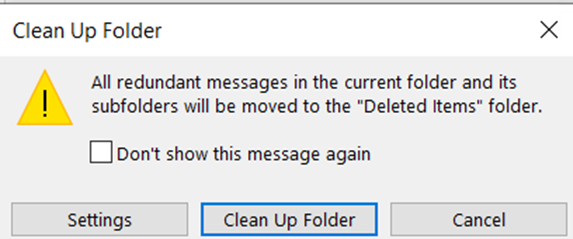
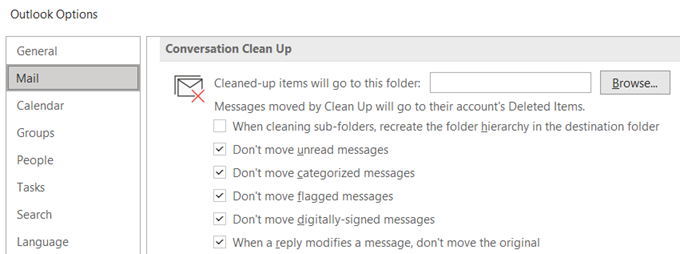
Note: if you click on Settings, you have options to configure Conversation Clean Up.
Note: The Clean may take a few minutes. When it is done, you may want to empty the Deleted Items folder or the folder you move the duplicated emails.
Resolution 4: Delete Unnecessary Emails by using search filters to identify and delete emails with large attachments or emails from specific senders or time periods. You can search by sender, subject, keywords, and dates.
Resolution 5: Manage Attachments: Large attachments can take up a significant amount of space. Consider saving important attachments to your computer or a cloud storage service like Google Drive or Dropbox, and then delete the email with the attachment.
Resolution 6: Export to a PST File (Personal Folders File): PST files are a common way to back up Outlook data. To export your emails to a PST file:
a. Open Outlook. b. Go to “File” > “Open & Export” > “Import/Export.” c. Select “Export to a file” and click “Next.” d. Choose “Outlook Data File (.pst)” and click “Next.” e. Select the email folders you want to export or your entire mailbox. f. Choose the location where you want to save the PST file and set options for handling duplicates. g. Click “Finish” to complete the export process.
To import PST file, please follow these steps:
- Open Outlook:Make sure Outlook is open and running on your computer.
- Access the Import/Export Wizard:The steps to access the Import/Export Wizard may vary slightly depending on your version of Outlook. Here are general instructions for Outlook 2016 and newer:a. Click on “File” in the top-left corner. b. Under “Open & Export,” click “Import/Export.”
- Choose Import from Another Program or File:In the Import and Export Wizard, select “Import from another program or file,” and then click “Next.”
- Select the PST File to Import:a. Choose “Outlook Data File (.pst)” as the file type to import. b. Click “Next.”
- Browse for the PST File:Click the “Browse” button to locate the PST file you want to import. Browse to the folder where your PST file is stored and select it.
- Specify How to Handle Duplicates:After selecting the PST file, you can choose how you want Outlook to handle duplicates:a. “Replace duplicates with items imported”: This option replaces any duplicate items in your current mailbox with those from the PST file. b. “Allow duplicates to be created”: This option keeps both the original and imported copies of duplicate items. c. “Do not import duplicates”: This option will skip importing items that already exist in your mailbox.Choose the option that best suits your needs, and then click “Next.”
- Select the Destination Folder:Choose the folder where you want the data from the PST file to be imported. You can select an existing folder or create a new one. Click “Next” when you’re ready.
- Set Import Options:If you have subfolders within the PST file, you can specify whether to include those subfolders in the import. You can also set other import options as needed. Once you’ve configured the options, click “Next.”
- Start the Import Process:Review your selections, and when you’re ready to proceed, click “Finish.” Outlook will begin importing the data from the PST file into the selected folder.
- Complete the Import:
Please view this step by step video: