with Microsoft 365, you have an option to Encrypt an email. Here is how.
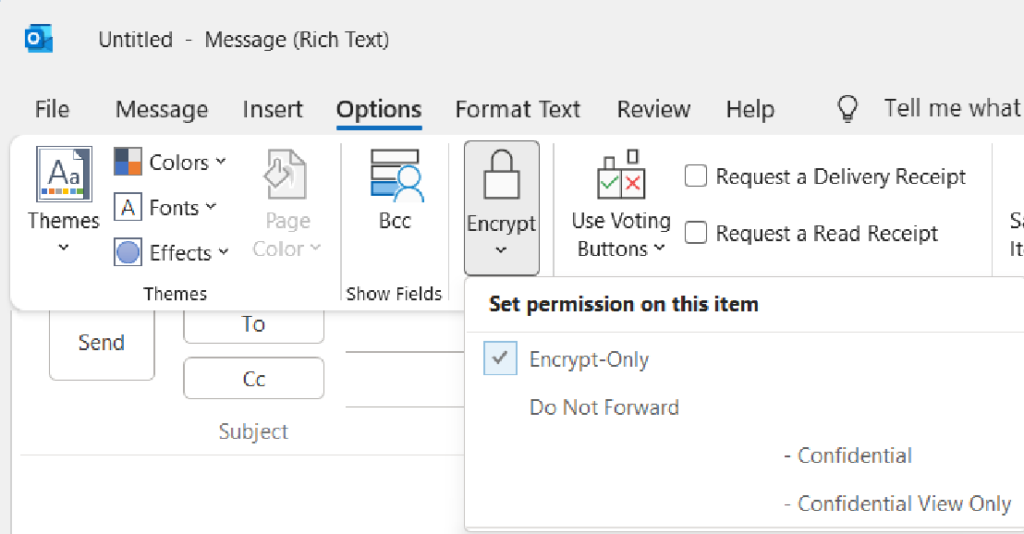
In an email message, choose Options>Encrypt>Encrypt-Only or Do Not Forward.
If you select Encrypt-Only, it shows This message is encrypted. Recement can’t remove the encryption.
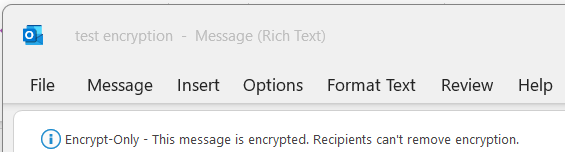
This is an example of Encrypt-Only email.
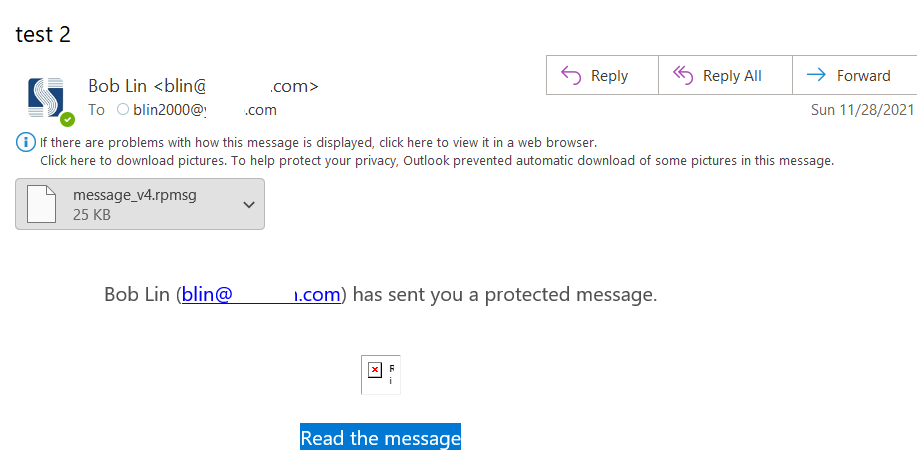
If you select Do Not Forward, it shows recipients can read this message, but cannot forward, print or copy content.

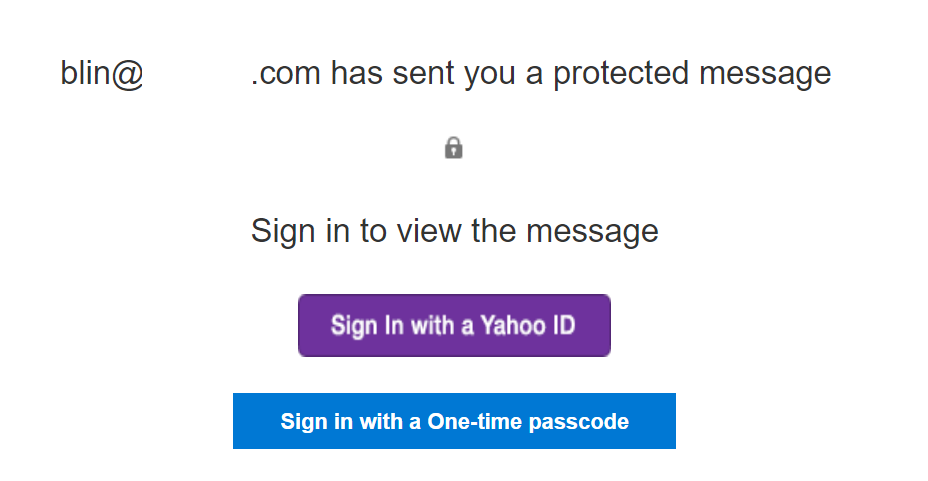
This is an example Do Not Forward
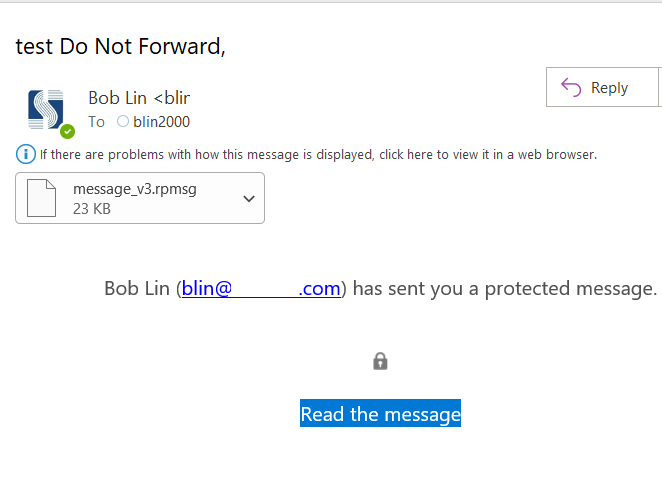
Recipient will be required login to read the email.
To Encrypt a single message
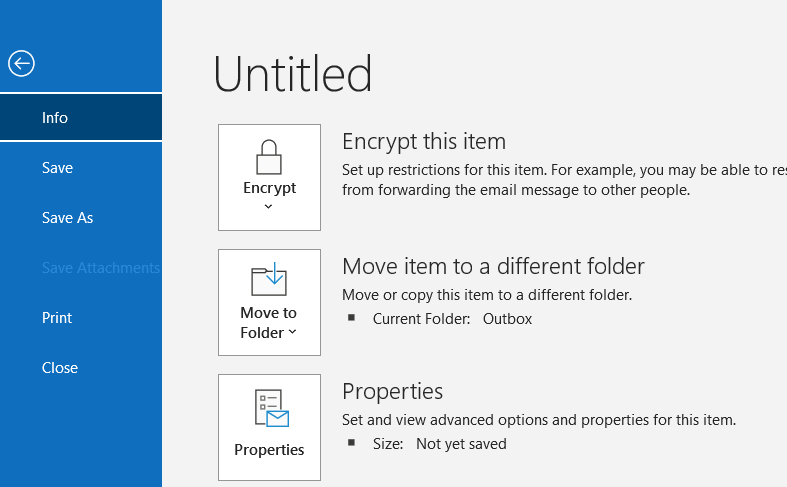
- In message that you are composing, click File > Properties.
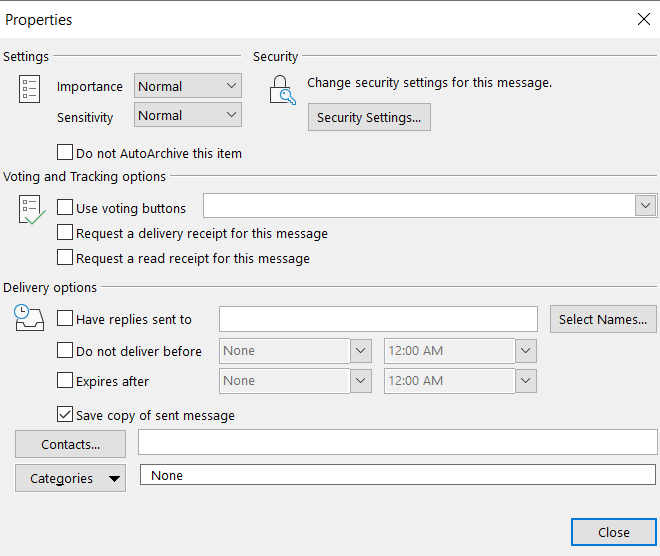
2. Click Security Settings,
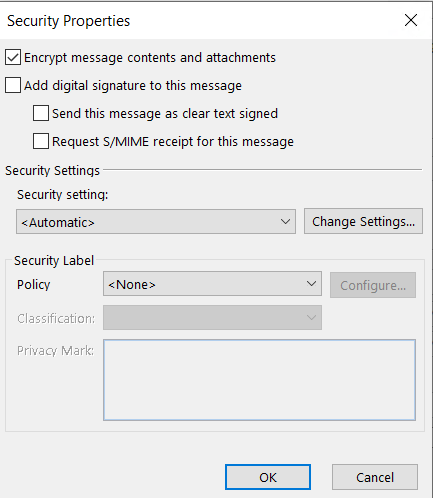
3. Select the Encrypt message contents and attachments check box.
To Encrypt all outgoing messages
Note: When you choose to encrypt all outgoing messages by default, you can write and send messages the same as with any other messages, but all potential recipients must have your digital ID to decode or view your messages.
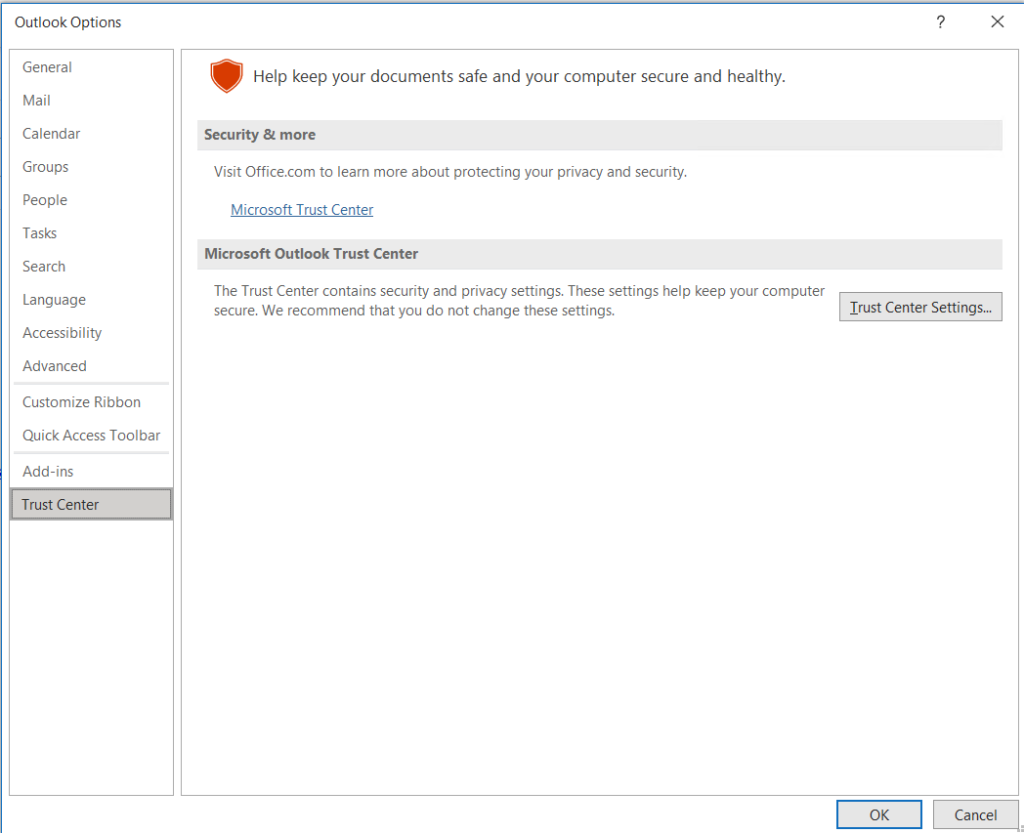
- On the File tab. choose Options

2. Select Trust Center > Trust Center Settings.
3. On the Email Security tab, under Encrypted email, select the Encrypt contents and attachments for outgoing messages check box.
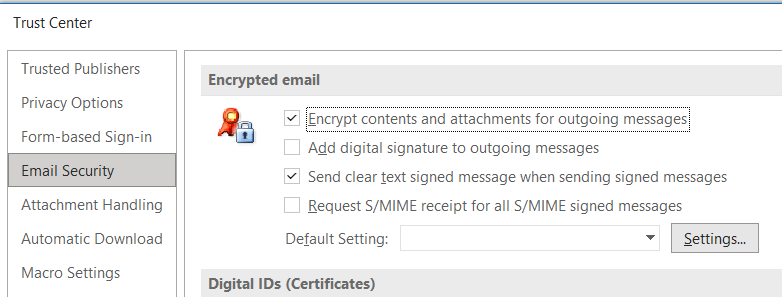
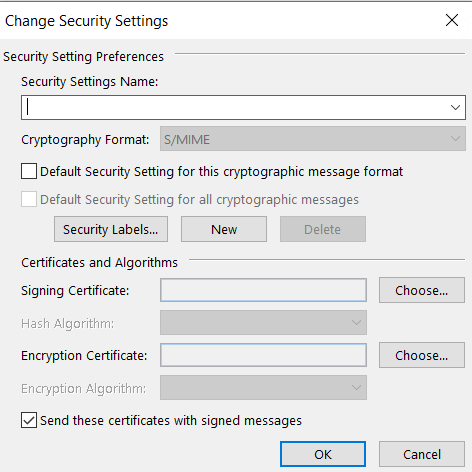
4. To change additional settings, such as choosing a specific certificate to use, click Settings. You have options to enable Security Labels, Signing Certificate, Encryption Certificate
Note: Microsoft 365 Message Encryption is part of the Office 365 Enterprise E3 license. Additionally, the Encrypt-Only feature (the option under the Encrypt button) is only enabled for subscribers (Microsoft 365 Apps for enterprise users) that also use Exchange Online.