Situation: A good email sent to you may go to Junk / Spam folder or go to quarantine. This article will show you how to add an email address to allow list in Microsoft 365.
Resolution 1: Add an email address or domain to allow list in Spam Policy
Resolution 2: Add an email address to allow list in Phish Policy
Resolution 3: Add sender’s server IP address to Connection filter policy
Resolution 4: Add recipients to the Safe Senders List
Resolution 1: Add an email address to allow list in Spam Policy
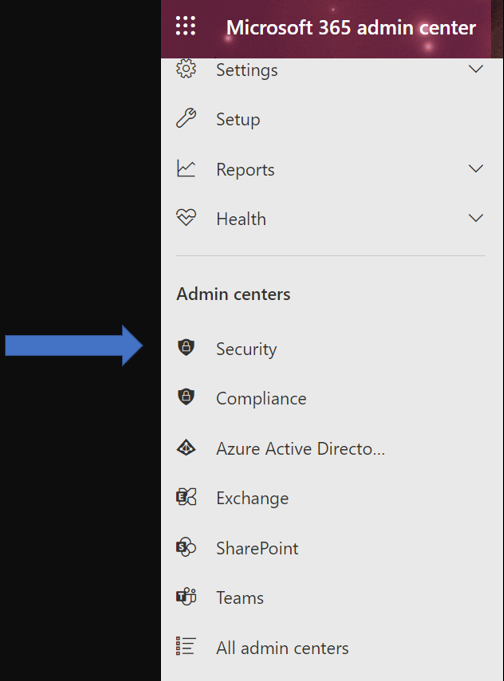
1. Login Office 365 admin and go to Microsoft 365 admin center
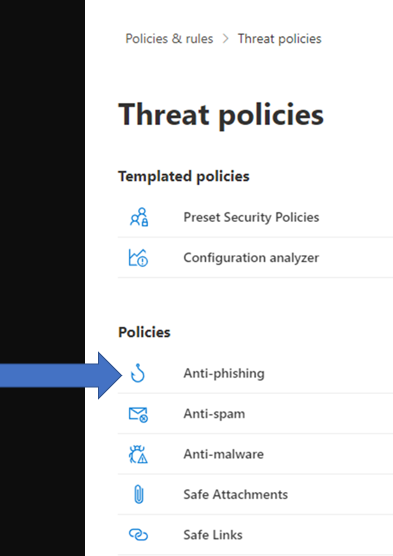
2. Click on Security
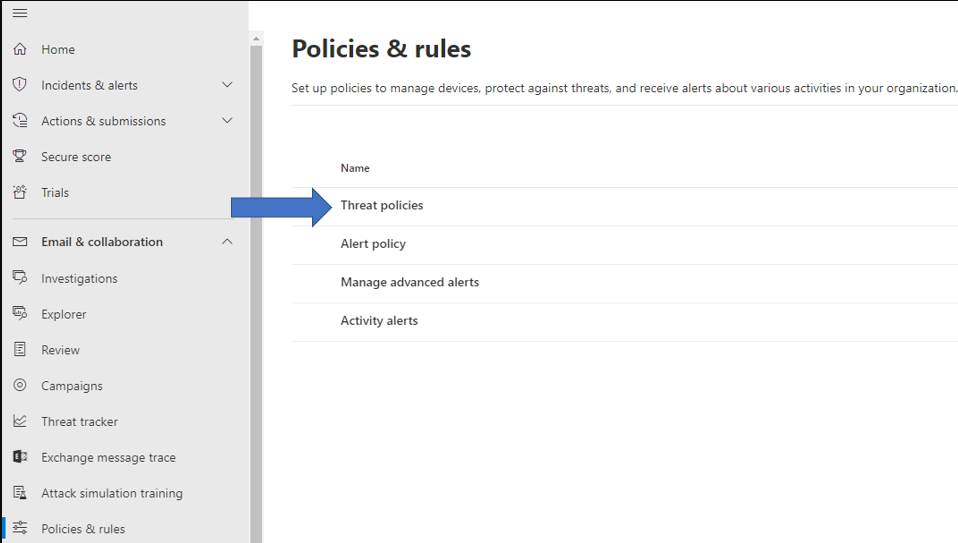
3. Click on Policies and rules
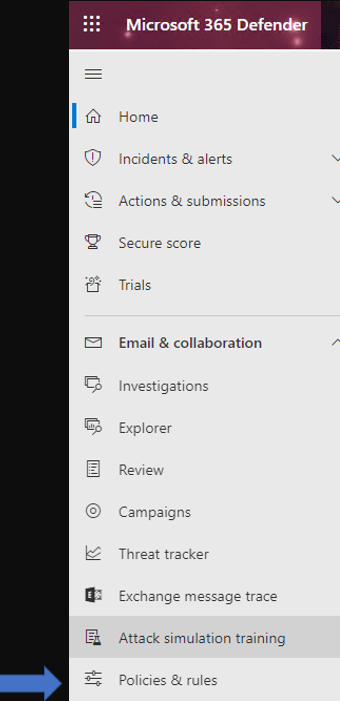
4. Click on Threat policies
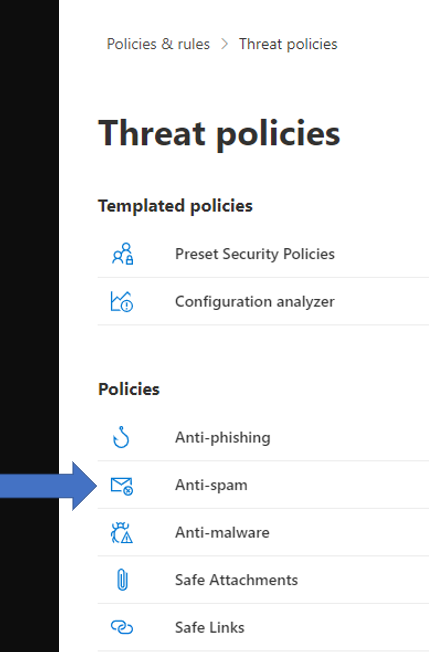
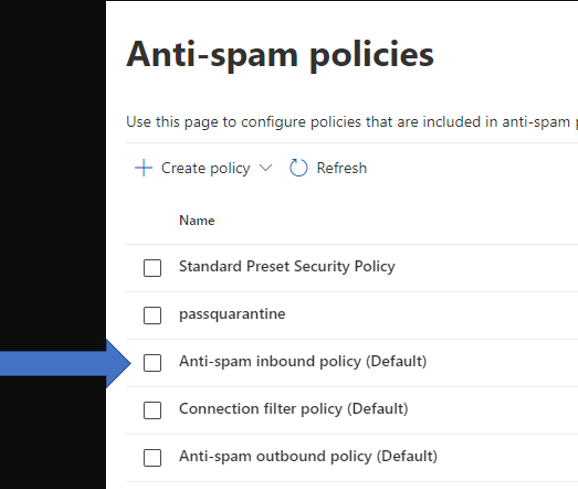
5. Click on Anti-spam under Policies
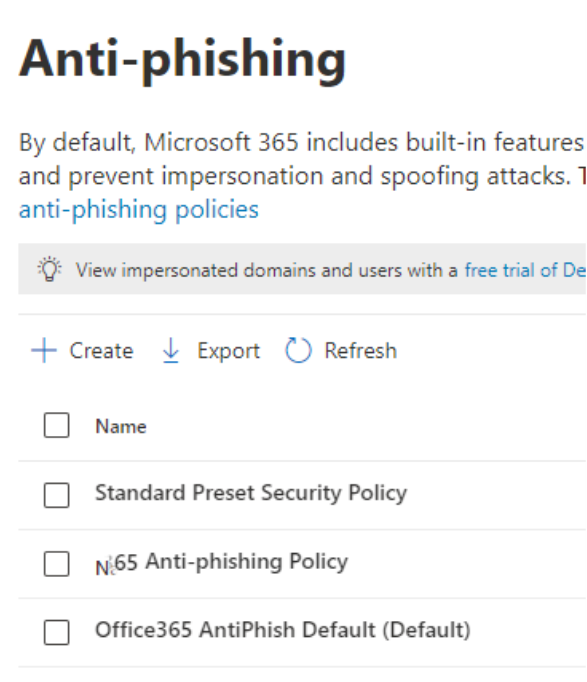
6. Double click on the Anti-spam policy you want to whitelist, Anti-spam inbound policies (Default) in our example.
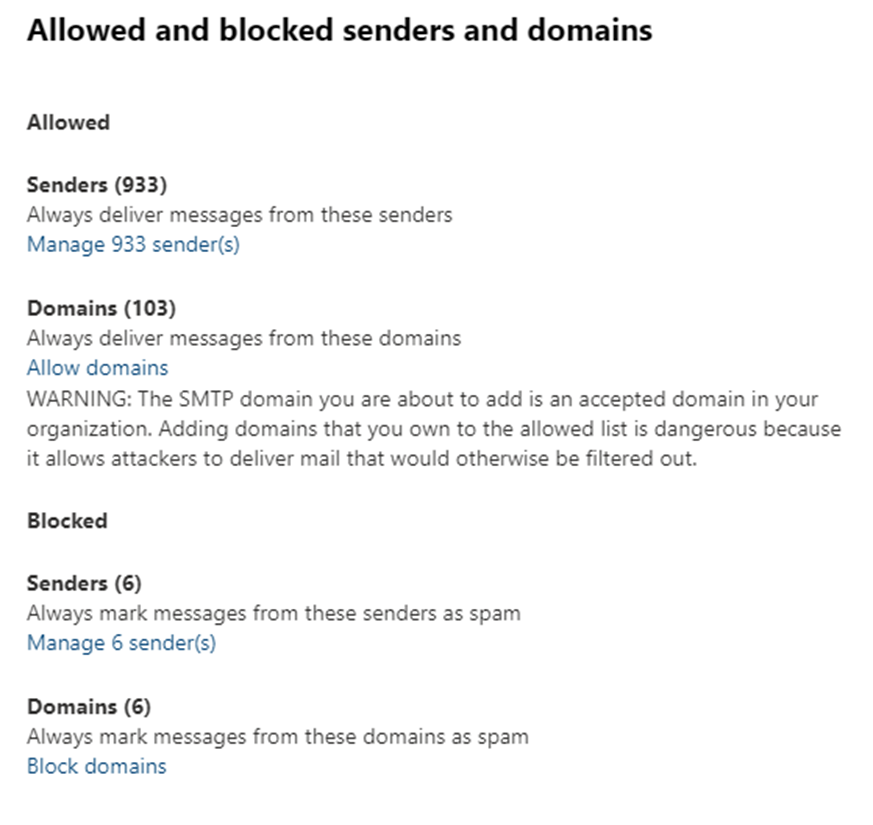
7. Find the Allowed and blocked senders and domains, Click on Edit allowed and blocked senders and domains.

8. Click on Manage senders or Allow domains under Allowed.
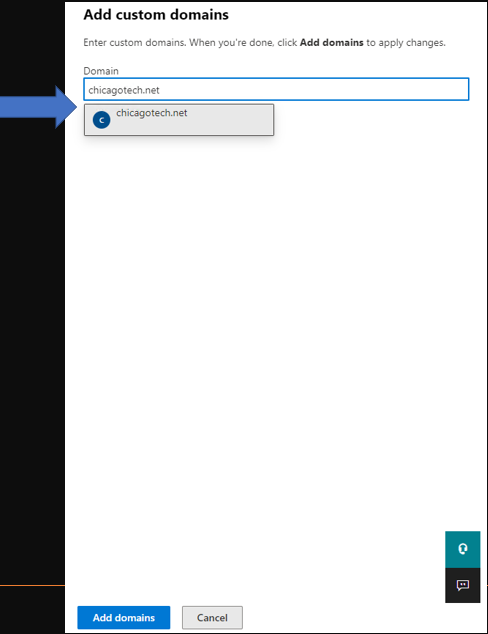
9. Click on Add senders to add senders’ email address.

Note: If it is the domain, enter the domain name only, for example
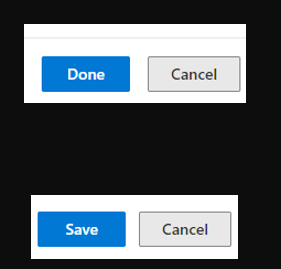
10. Click Done and then Save to save the settings.
Resolution 2: Add an email address to allow list in Phish Policy
1. Repeat above 1 to 4 steps.
2. Click on Anti-phishing
3. Double click on the Anti-Phishing policy you want to edit.
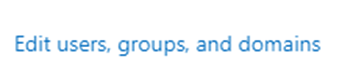
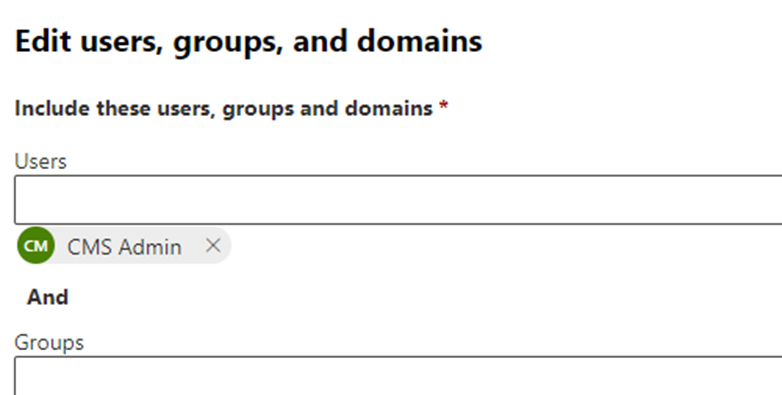
4. Click on Edit users, groups, and domains under the Anti-phishing policy.
5. Enter the user emails, groups or domains.
6. Click on Save and the close.

Resolution 3: Add sender’s server IP address to Connection filter policy
Note: this resolution need to know sender email server IP address. You may find this information from email header or sender DNS management tool.
1. Repeat 1 to 5 steps in resolution 1.
2. Double click on the Connection filter policy.
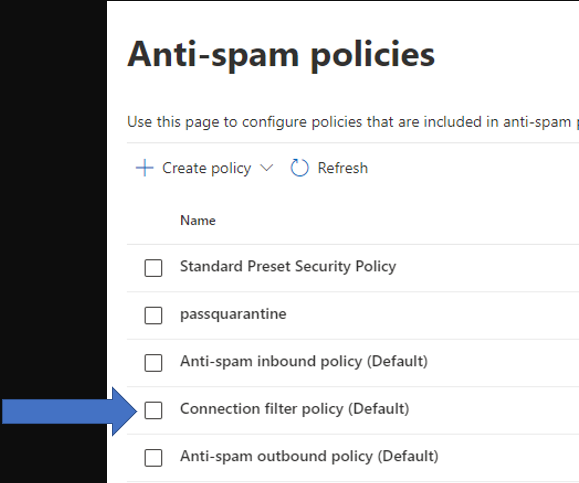
3. Add the IP address which is the sender’s server IP address.

4. Close to save the settings.
Resolution 4: Add recipients to the Safe Senders List
1. On the Home tab, click Junk, and then click Junk E-mail Options.
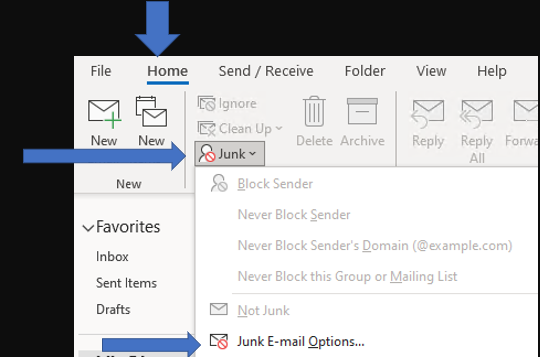
2. On the Safe Senders tab, check the Also trust email from Contacts and Automatically add people I e-mail to the Safe Senders List box.
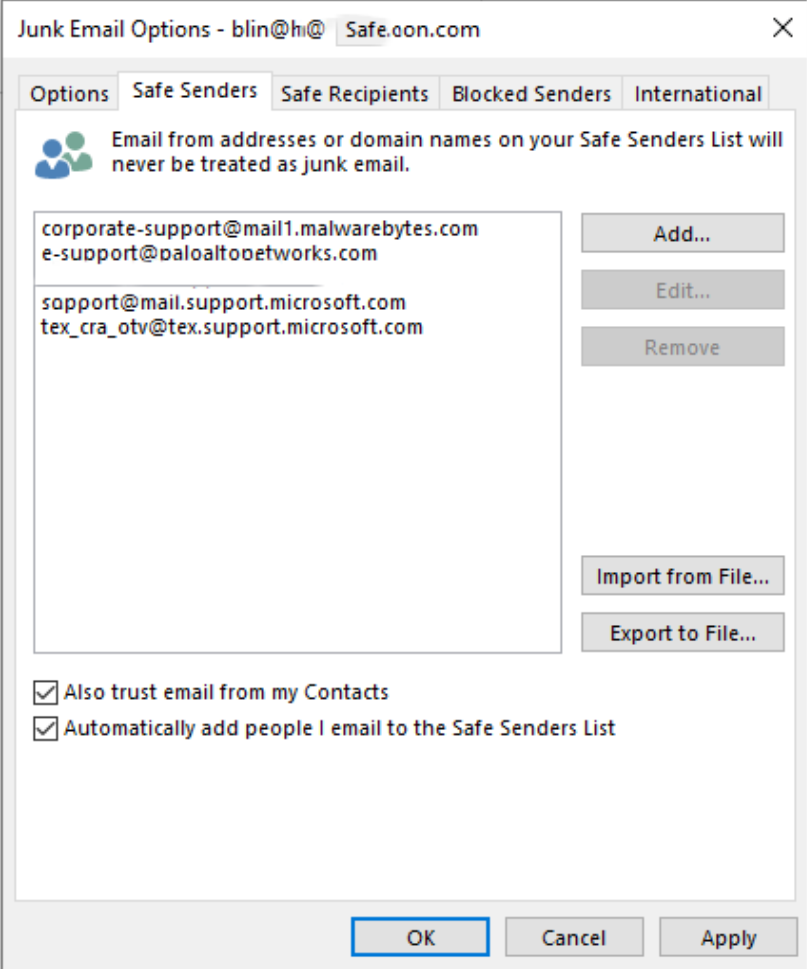
3. Click OK to save the settings.
Please view this Youtube video