If you are looking to modify the synchronization interval of Microsoft Azure DirSync, you can follow these steps:
We can try the following steps to adjust the time interval (It is 3 hours by default):
1. Navigate to the Windows Azure Active Directory Sync directory (C:\Program Files\Windows Azure Active Directory Sync) on the server where the Directory Sync tool is installed.
2. In this folder open up the file
Microsoft.Online.DirSync.Scheduler.exe.config file.
3. Adjust the setting “SyncTimeInterval” value=”3:0:0″ />
4. Close and Save the file and then restart the
Or
- Log in to your Azure AD Connect server using an account with administrative privileges.
- Open the “Azure AD Connect” application from the Start menu.
- Click on the “Configure” option to launch the Azure AD Connect wizard.

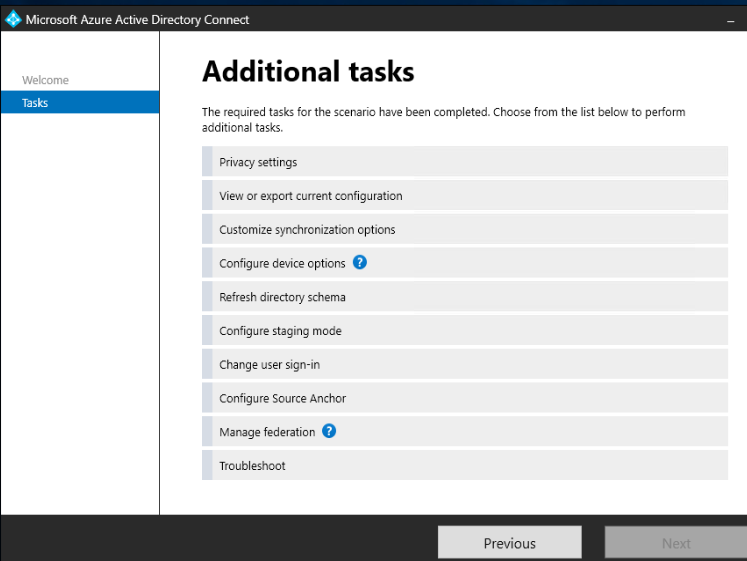
4. On the “Configure” page, click on the “Customize synchronization options” link and then Next
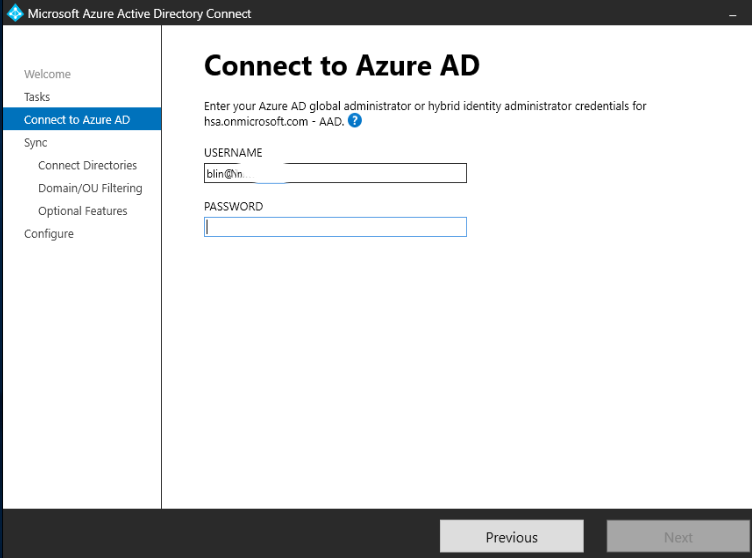
5. Enter your password.
6. Continue to Configuration page.
7. On the “Synchronization frequency” page, select the “customize” option.
In the “Synchronization schedule” section, you can modify the synchronization interval according to your requirement.
You can choose to run a full synchronization or a delta synchronization, and you can also set the synchronization interval in minutes or hours.
Once you have made the necessary changes, click on the “Next” button to complete the configuration.
Note: Keep in mind that changing the synchronization interval can impact the performance of your Azure AD Connect server and the synchronization process. Therefore, it is recommended to carefully consider the impact of any changes before making them.