To export all members’ email addresses of an Office 365 group, you may have Mutiple ways to do so.
Resolution 1: Get-MsolGroupMember Microsoft Exchange Online Pweroshell command. Note:
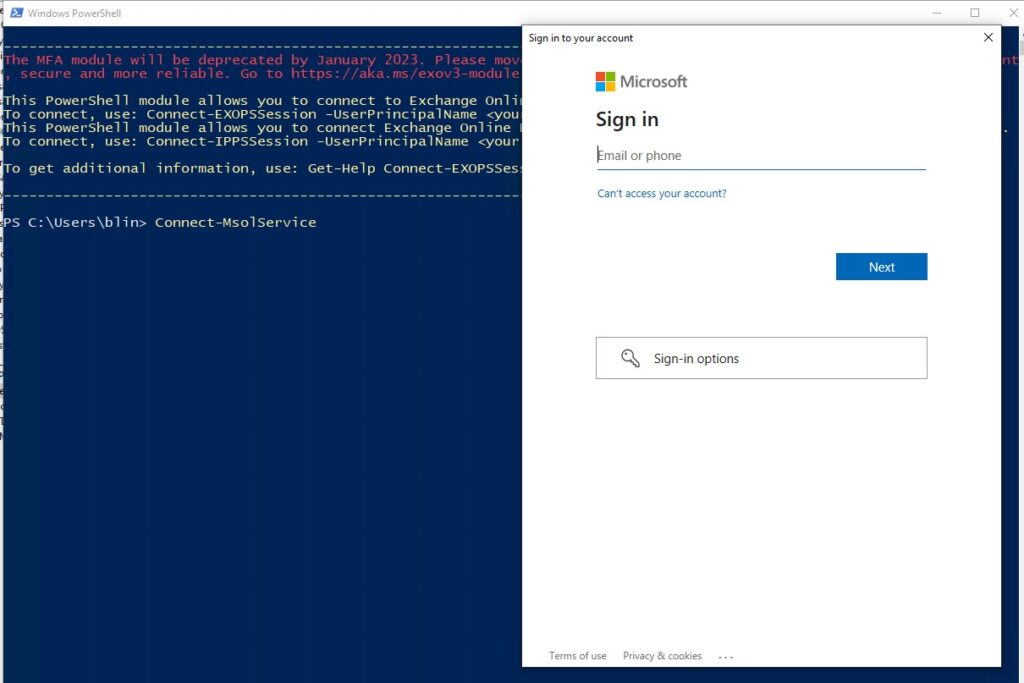
- Open Microsoft Exchange Online Pweroshell Run as administrator.
- Type Connect-MsolService and press Enter. Enter your credentials.
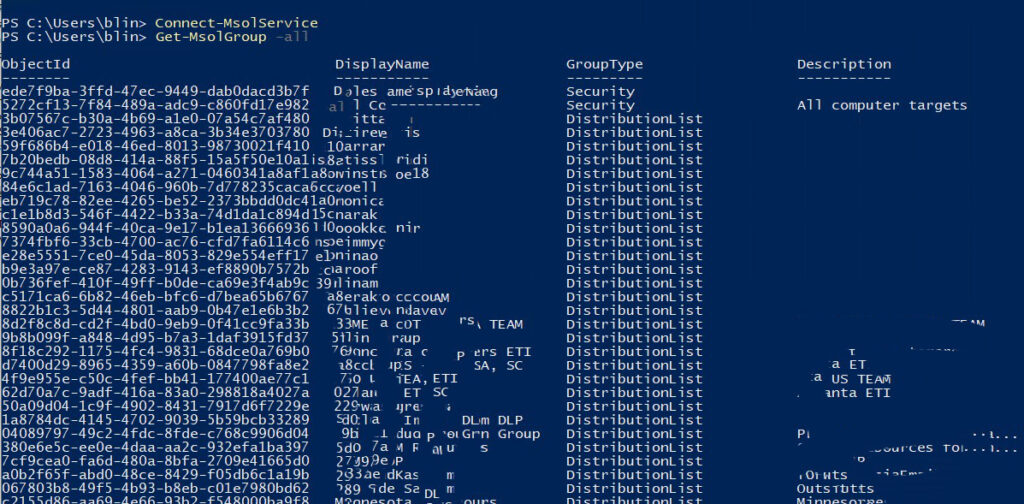
3. If you would like to know the group name and IP, use Get-MsolGroup -all
4. You can use one of these commands to export the group members.
in this example, the group name is all employees
Get-MsolGroupMember -GroupObjectId | Where-Object { $_.DisplayName -like “all employees” }
in this example,grou ID is 7b89b6fb-87e5-4ddc-8a87-17b741eb9f67
Get-MsolGroupMember -groupObjectid ‘7b89b6fb-87e5-4ddc-8a87-17b741eb9f67’ | Select DisplayName,EmailAddress,GroupMemberType | Export-csv C:\group-members.csv
Resolution 2: Use Get-UnifiedGroup command.
Get-UnifiedGroup -Identity "GroupName" | Get-UnifiedGroupLinks -LinkType Members | Select-Object name, PrimarySmtpAddress | Export-CSV -Path "C:\Temp\GroupMembers.csv" -NoTypeInformation
Here’s what each part of the command does:
Get-UnifiedGroup -Identity "GroupName"retrieves the Office 365 group by its name or email address.Get-UnifiedGroupLinks -LinkType Membersretrieves the members of the group.Select-Object name, PrimarySmtpAddressselects the display name and primary SMTP address of each member.Export-CSV -Path "C:\Temp\GroupMembers.csv" -NoTypeInformationexports the results to a CSV file at the specified path.
Replace “GroupName” with the name or email address of the Office 365 group that you want to export the members from. Also, make sure to update the file path in the Export-CSV cmdlet to specify the location where you want to save the CSV file.
In old office 365 version, use export feature.
- Sign in to your Office 365 account and navigate to the Office 365 group whose members you want to export.
- Click on the group name to open it.
- In the group navigation bar, click on “Members”.
- Click on the gear icon in the top right corner and select “Export members”.
- A CSV file containing the members’ email addresses will be downloaded to your computer.
Alternatively, you can use PowerShell to export the members’ email addresses. Here are the steps to follow:
- Open PowerShell on your computer.
- Connect to your Office 365 account by running the following command:
Connect-EXOPSSession -UserPrincipalName <your_username>Replace <your_username> with your Office 365 username. - Run the following command to export the members’ email addresses to a CSV file:
Get-UnifiedGroup <group_name> | Get-UnifiedGroupLinks -LinkType Members | Select Name,PrimarySmtpAddress | Export-Csv -Path <file_path>Replace <group_name> with the name of your Office 365 group and <file_path> with the path where you want to save the CSV file.