This article we will shows you how to move your network shared folders and files with their permissions to SharePoint. Note: before you start the migration, you need to install Migration agent on one of network computers.
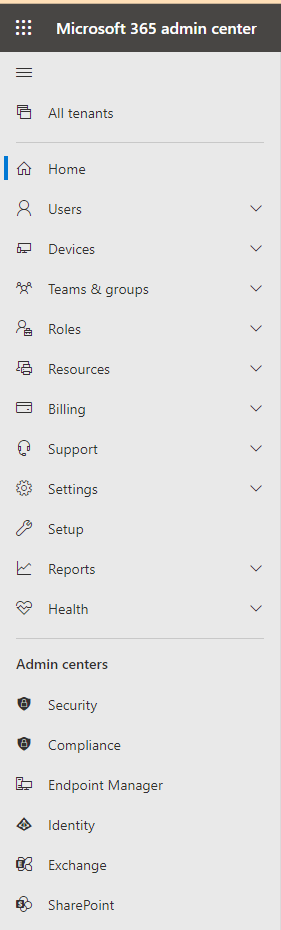
- Login Office admin center with your administrator account.
- Go to SharePoint admin center by clicking on SharePoint.
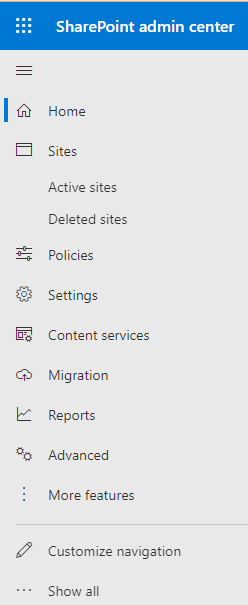
3. Click on Migration.
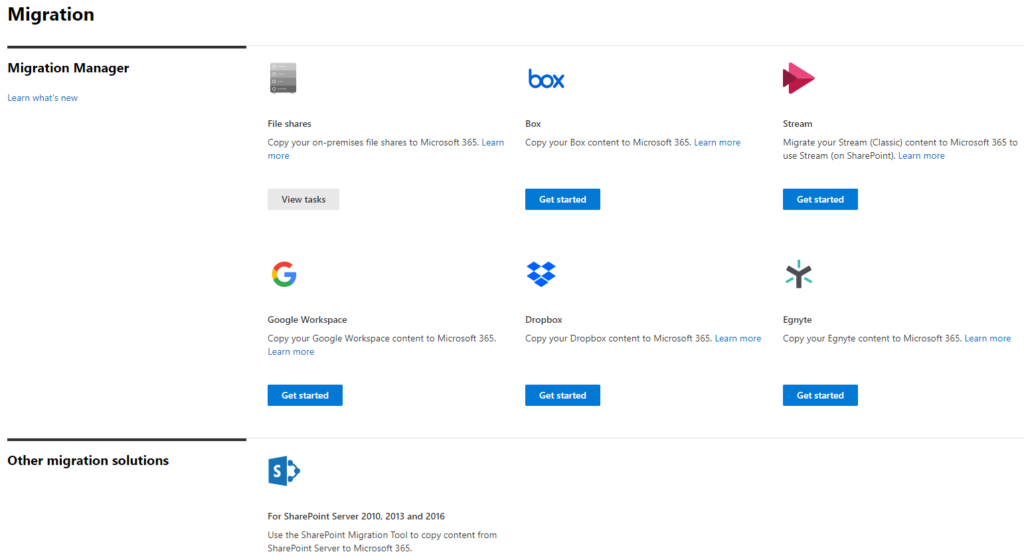
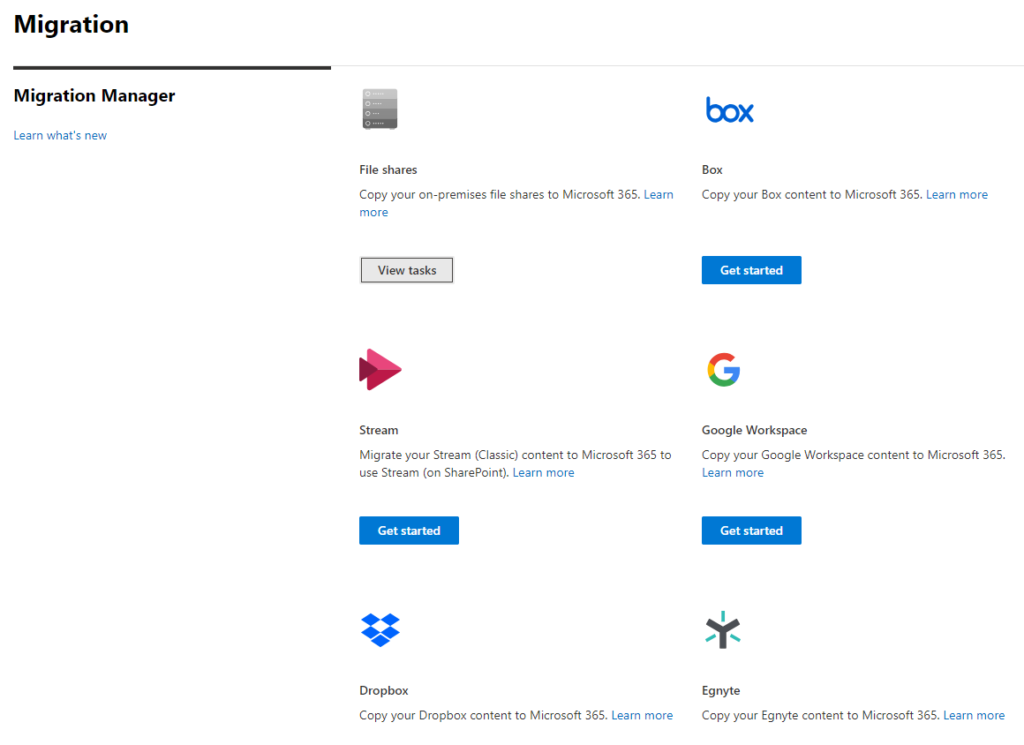
4. Click on View tasks in File share under Migration.
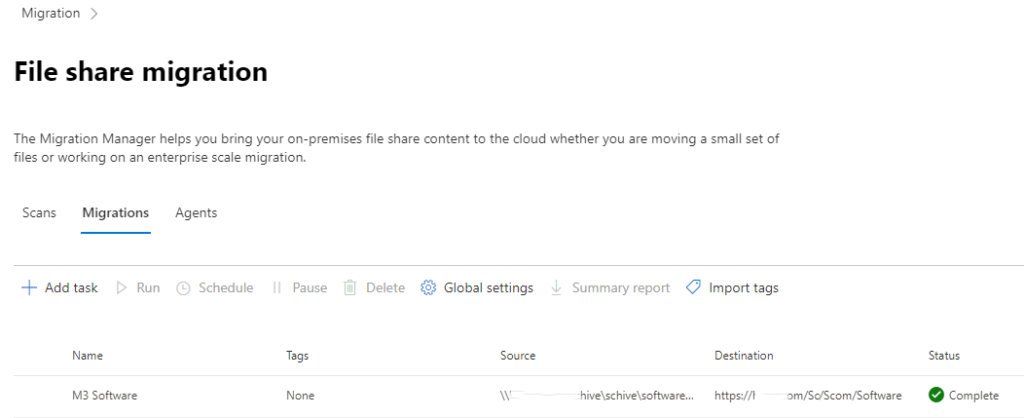
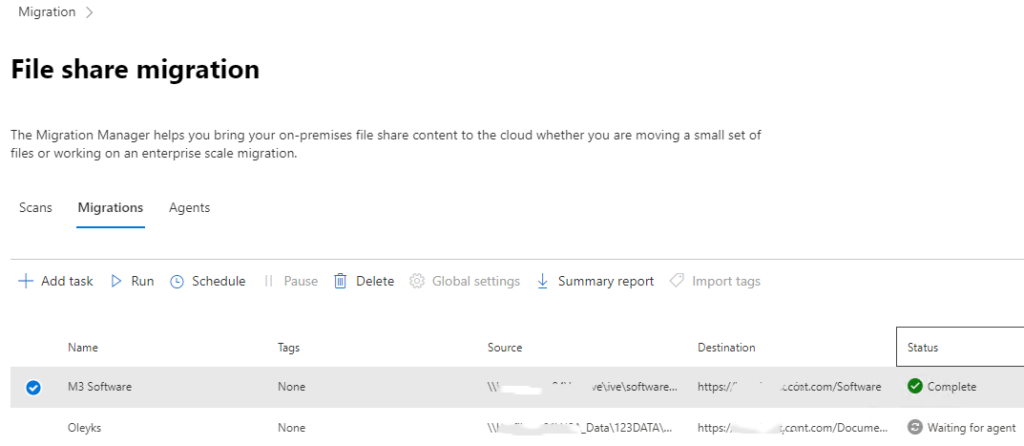
5. Click Migration under File share migration.
6. Click Add task under File share migration.
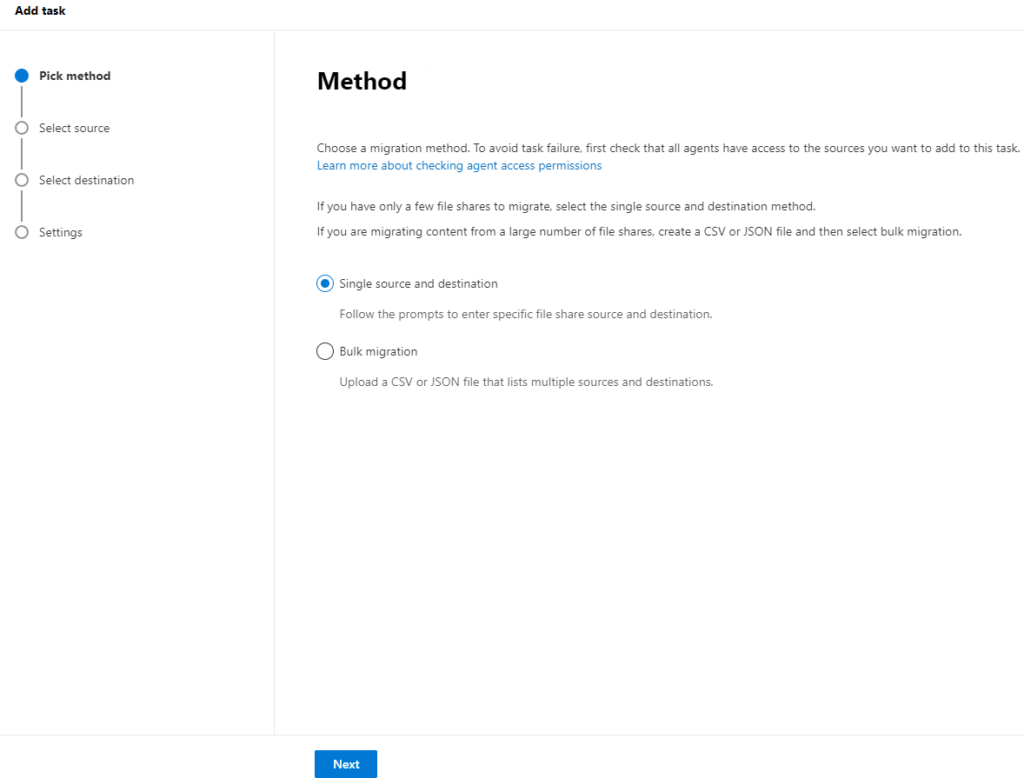
7. Check what you want to migration, Single and destination in our example under Method.
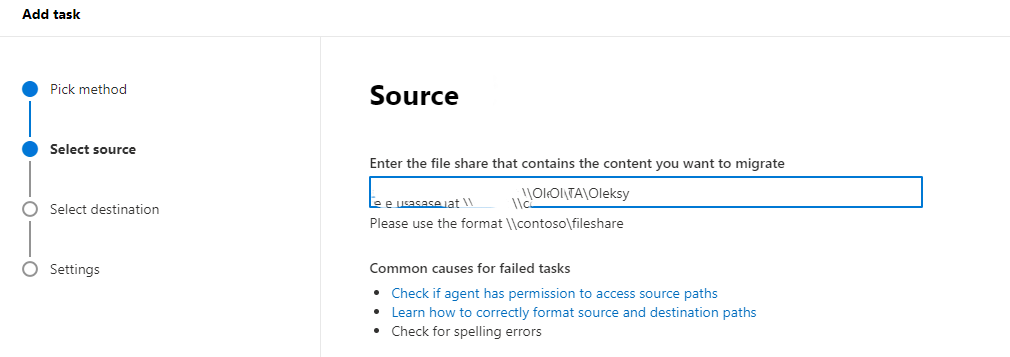
8.Ener the Source, for example \\chicagotech\shared.
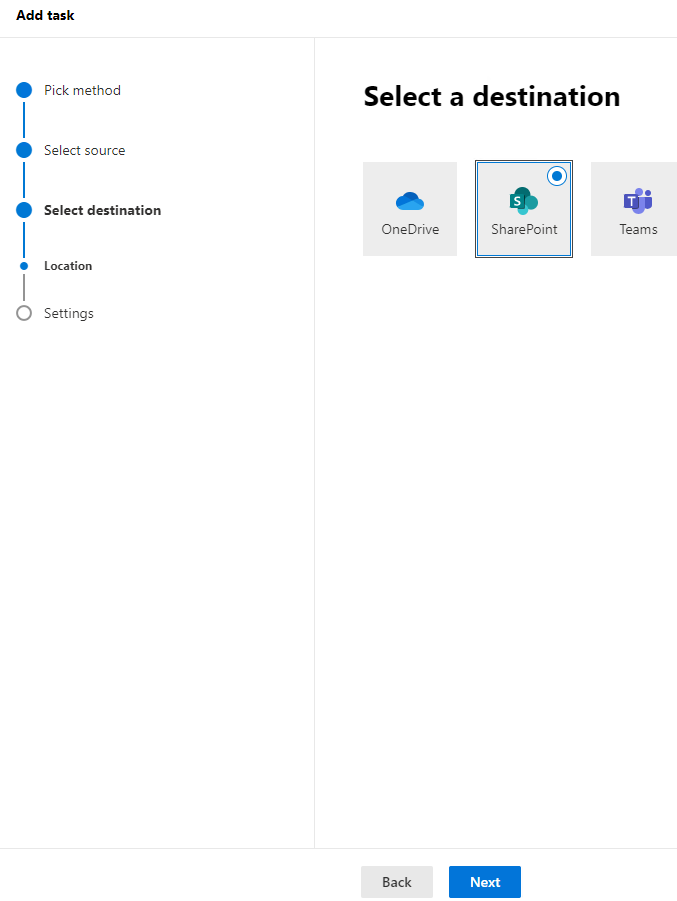
9. Click on SharePoint in Select a destination.
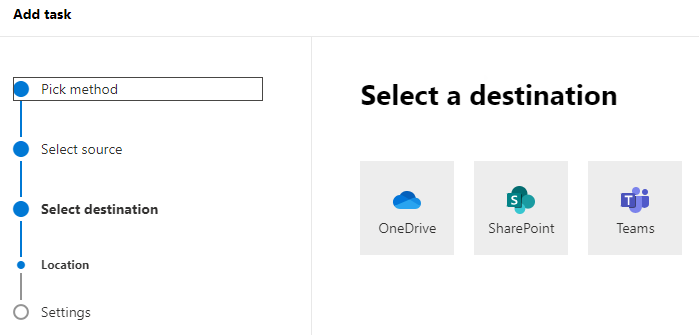
10. Click on Next.
11. In Settings, enter Task name, select Task schedule and then click on Run. Note: remember to check Preserve file share permissions which will reserve network permissions to the SharePoint.
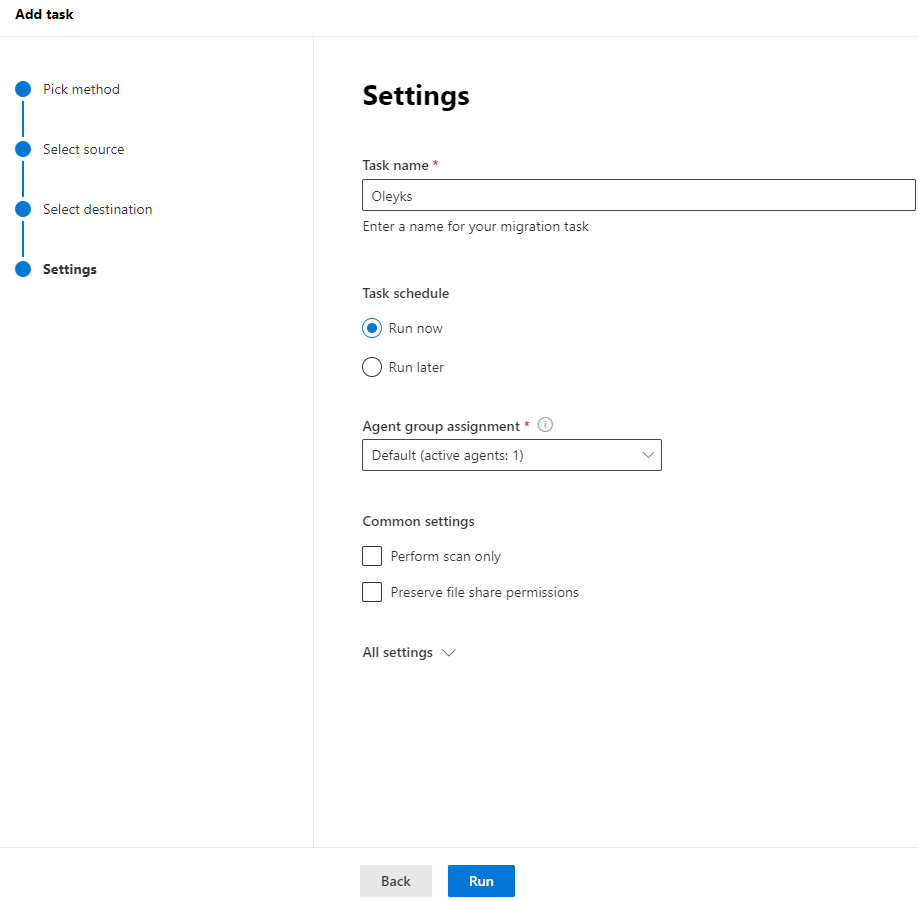
12.
Note: if the user can’t access it because the permissions issue even you have checked Preserve file share permissions, that could be the library inheritance issue.
To fix it, go to the Site > Site Settings.
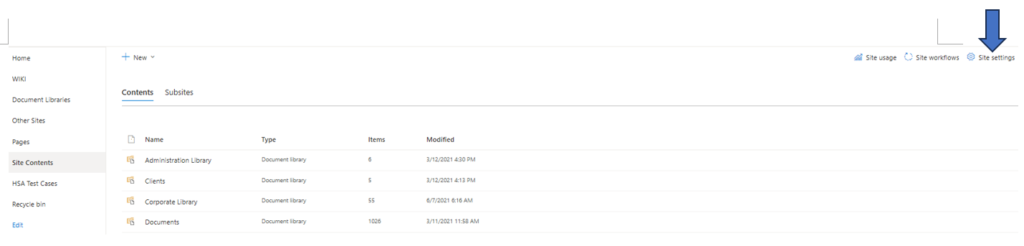
Click on Site permissions.
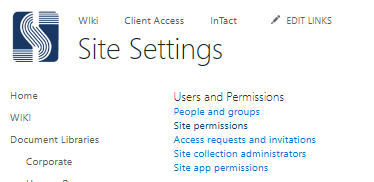
permissions of the site, deleted the inheritance of the unique library settings and all the users started reflecting under the permissions.
Or you can manage the permissions here.
