Step 1: Create a network shared folder in your PC or server.
Step 2: Configure Scan to network Folder in Sharp MXC357F
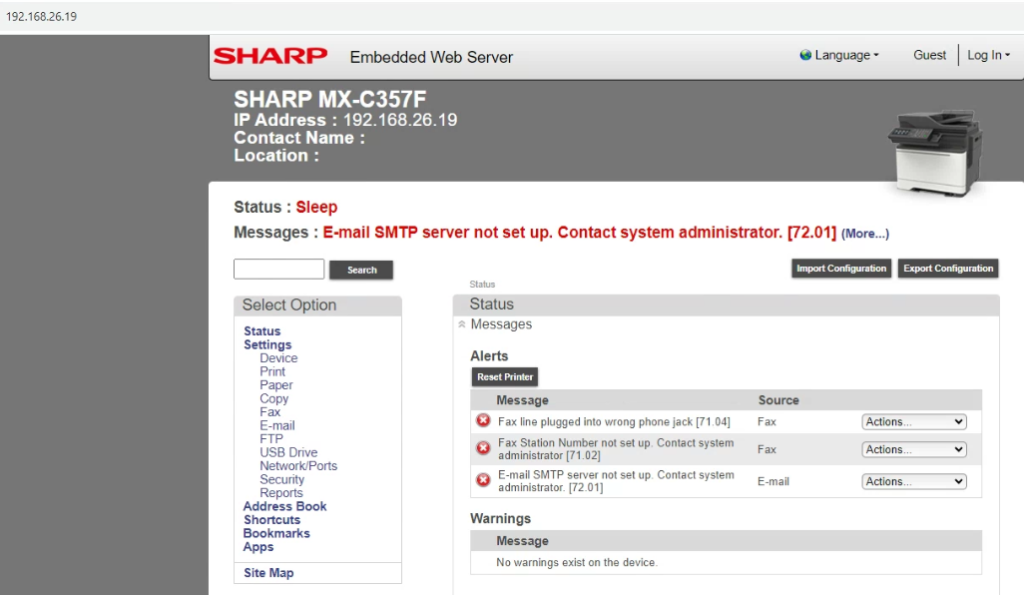
- Open the device web GUI by typing the IP address into a web browser.
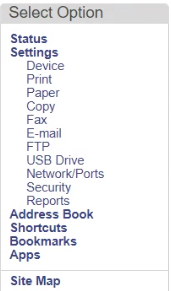
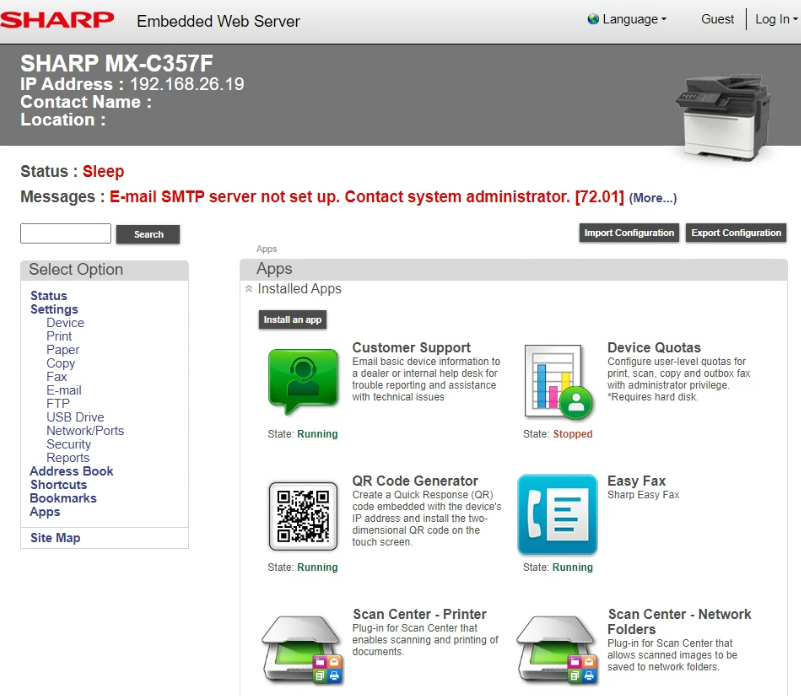
2. On the left an, click Apps.
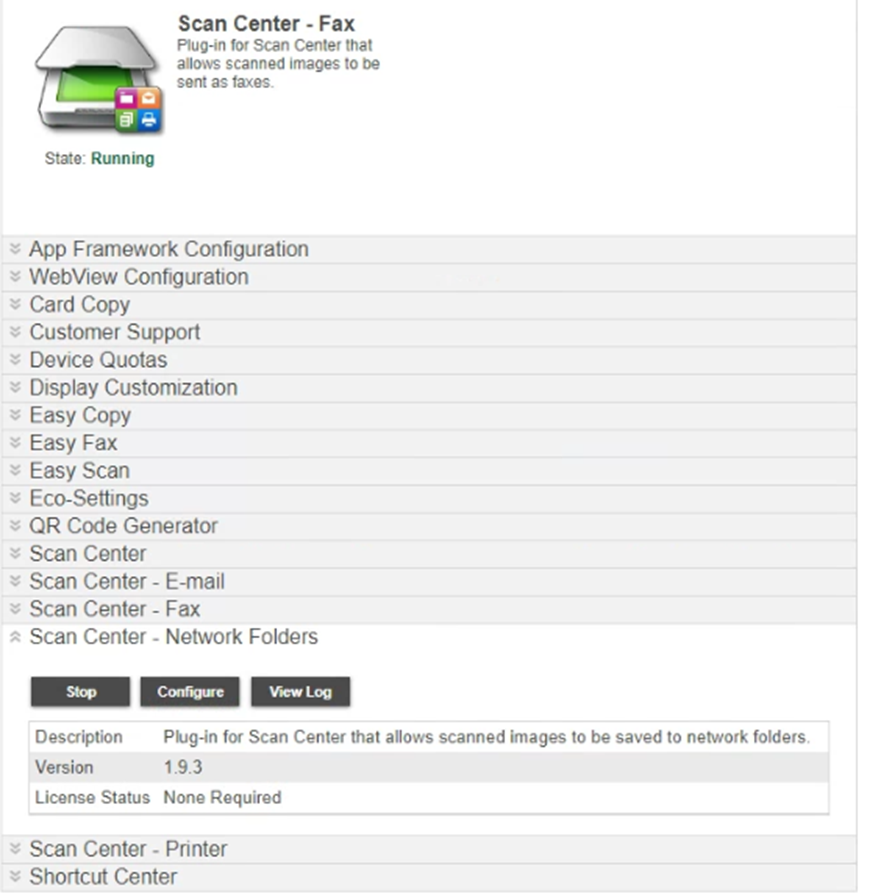
3. Click Scan Center-Network Folders.
4. Click Configure.
6. In the new tab, click Create Network Folder.
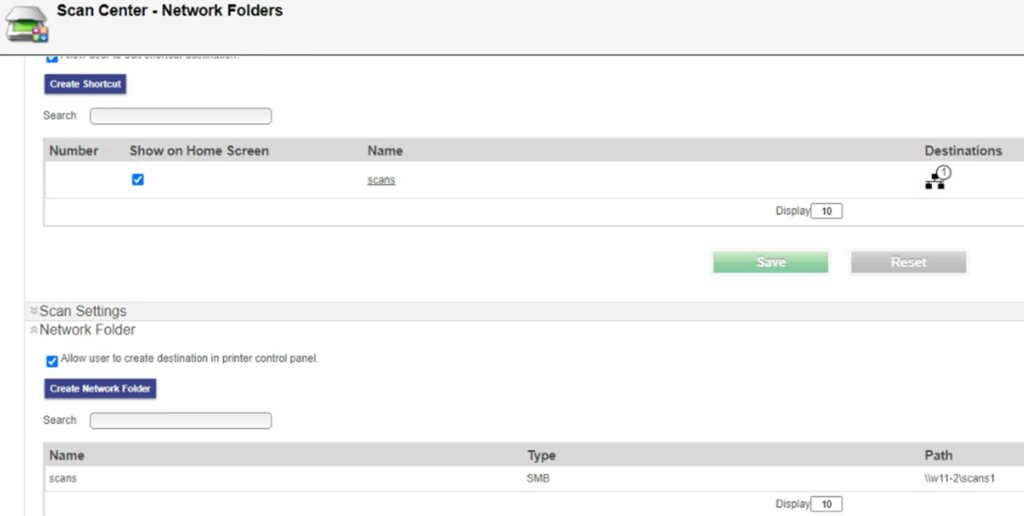
7. Enter Display Name, the domain, and the shared folder address. Change authentication options to Use static user name and password and enter a username and password that has access to the shared folder, then click Save.

8. Under Scan Center click Create Shortcut.
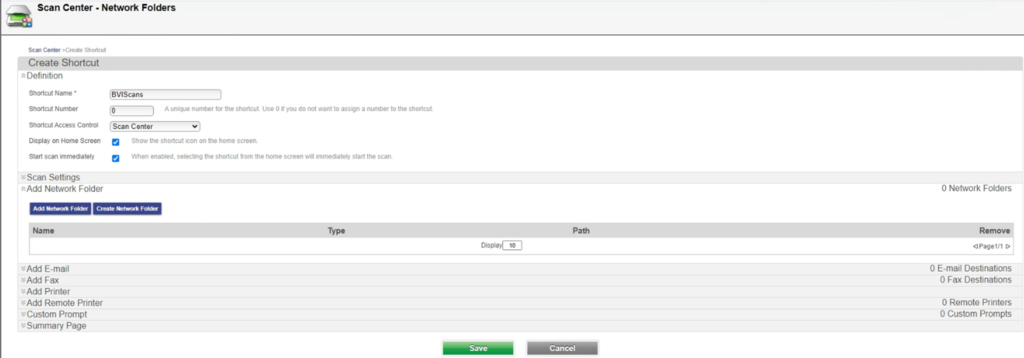
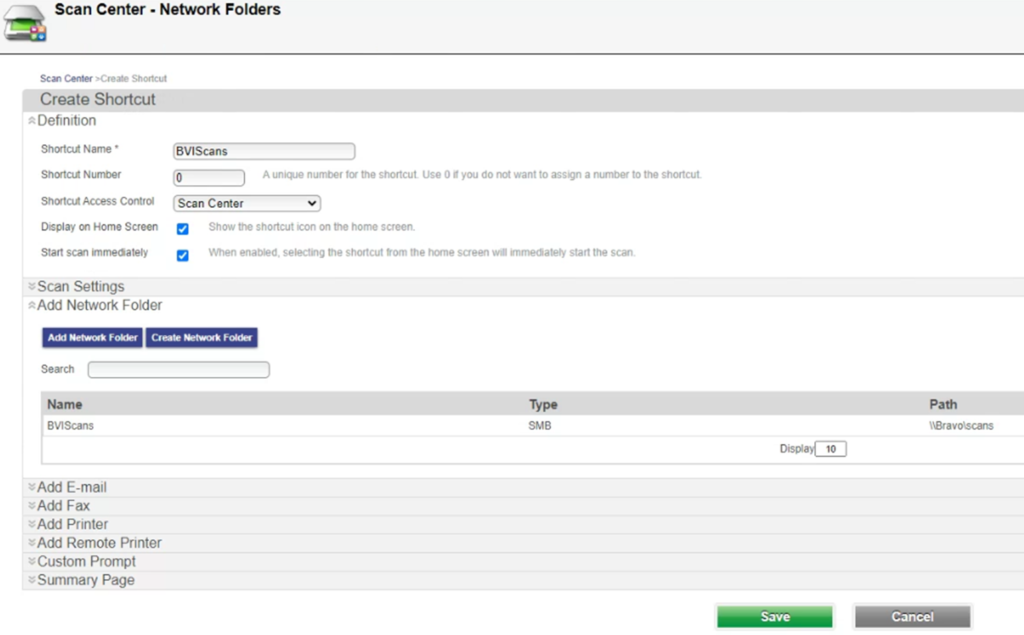
9. Enter Shortcut Name, check both the Display on Home Screen and Start scan immediately boxes, then click Add Network Folder.
10. Save the settings.
Step 3: Scan from panel.
- To scan from the panel, load your originals head first into the document feeder, then touch the Advanced button.
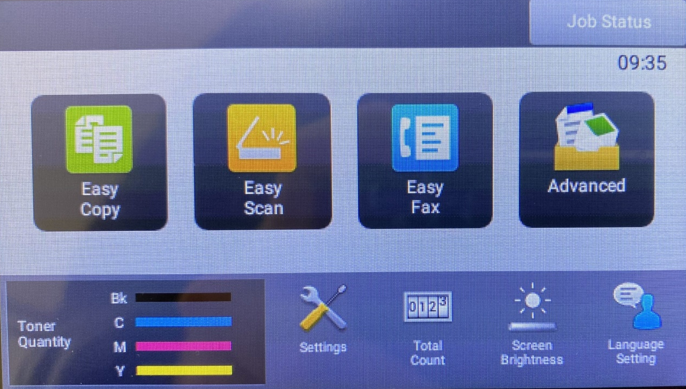
2. Swipe to the left to move the menu to the second page, then touch the Shortcut key you just created to scan your document.
3. Fild the scanned file in your PC or server shared folder.