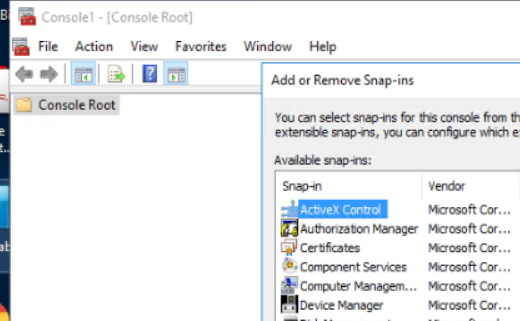
Situation: when attempting to open Certification Authority in Windows MMC, you don’t see Certification Authority and Certificate Templates. This video shows how to install Certification Authority on Windows Server 2019.
Step 1: Install certification Authority
1.With the Server Manager open, go to Dashboard.
2.Click Add roles and features.
3. Click Next.
4. Make sure Role-based or feature-based Installation is checked, and click Next.
5. Select the server which will be installed Certification Authority.
6. Check Active Directory Certificate Services.
7. In the popup, click Add features and the follow the wizard to complete the installation.
Step 2: Post-deployment Configuration
1. Click yellow exclaim icon
2. Click Configure Active Directory Certificate Services.
3. Specify credentials to configure role services.
4. In Select Role Services to configure, check Certification Authority.
5. Specify the setup type of the CA, Enterprise CA in our example.
6. Specify the type of the CA, Root CA in our example.
7. Specify the type of private key, Create a new private key.
8. Specify the cryptographic options, keep the default and click on Next.
9. Specify the name of the CA, keep the default and click on Next.
10. Specify the validity period, 10 in our example.
11. Specify the database locations, keep the default and click on Next.
12. To confirm the settings, click Configure.
13. You will see Configuration succeeded after the configuring. Click Close.
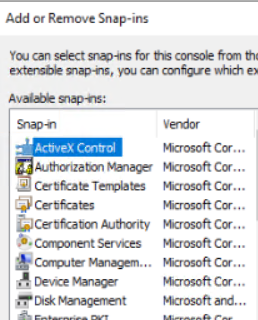
You should have Certification Authority and Certificate Templates in MMC
Please view this step by step video: