To trust an untrusted computer, we need to create the client Certificate for both managed server and untrusted computer. This video shows how to do so.
Step 1: Request and Enroll New Certificate
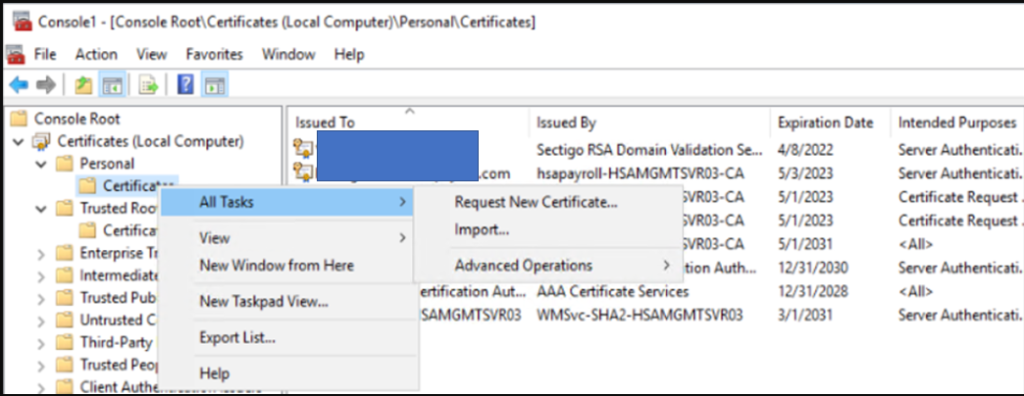
1.On the Managed or SCOM Server, go to MMC>Certificate (local computer)>Personal.
2.Right click on Certificate and select All Tasks>Request New Certificate.
3. In Certificate Enrollment, highlight the Policy, and click on Next.
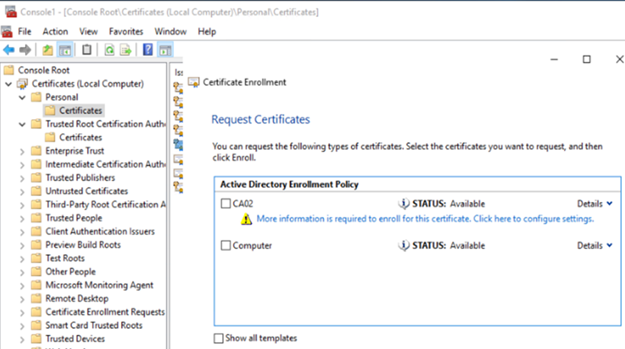
4. In Request Certificates, click blue text under the policy, CA02 in our example.
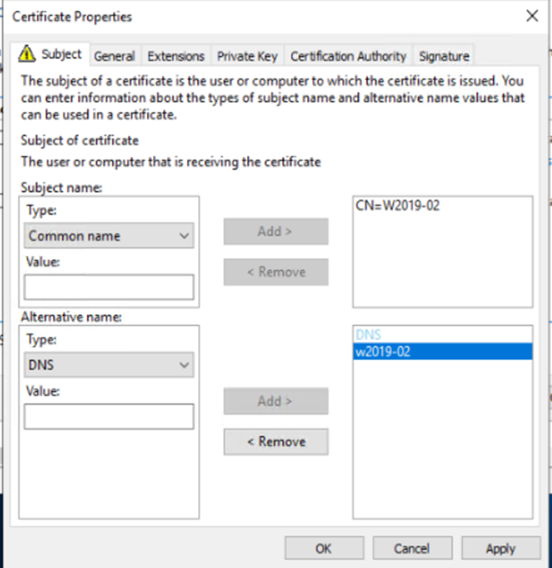
5. On the Certificate Properties window under the Subject page, select Common Name and DNS name and add your server’s name, in my case “W2019-02”
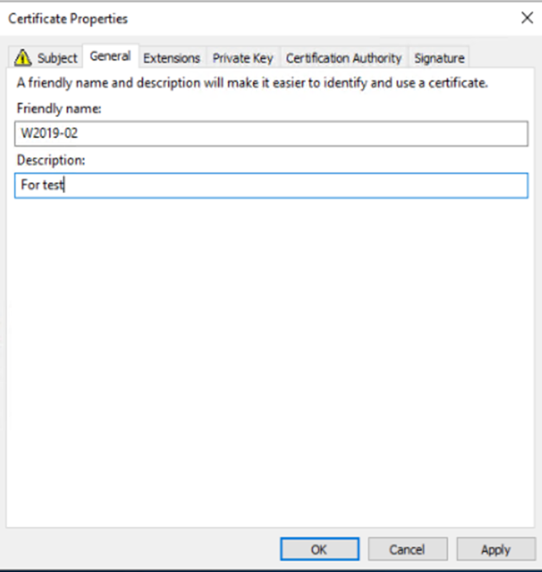
6. Select the General Page and add your server’s name there as well.
7. Click OK, then finish the wizard with defaults
8. Highlight the Active Directory Enrollment Policy and click Enroll.
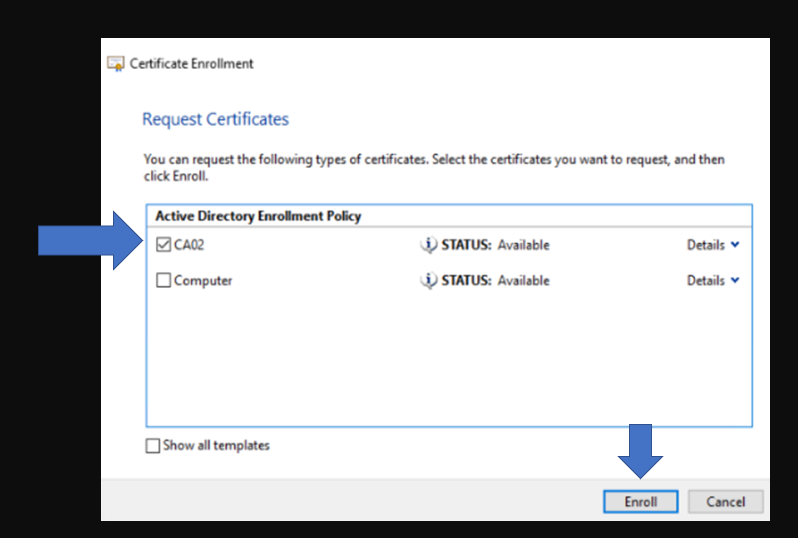
9. The Status should shows Succeeded. Click on Finish.
9. Under Personal Certificates you should now have a certificate named after your server’s name, in my case “W2019-02”

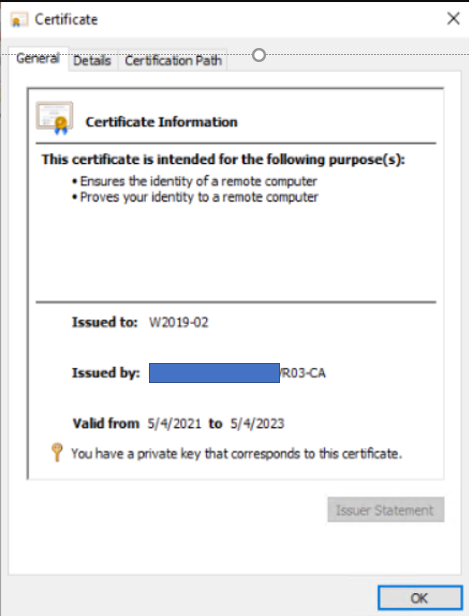
10. Double click on the Certificate you juts enrolled to check the status.

Step 2: Export Client Certificate for Untrusted Computer
1. Right click the certificate you just enrolled and click export
2. Select Yes, export the private key, and then click Next.
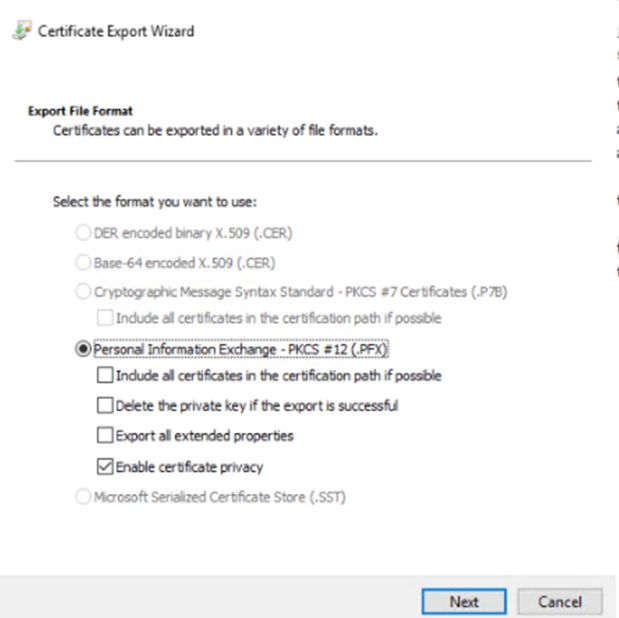
3. In Export File Format, check Personal Information Exchange – PKCS #12(.PFX) with Enable certificate privacy. Others are the options.
4. In Security, enter the password, and then click on Next.
5. Save it somewhere that is accessible from the untrusted server.
6. Click Finish.
Step 3: import SCOM Client Certificate to Untrusted Computer
1.On the untrusted computer, copy the certificate you just created to the local computer.
2.Open MMC and load the Certificates snapin for local computer.
3.On Personal right click and select All Tasks -> Import
5. Browse and select the certificate you just exported on Managed Server.
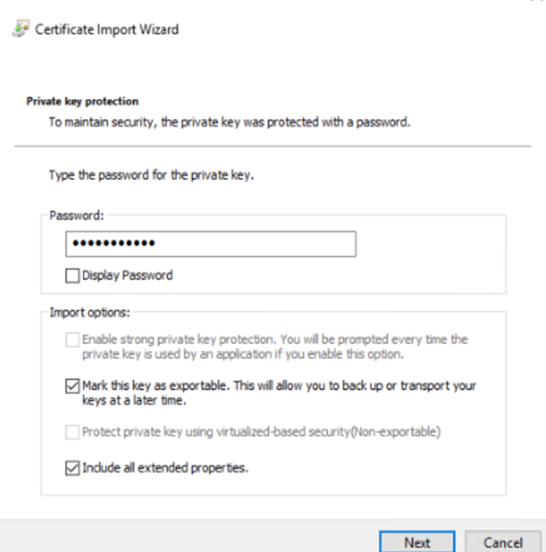
6. Select Next and enter your password on the Private key protection.
7. Check Place All Certificates in the following Store, and make sure Certificate store is Personal.
8. Click Finish on Completing the Certificate Import wizard.
9. You should have the Certificate installed. Double click on it to check the status.
Please view this step by step video: