With High Availability (HA), you may avoid downtime when upgrading PAN-OS on PA firewalls HA pair. For active/active firewalls, it doesn’t matter which peer you upgrade first. For active/passive firewalls, you must upgrade the passive peer first. This article shows how to upgrade PAN-OS on A HA Pair.
Step 1: Save a backup of the current configuration
1. Select Device>Setup>Operations and then click Export named configuration snapshot.
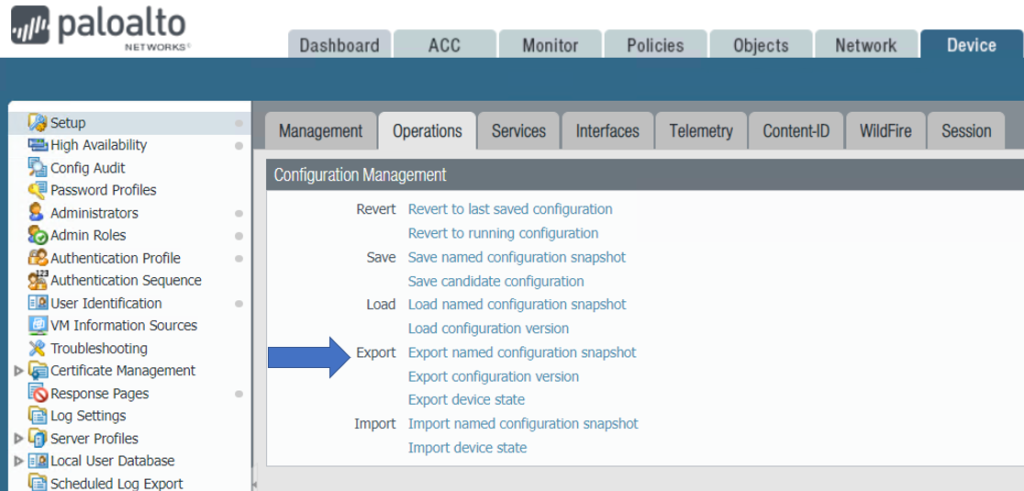
2. Select the XML file that contains your running configuration (for example, running-config.xml) and click OK to export the configuration file.

3. By default, the backup should be saved in the computer Download folder.

Step 2: Ensure that each firewall in the HA pair is running the latest content release version.
1. Go to Device>Dynamic Updates and check Applications and Threats, and make sure they are running the same version.
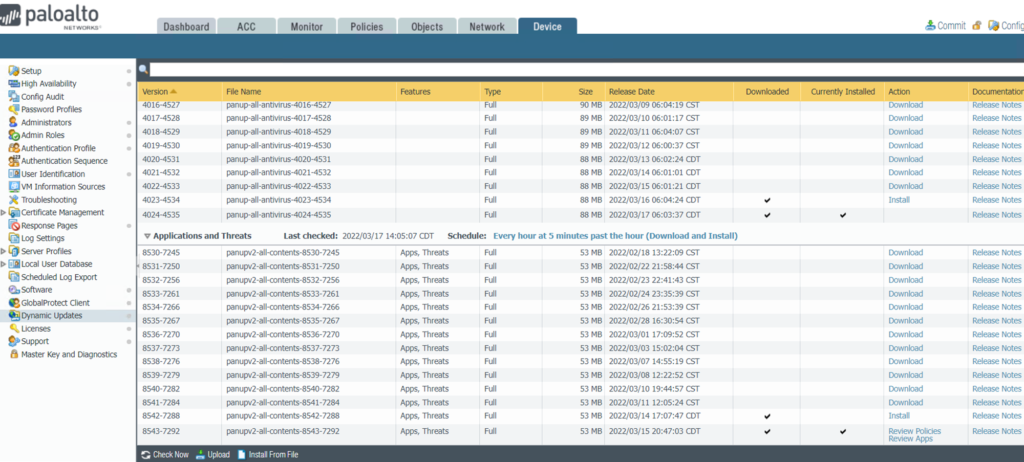
2. If the firewalls are not running the minimum required content release version or a later version, click on Check Now to retrieve a list of available updates.

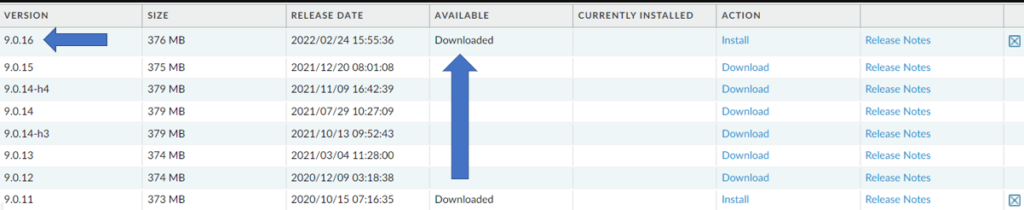
3. Locate and Download the desired content release version.
4. After you successfully download a content update file, the link in the Action column changes from Download to Install for that content release version.

5. Install the update.
Step 3: Disable preemption on the first peer in each pair.
Note: You only need to disable this setting on one firewall in the HA pair and ensure that the commit is successful before you proceed with the upgrade.
1. Got to Device>High Availability>General

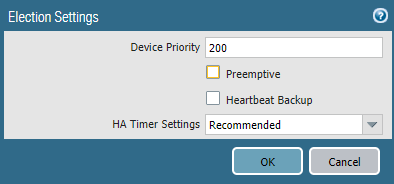
2. Click on settings icon in Election Settings.
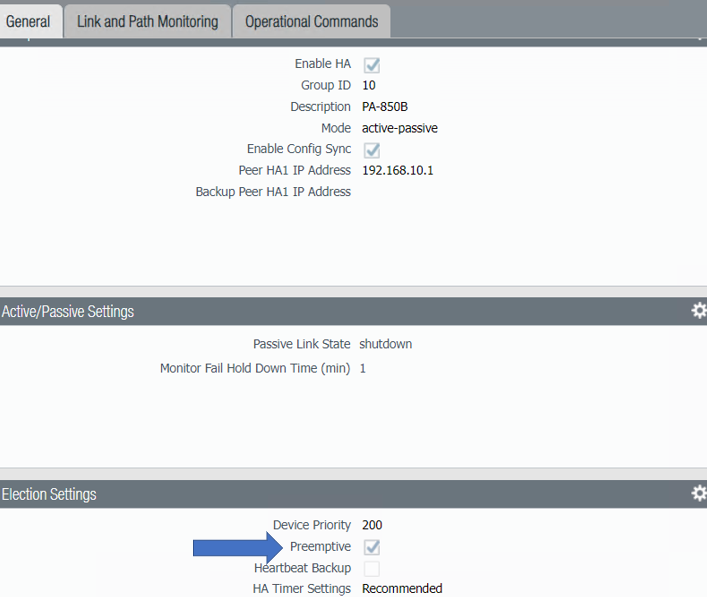
3. Clear Preemptive

4. Commit the change.
Step 4: Determine the upgrade path and download/Sync required PAN-OS
When you upgrade from one PAN-OS version to a later version, you cannot skip the installation of any release versions in the path to your target version. In addition, the recommended upgrade path includes installing the latest maintenance release in each release version before you install the base image for the next feature release version.
In our example, to upgrade Software version from 9.0.11 to 10.1.4-h4, we need to download and sync the following preferred PAN-OS 9.0 maintenance release
v9.0.16 (download and install)
v9.1.0 (download only); v9.1.13-h1 (download and install)
v10.0.0 (download only); v10.0.9 (download and install)
v10.1.0 (download only); v10.1.4-h4 (download and install)
- Download the software on the Active peer by going to Device>Software
2. Sync it to passive peer by checking Sync to HA Peer.
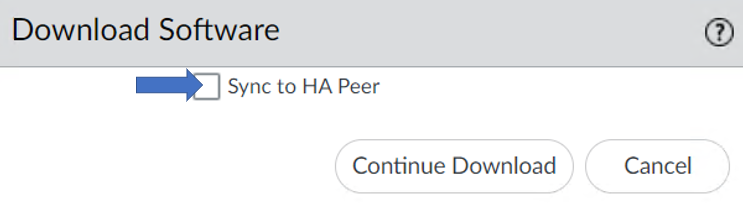
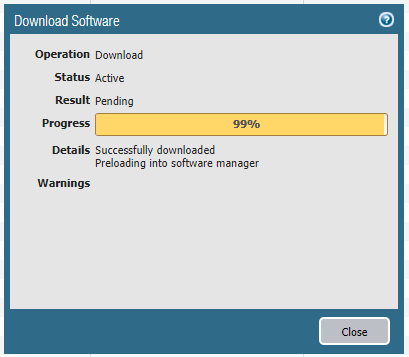
3. It starts to download.
Step 5: Install PAN-OS on the first peer (passive or active-secondary peer)
Note: To avoid downtime, we must do it on passive or active-secondary peer.
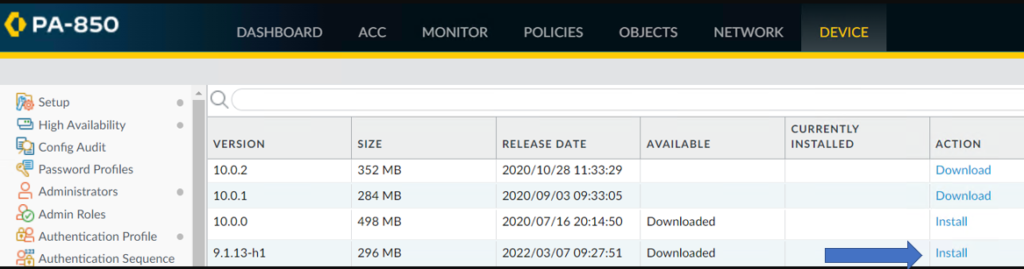
1. On the passive or active-secondary peer, go to Device>Software
2. Install PAN-OS 9.1.13-h1 only (doesn’t require install 9.1.0)

3. After the installation completes successfully, reboot using one of the following methods:
If you are prompted to reboot, click Yes.

If you are not prompted to reboot, select Device>Setup>Operations and Reboot Device.

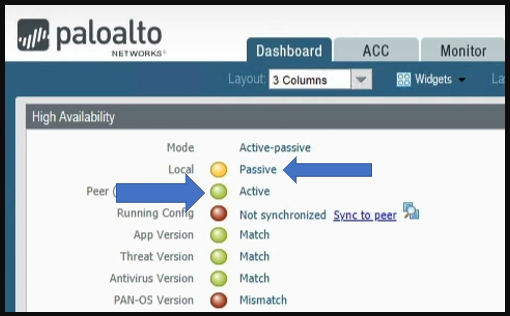
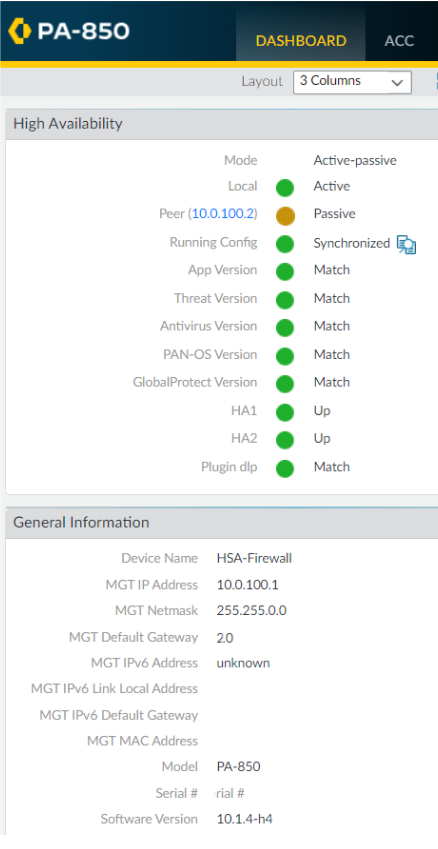
4. After the passive peer finishes rebooting, view the High Availability widget on the Dashboard and verify that the device you just upgraded is still the passive or active-secondary peer in the HA configuration.
Step 6: Install new PAN-OS on the second peer (Active peer)
1. Suspend the active peer on Active unit if it is Active/passive configurations so that HA fails over to the peer you just upgraded by going to Device>High Availability>Operational Commands, click Suspend local device for high availability.

2. Click OK to process.

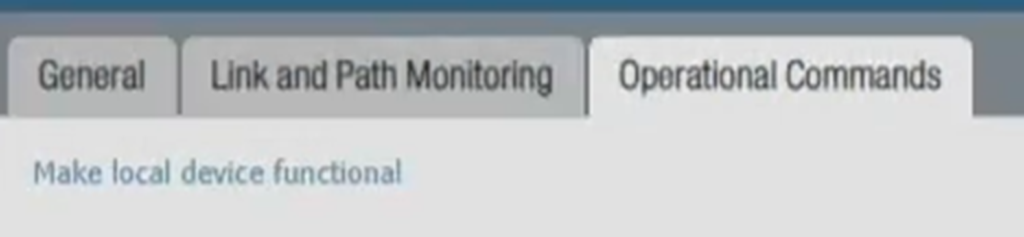
3. It switches to Make local device functional.

or you can run the following operational command from the device CLI:
request high-availability state suspend
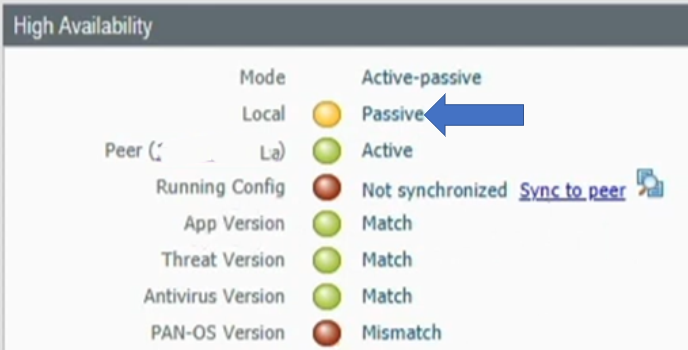
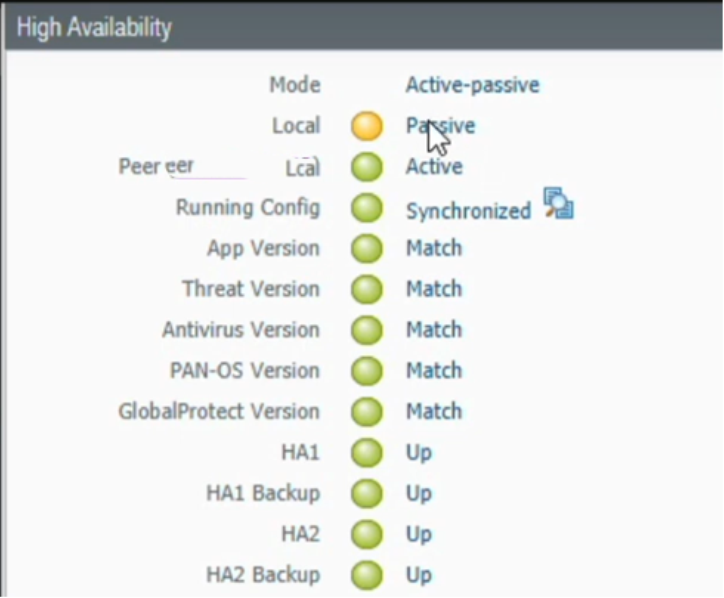
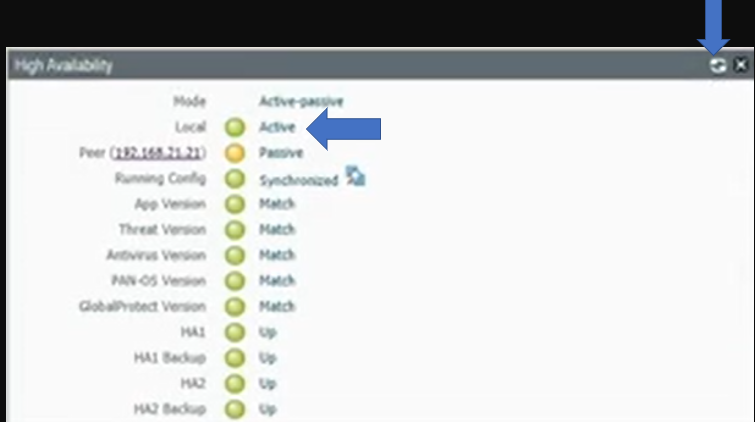
4. Go to Dashboard>High Availability, you should see Local is Passive and Peer is Active.
5. On the second peer (used to be active and now it is Passive unit) , select Device>Software.
6. Install PAN-OS 9.1.13-h1 only (doesn’t require install 9.1.0 and skip it).
7. After the installation completes successfully, reboot using one of the following methods:
If you are prompted to reboot, click Yes.
If you are not prompted to reboot, select Device>Setup>Operations and Reboot Device.
8. After rebooting, view the High Availability widget on the Dashboard and verify that the device you just upgraded is still the passive or active-secondary peer in the HA configuration.
Step 7: Issue the request high-availability and re-enable Preemption.
For Active/passive configurations only, run the following command to make the firewall functional again from the CLI of the peer you just upgraded:
request high-availability state functional

Or go to Device>High Availability>Operational Commands, click on Make local devices functional.
Now, go to Device>High Availability>General.

Click on Settings icon in Election Settings.

Check Preemptive.
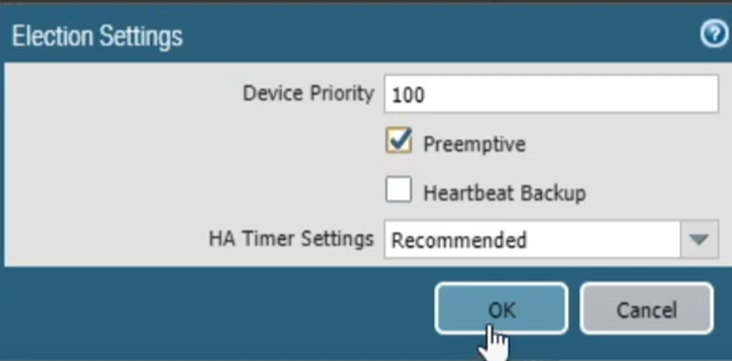
Commit.

Step 8: Verify that both peers are passing traffic as expected
On Preemptive unit, go back to Dashboard>High Availability, click on refresh icon. Local should switch to Active.
Also, go to Monitor>System to check any issues.

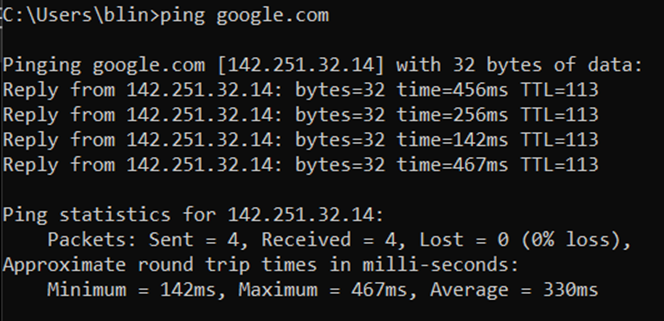
You may want to ping a website to make sure the Internet is working.
Step 9: Repeat Step 5 to step 7 to install v9.1.13-h1, v10.0.9, v10.1.4-h4

Please view this step by step video: