Enabling self-service in Office 365 can be done through the following steps:
- Sign in to the Azure AD portal using your administrator credentials.
- Go to the Azure Active Directory
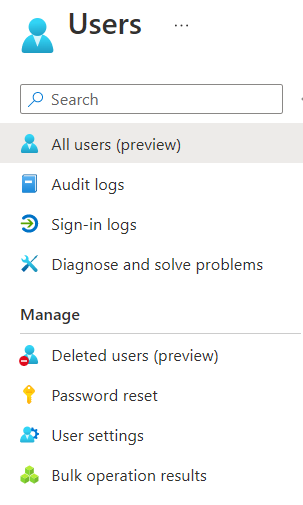
3. Click on Users.
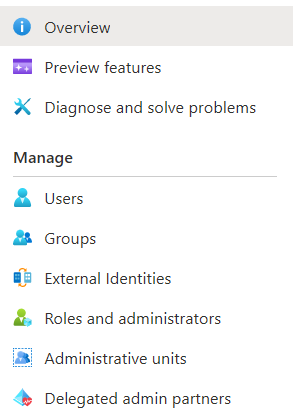
4. Click on Password reset.
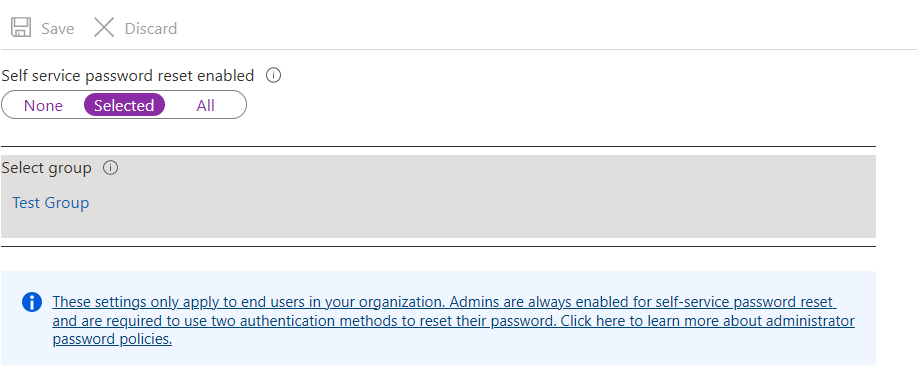
5. On the Properties page, you may choose Selected and select a specific security group or choose All option to enable SSPR for all users. Click Save to save the SSPR setup.
6. In the end, you’ll see the following confirmation, confirming the password reset policy is saved.
7. Configure Authentication Methods
- Click Authentication methods.
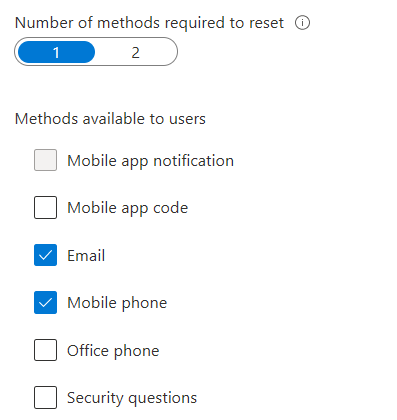
- Next, choose the Number of methods required to reset a password. This means when a user attempts to reset a password; the user must pass 1 or 2 authentication methods. The default is 1, and we’ll leave it as it is.
- Select the authentication Methods available to users. The default methods are Email and Mobile phone (SMS only).
Note. Mobile app notification is only available as a second authentication method.
In this example, let’s choose Mobile app code, Email, and Mobile phone (SMS only). Lastly, click Save.
8. Configure SSPR Registration
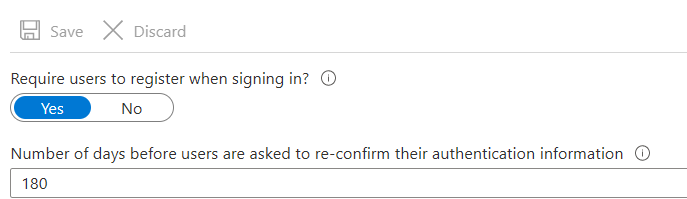
- Click Registration and choose whether to require users to register their SSPR information. The default selection is Yes, which means that after you enable SSPR, the users will be required to register their authentication methods when they log in.
- The Number of days before users are asked to re-confirm their authentication information value specifies the cadence when they must re-confirm their SSPR authentication methods. The default is 180 days. You may choose to adjust this value or leave it.
9. Enable SSPR Notifications
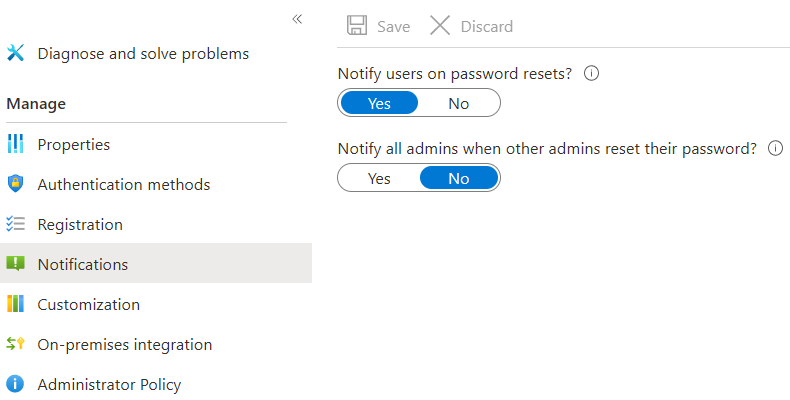
On the Notifications page, choose whether users get email notifications when their password is reset. The default option is Yes.
Choose whether to notify admins about other admins resetting their own passwords. The default option is No.
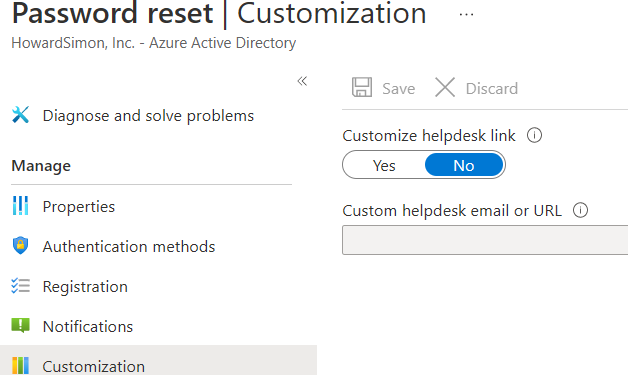
10. Customize Helpdesk Contact
On the Customization page, you can customize the Helpdesk contact information that users will see in the SSPR.
Click Yes and enter the helpdesk email or webpage URL and click Save.
11. Configure account permissions for Azure AD Connect
- In your on-premises AD DS environment, open Active Directory Users and Computers with an account that has the appropriate domain administrator permissions.
- From the View menu, make sure that Advanced features are turned on.
- In the left panel, right-select the object that represents the root of the domain and select Properties > Security > Advanced.
- From the Permissions tab, select Edit
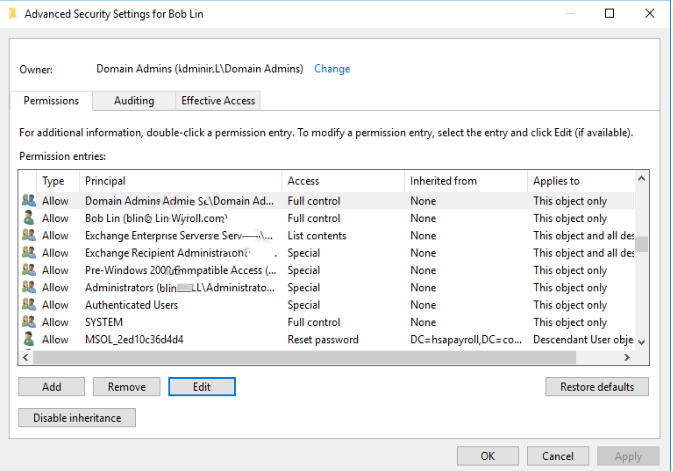
and make sure you have Reset password.
If not, please click Add to add reset password.
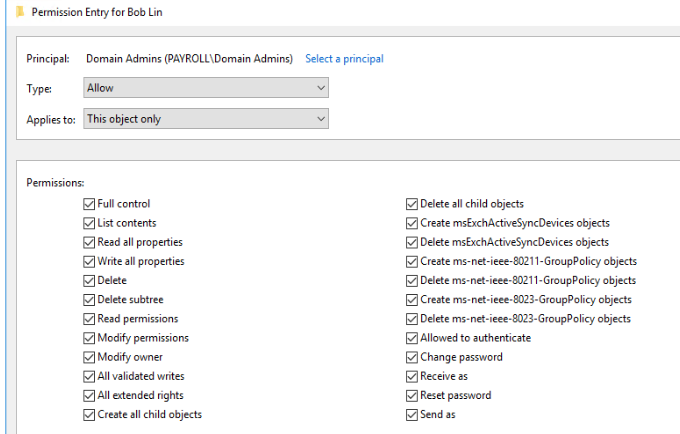
- Under Properties, select the boxes for the following options. Scroll through the list to find these options, which may already be set by default:
- Write lockoutTime
- Write pwdLastSet
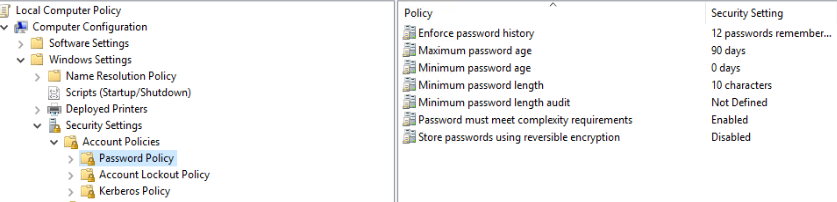
Password policies in the on-premises AD DS environment may prevent password resets from being correctly processed. For password writeback to work most efficiently, the group policy for Minimum password age must be set to 0. This setting can be found under Computer Configuration > Policies > Windows Settings > Security Settings > Account Policies within gpmc.msc.
If you update the group policy, wait for the updated policy to replicate, or use the gpupdate /force command.
Enable Password Writeback Azure AD Connect
Note. This section requires that Azure AD Connect is already installed and configured in your on-premises AD and Azure AD. If you haven’t done so, visit How to Install Azure AD Connect and Configure It.
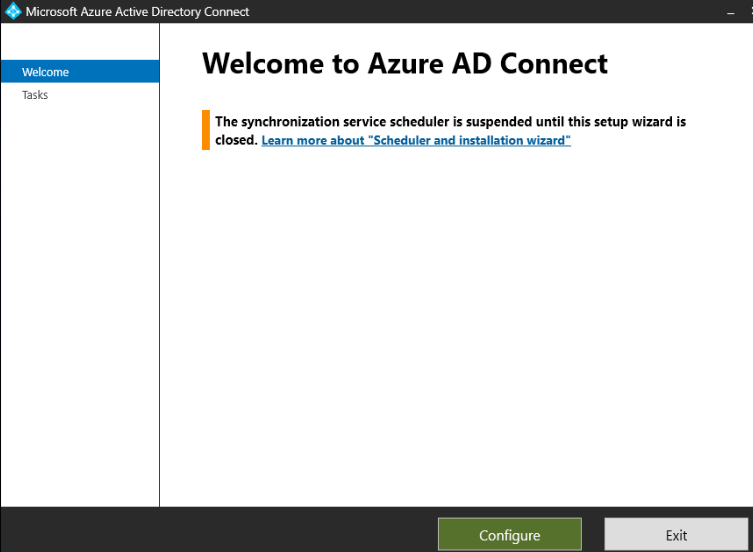
- Sign in to your Azure AD Connect server and start the Azure AD Connect configuration wizard.
- On the Welcome page, select Configure.
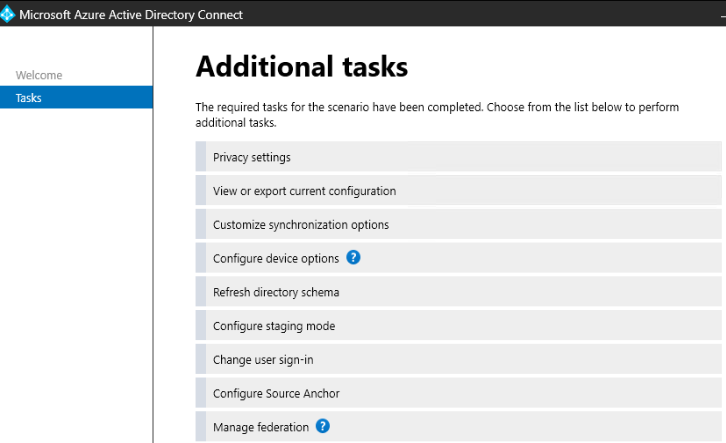
- On the Additional tasks page, select Customize synchronization options, and then select Next.
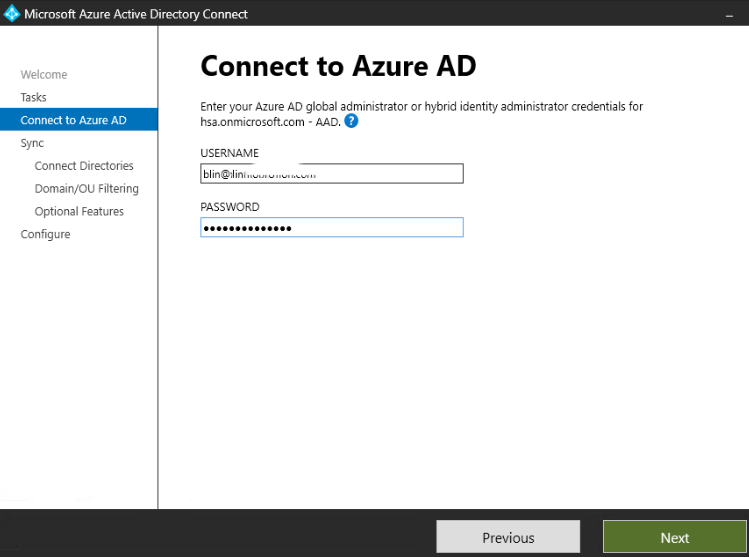
- On the Connect to Azure AD page, enter a global administrator credential for your Azure tenant, and then select Next.
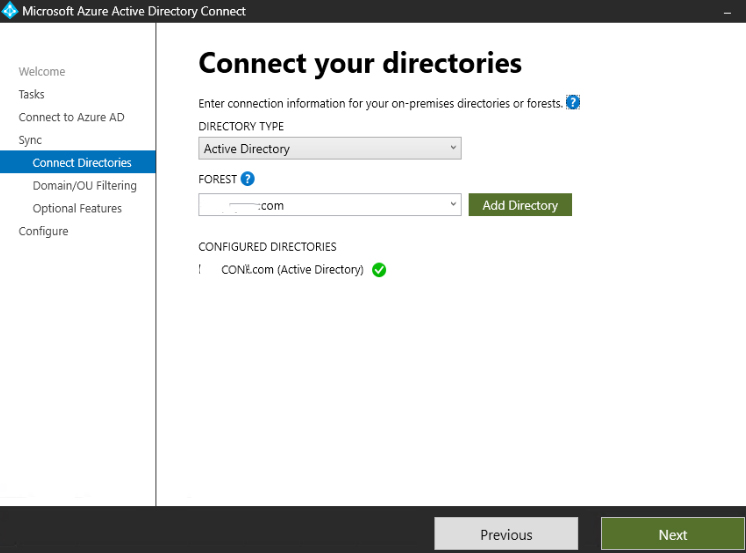
- On the Connect directories and Domain/OU filtering pages, select Next.

- On the Optional features page, select the box next to Password writeback and
- select Next.

- On the Directory extensions page, select Next.
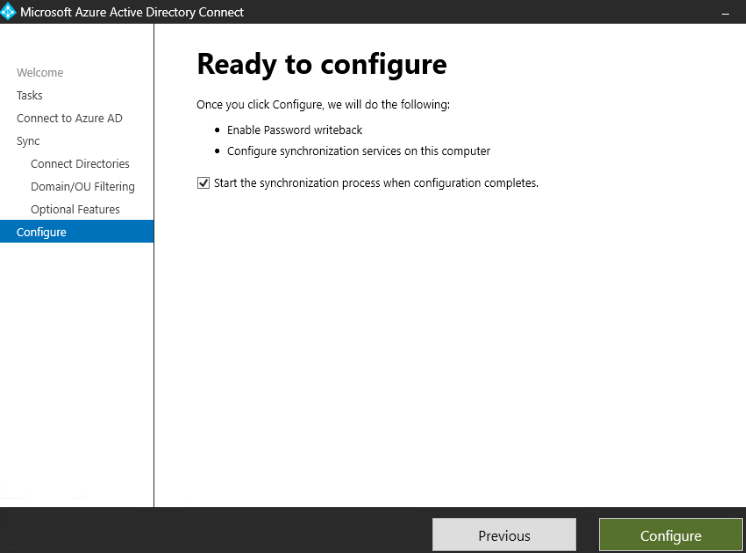
- On the Ready to configure page, select Configure and wait for the process to finish.
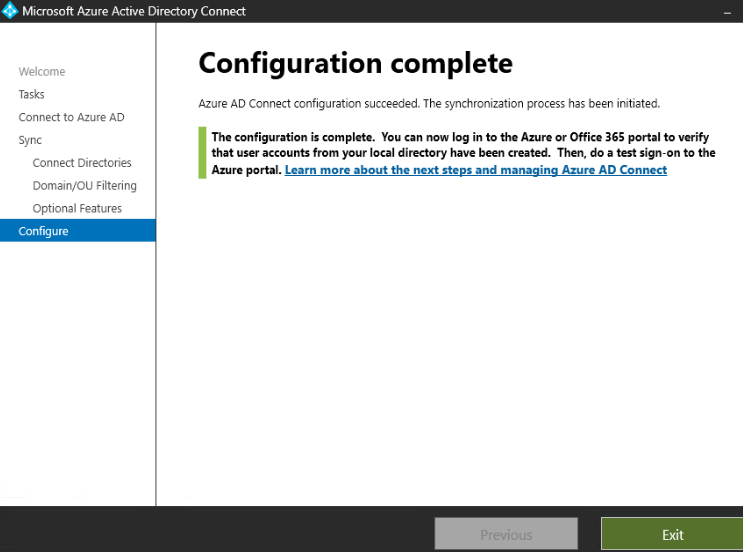
- When you see the configuration finish, select Exit.
Conclusion
You can significantly improve the user experience when you enable self service password reset in your organization. Users can reset their own passwords as long as your organization has the license that allows this feature.
Moreover, users may not need to connect to the corporate network (direct, VPN, etc.) to reset their passwords in the Active Directory. Instead, they can perform the password reset in their Office 365 accounts, and the password will sync back to Active Directory.