To change your Office 365 password, you can follow these steps:
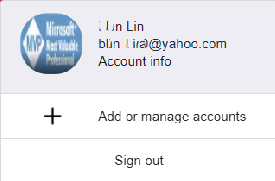
Go to the Microsoft Office 365 homepage and sign in to your account.
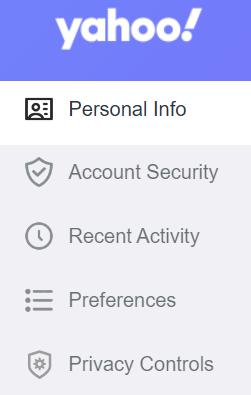
Click on the Settings icon in the top-right corner of the screen.
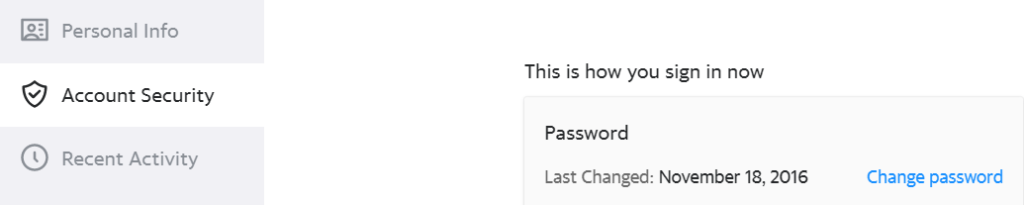
3. Click on Change your password under the Password
4. You may be asked to enter your current password for security purposes.
5. Enter your new password in the “New password” field.
6. Confirm your new password by entering it again in the “Confirm new password” field.
7. Click on “Submit.”
Your Office 365 password should now be updated. Make sure to remember your new password and keep it secure. You may also need to update the password on any other devices or applications that use your Office 365 account.
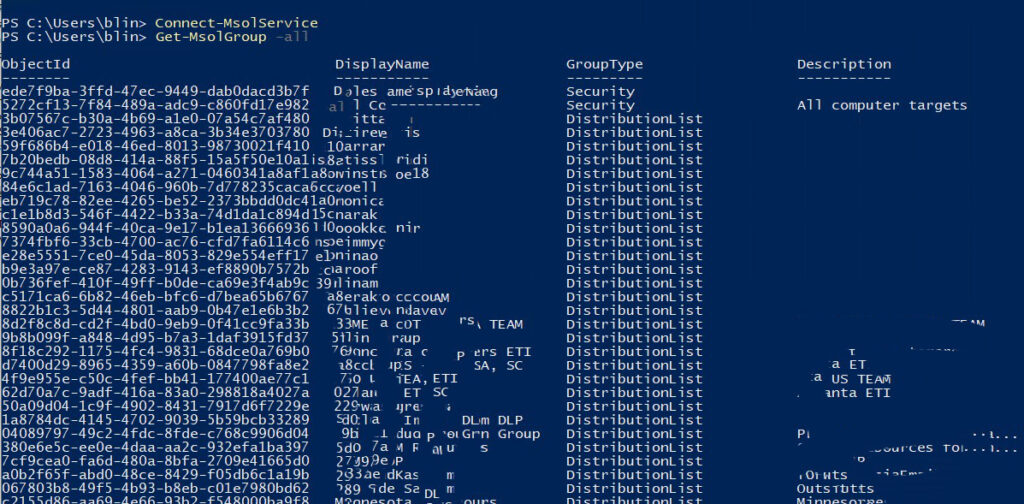
Get-UnifiedGroup -Identity "GroupName" retrieves the Office 365 group by its name or email address.
Get-UnifiedGroupLinks -LinkType Members retrieves the members of the group.
Select-Object name, PrimarySmtpAddress selects the display name and primary SMTP address of each member.
Export-CSV -Path "C:\Temp\GroupMembers.csv" -NoTypeInformation exports the results to a CSV file at the specified path.
Replace “GroupName” with the name or email address of the Office 365 group that you want to export the members from. Also, make sure to update the file path in the Export-CSV cmdlet to specify the location where you want to save the CSV file.
In old office 365 version, use export feature.
Sign in to your Office 365 account and navigate to the Office 365 group whose members you want to export.
Click on the group name to open it.
In the group navigation bar, click on “Members”.
Click on the gear icon in the top right corner and select “Export members”.
A CSV file containing the members’ email addresses will be downloaded to your computer.
Alternatively, you can use PowerShell to export the members’ email addresses. Here are the steps to follow:
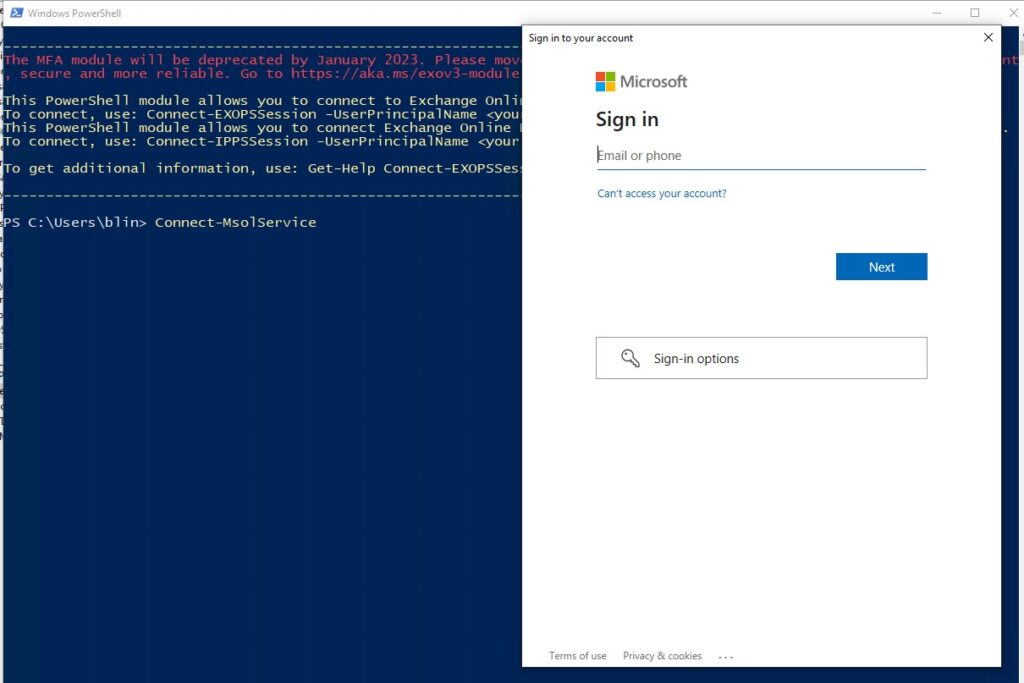
Open PowerShell on your computer.
Connect to your Office 365 account by running the following command: Connect-EXOPSSession -UserPrincipalName <your_username> Replace <your_username> with your Office 365 username.
Run the following command to export the members’ email addresses to a CSV file: Get-UnifiedGroup <group_name> | Get-UnifiedGroupLinks -LinkType Members | Select Name,PrimarySmtpAddress | Export-Csv -Path <file_path> Replace <group_name> with the name of your Office 365 group and <file_path> with the path where you want to save the CSV file.
In the “Description” field, enter a brief description of the group (optional).
Click on the “Create” button.
Once the group is created, you can add all employees to the group by going to the “Members” tab and selecting “Add members”. You can select all employees at once by choosing the option “Select all” or by searching for the employees you want to add.
Click “Save” to add the members to the group.
Now, all employees in your organization will receive emails sent to the group email address.